


Have you ever wondered how to create a stunning sign that captures attention and conveys your message effectively? Crafting a custom DIY yard sign is more than just a fun project; it allows you to express your personality and creativity in your community. Whether you’re announcing a garage sale or showcasing your favorite event, a well-designed sign can make all the difference.
To achieve professional results, careful planning is essential. This includes selecting the right materials and design elements. By gathering the necessary supplies and following expert techniques, you can create a sign that not only looks great but also withstands the elements.
Join us as we explore the steps to make your own eye-catching sign that stands out in any outdoor space.
Key Takeaways
- Creating a personalized sign enhances your outdoor space.
- Gathering the right supplies is crucial for a high-quality result.
- A well-crafted sign effectively communicates your message.
- Building your own sign can save money compared to buying commercial options.
- Following expert techniques ensures durability and standout design.
Materials and Tools for a Professional Yard Sign

Creating a professional-looking sign starts with choosing the right materials. Selecting quality supplies ensures that your project not only looks great but also stands the test of time. A few key items will make a significant difference in your results.
You can purchase corrugated plastic blanks and H stakes at Walmart to serve as the base for your project. These materials are cost-effective and durable, perfect for outdoor use. Additionally, using a 50W laser allows for precise cutting of cardboard frames, which helps in creating a polished sign structure.
Professional sign makers often rely on RTape Conform 4075 RLA, a high tack paper application tape, to achieve clean lines during the painting process. When selecting materials, consider using 57pt chipboard, which measures 1.45mm in thickness, to create sturdy stencils for your lettering.
A sharp hobby knife is essential for cutting out intricate designs from cardboard or masking materials used on the sign. Applying spray glue to your cardboard frame ensures it stays securely in place while you work on the layout of your sign.
Having the right supplies, such as high-quality tape and durable cardboard, is critical for the success of any outdoor sign project. For more detailed guidance, check out this complete guide.
Surface Preparation and Base Painting Techniques

A properly prepared surface is crucial for achieving a professional finish on your outdoor project. Using MDO plywood is an excellent choice, as it is water-resistant and designed for outdoor use. This material ensures your creation withstands the elements.
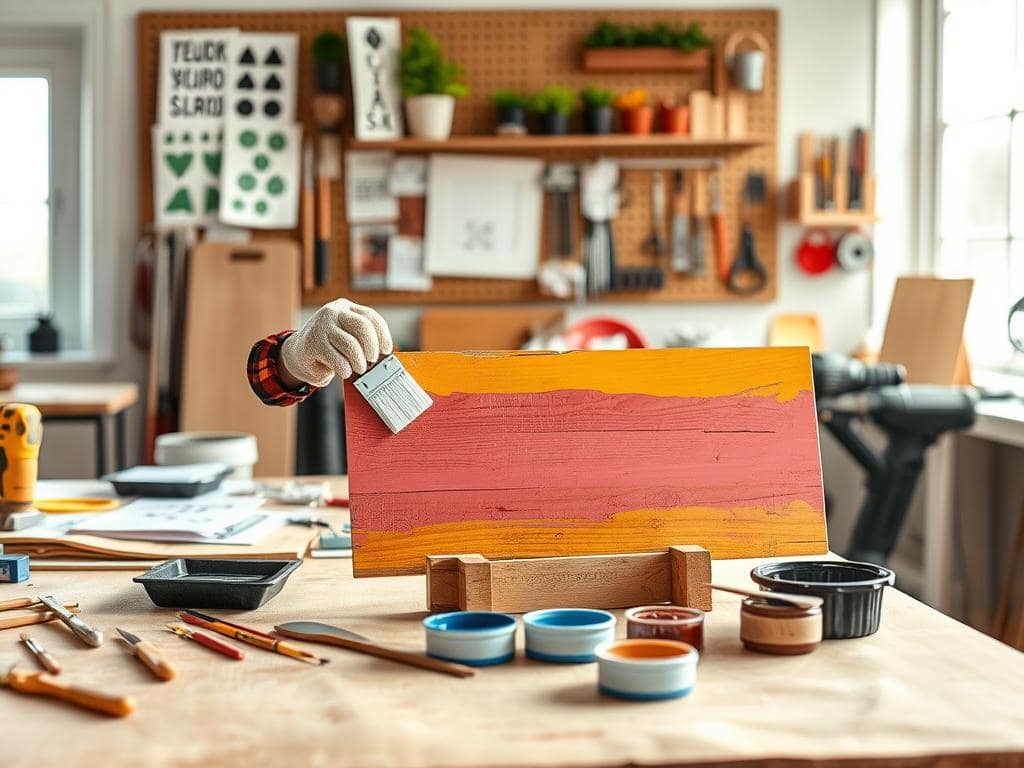
Before you begin painting, clean the surface thoroughly and lightly sand it. This step promotes better adhesion of the exterior paint, ensuring a longer-lasting finish. Remember, applying multiple light coats of paint is far superior to one heavy coat. This method prevents drips and guarantees an even application.
After the base coat, let dry overnight. This allows the paint to cure fully before you apply masking tape or additional layers. Using thin packing paper to mask off sections of the sign helps achieve crisp, clean lines when switching colors.
Proper surface preparation is the foundation of a professional sign. It prevents the paint from peeling or flaking due to weather exposure. Always choose high-quality exterior paint to protect your project from the harsh effects of sun and rain over time.
Designing a Compelling and Durable Sign

A well-planned design can transform an ordinary sign into an eye-catching masterpiece. Start by choosing a color palette that contrasts well. For instance, a combination of red and blue can grab attention effectively.
Incorporating custom stencils is another way to enhance your sign. Ensure these stencils are positioned correctly on the surface to maintain a balanced look. Using a cardboard frame as a guide helps you place design elements accurately, giving your sign a professional appearance.
Utilizing exterior paint is crucial, as it acts as a sealer. This protects the wood from moisture and UV damage, ensuring your project lasts longer. Creating your own stencils allows for unique decorative elements, setting your sign apart from generic options.
Always use high-quality masking paper to protect areas you do not want to paint. A well-designed frame and stencil combination will elevate the appearance of your project, resulting in a polished finish.
Mastering Stencil Application and Lettering Techniques
The art of applying stencils can significantly enhance the overall appearance of your project. This process requires precision and attention to detail to ensure a professional look.
To achieve high-quality lettering on your sign, start by using a hobby knife to cut stencils from high-tack masking tape. Carefully place the stencil on the sign surface, making sure there are no wrinkles that could let paint bleed underneath.
Applying spray glue to the back of your cardboard frame will help it stick firmly to the masking tape during the cutting process. Precision is key when positioning your stencils, so utilize a frame to guide the placement of each letter.
After painting, you can remove the stencils and even reuse them on the back for a double-sided display. Using a mirror-image font for your stencils ensures that the text is oriented correctly when applied to the surface. A clean, sharp result is achieved by pressing the stencil firmly against the sign before painting.
Optimizing Your diy yard sign for Maximum Impact

Finalizing your sign is essential to ensure it stands out and communicates your message clearly. The finishing touches can significantly enhance the overall look and effectiveness of your project.
First, ensure that all paint is dry to the touch before carefully removing the stencils. This step prevents tearing and guarantees a clean edge. Use a hobby knife to trim any excess tape or paint that may have bled onto the back of the sign during application.
A clean appearance is vital. Make sure the message is centered and that all cardboard frames are removed without damaging the surface. If you notice any gaps in the paint, use a small brush to touch up those areas, ensuring a flawless finish.
Applying a final coat of clear sealer can protect the paint and keep your sign vibrant for a long time. Double-check the placement of your lettering to ensure it remains legible from a distance, which is crucial for any outdoor display.
By taking the time to add these final touches, you transform a simple project into a professional-grade display piece.
Tips for Assembling, Mounting, and Anchoring Your Sign

Mounting your sign properly is crucial for ensuring it remains visible and effective. A sturdy frame can make all the difference in maintaining the integrity of your display. Consider using porch columns from Lowe’s, which are available for around $47. These materials provide a reliable structure for your project.
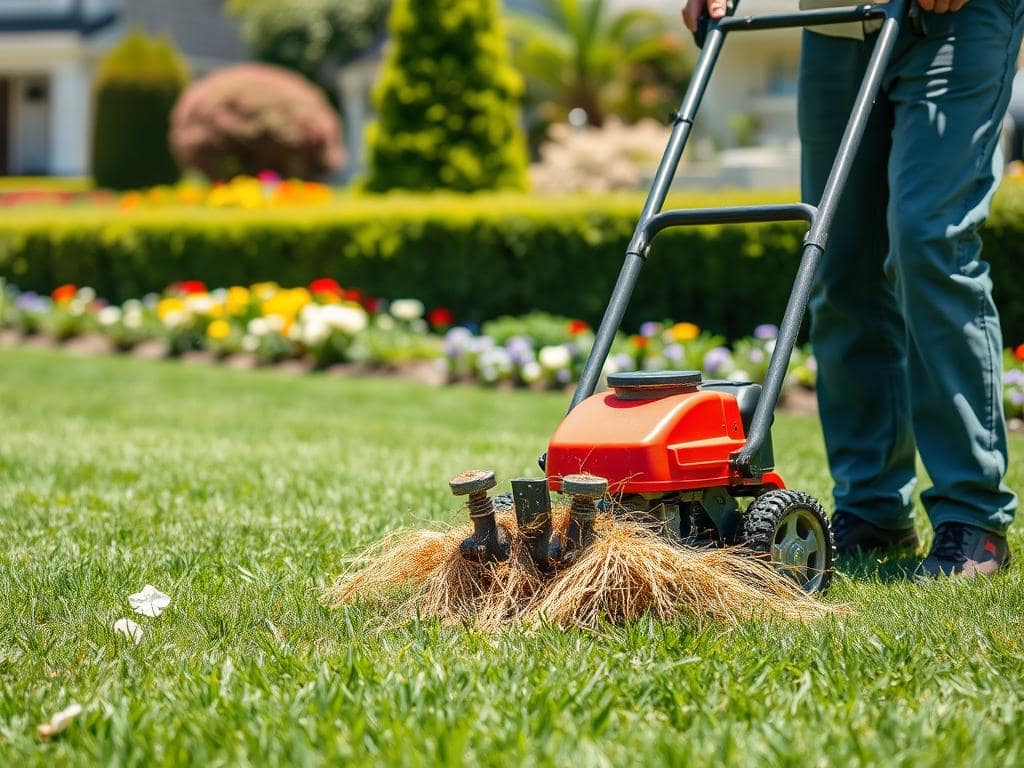
For ground installation, deep post spikes are an excellent choice. They allow you to anchor your sign securely without the need for concrete. This method ensures that your sign remains stable and upright, even in windy conditions.
If you’re looking for a temporary setup, consider placing your sign posts in a large planter filled with gravel. This method allows for easy relocation while keeping your sign visible to the community.
Using eyelet screws and carabiners is a smart way to hang your sign from a wooden frame. This setup makes it simple to swap out signs for different events. Always check that your sign is level and securely attached to the posts to prevent any accidents.
By following these tips, you can ensure that your sign remains a safe and attractive feature for your home or local community.
Conclusion
Crafting a unique display for your community can be a fulfilling endeavor. By following the steps outlined in this guide, you can create a durable and visually appealing project. Remember, the quality of your materials and the precision of your work will directly influence how many people notice your display.
Whether you’re designing a sign for a special event or simply sharing a message, the techniques shared here will help you achieve a polished look. We hope this guide inspires you to create displays that reflect your creativity and attention to detail.
With the right tools and a bit of patience, anyone can produce a sign that looks professionally made. Start your project today and make a lasting impression in your community!