


Have you ever wondered why your grass struggles to thrive, even with regular care? The answer may lie in the thatch layer that accumulates at the soil’s surface. This brown, spongy organic matter can hinder water and nutrients from reaching the roots, affecting the overall health of your outdoor space. Dethatching lawn areas when excessive thatch builds up is an essential maintenance practice that helps improve airflow, water absorption, and nutrient delivery, promoting a thicker, healthier lawn.
Understanding the basics of lawn care is essential for maintaining a vibrant environment year-round. This guide will explore the process of managing thatch effectively, ensuring your grass remains lush and healthy. By learning proper techniques, you can improve soil health and promote vigorous growth.
Join us as we delve into the essential steps for maintaining a beautiful yard. Discover how to identify when thatch becomes problematic and learn effective strategies to keep your grass thriving.
Key Takeaways
- Understanding thatch is crucial for effective lawn care.
- Proper management can enhance soil health and grass growth.
- Identifying when thatch becomes problematic is key to maintenance.
- Effective techniques can reduce stress on existing turf.
- This guide provides a comprehensive overview for beginners.
Understanding Thatch in Your Lawn

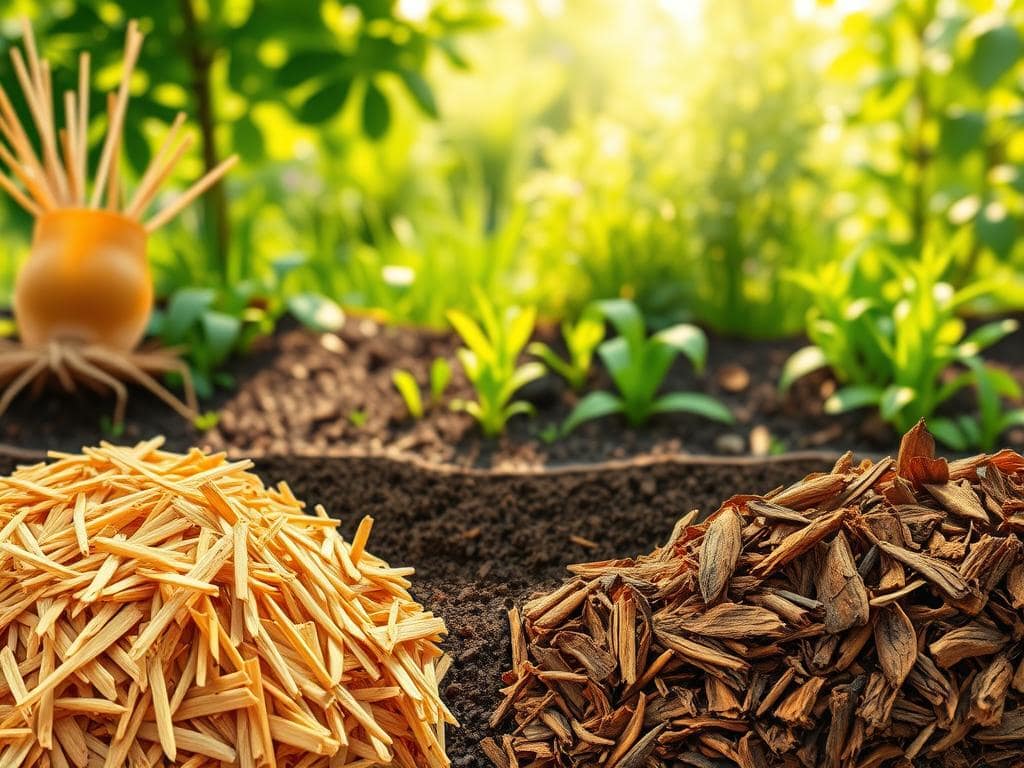
Thatch can significantly impact the vitality of your grass. It is defined as a dense layer of dead and living organic material that forms between the green grass blades and the soil. This brown, spongy layer consists of sloughed and partially decomposed roots and stems.
While a thin thatch layer can provide insulation and cushioning, excessive accumulation can be problematic. When thatch exceeds half an inch, it can impede the movement of vital nutrients, air, and water to the roots. If your outdoor space feels spongy underfoot, this is a primary indicator of a thick thatch problem.
Certain grass species, such as Kentucky bluegrass, bermudagrass, and zoysiagrass, are more prone to developing this organic matter buildup. When the thatch layer becomes too dense, it can lead to lawn diseases and hinder overall growth.
Choosing the Right Time for Dethatching

Choosing the right moment for maintenance can significantly affect grass growth. Timing is essential for effective care, especially when it comes to managing thatch. For cool-season grasses, the best time to dethatch is in early spring or early fall. This timing allows the turf to recover before temperature extremes hit.
In contrast, warm-season grasses should be dethatched in late spring through early summer. This should occur after the grass has been mowed at least twice, ensuring it is actively growing. It’s crucial to avoid dethatching during periods of intense heat or drought, as this can damage the root system.
Ultimately, the best time to dethatch is when the grass is thriving and the soil is moderately moist. Proper timing ensures the grass can heal and flourish after the process.
Step-by-Step Dethatching Process

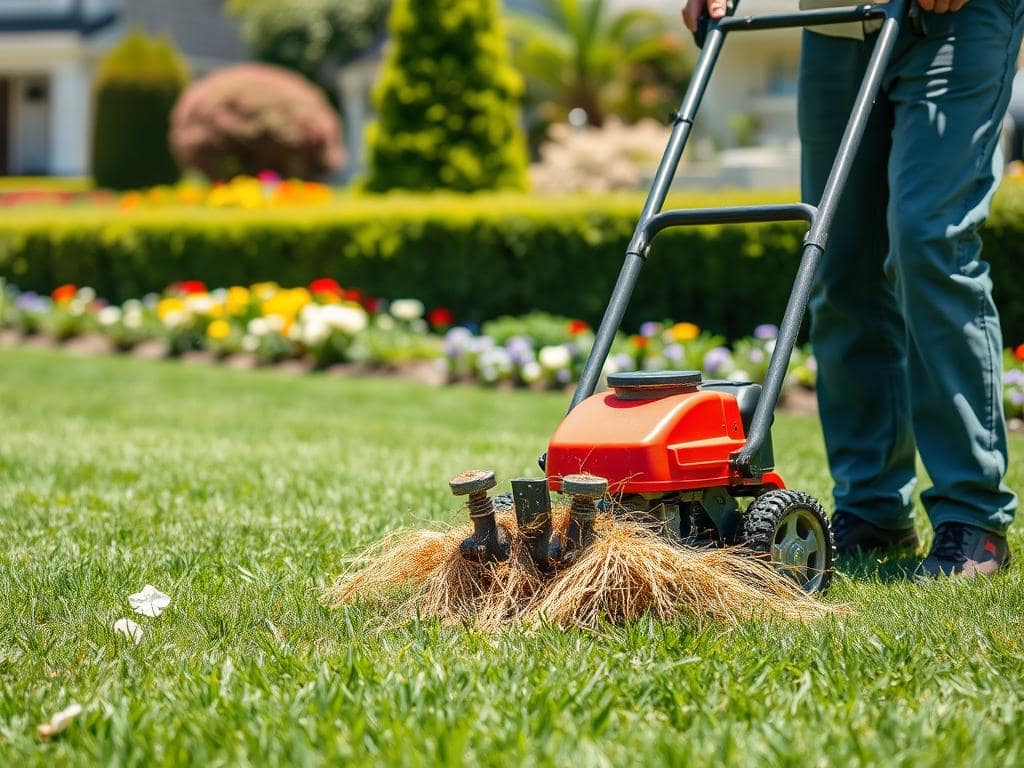
Mastering the dethatching process is essential for a thriving yard. Proper preparation is the first step. Begin by mowing your grass to half its normal height. This makes the thatch layer more visible and easier to manage.
Next, you can choose between manual removal or renting a dethatcher. If you opt for a manual approach, use a specialized dethatching rake with sharpened tines. This tool will lift the thatch without harming the roots. For larger areas, renting a power dethatcher may be more efficient. Just ensure the blades are set to cut no deeper than half an inch into the soil.
After removing the thatch, it’s crucial to care for your grass. Rake up the debris and dispose of it properly. Then, water the area thoroughly to help your grass recover quickly. Following these steps will set your outdoor space on the path to better health.
Dethatching Lawn Techniques and Tools
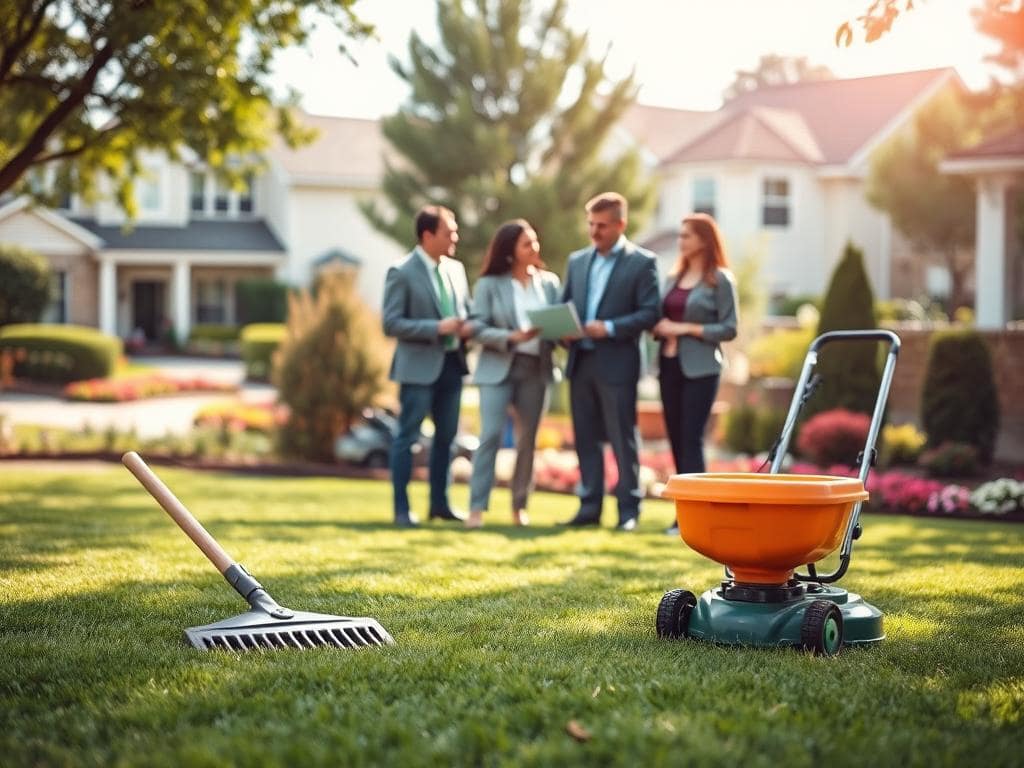
Selecting the right tools is vital for effectively managing thatch. Various options exist to suit different lawn sizes and conditions. Understanding these tools will help you achieve optimal results.
Using a Dethatching Rake
A manual dethatching rake is an effective tool for smaller areas. It utilizes sharpened tines to pull organic debris to the surface. This method is recommended when the thatch layer is less than one inch thick. Manual raking allows for precise control, making it ideal for small lawns.
Power Rake and Verticutter Options
For larger areas, a power rake or verticutter is necessary. These machines use vertical blades to slice through the dense layer and lift material efficiently. When using a power dethatcher, ensure the machine is adjusted correctly. This prevents the blades from cutting too deeply into the soil.
These machines can be heavy, so consider sharing the rental cost with neighbors to revitalize multiple lawns in your local area. While aeration is a different process, some homeowners use it as an alternative when the thatch problem is mild.
| Tool Type | Best For | Key Features |
|---|---|---|
| Dethatching Rake | Small lawns | Manual control, sharpened tines |
| Power Rake | Larger areas | Vertical blades, efficient material lifting |
| Verticutter | Dense thatch | Deep slicing, adjustable settings |
For more detailed guidance, check out this aeration and dethatching guide.
Maintaining a Healthy Lawn After Dethatching

Caring for your grass after the dethatching process is crucial for its recovery and long-term health. Proper follow-up practices can significantly enhance the effectiveness of your efforts.
Aeration and Overseeding Benefits
After dethatching, aeration is a highly beneficial practice. It involves removing small, circular cores of soil and thatch. This allows air, water, and nutrients to reach the roots more effectively. Aeration also helps loosen compacted soil, improving the efficacy of overseeding.
Watering, Fertilization, and Follow-Up Tips
Ensure you keep the area well-watered in the weeks following the process. This supports the recovery of the grass roots. If you notice bare spots after the work is finished, reseed those areas and add a light covering of organic matter or sand.
Regular aeration helps prevent future thatch buildup. It encourages microbial growth that naturally breaks down organic material in the soil. Proper fertilization is key to long-term care, but wait until the grass has recovered from the stress of dethatching.
For more detailed guidance on what to do after dethatching, check out this informative article.
Troubleshooting Common Thatch and Lawn Issues

Understanding the underlying issues affecting your grass can lead to a healthier yard. Problems like compacted soil and thick thatch can hinder growth and vitality. It’s essential to recognize these issues early to implement effective solutions.
Testing for soil compaction is straightforward. Try inserting a screwdriver into the ground. If it resists, you likely have compacted soil. A thriving yard requires air and nutrients to reach the roots effectively.
Identifying Compacted Soil and Thatch Problems
If your grass fails to thrive despite regular care, it may suffer from a thatch problem or compacted soil. A spongy or wet surface after rainfall can indicate excessive thatch buildup. Regular monitoring throughout the year helps determine the right maintenance timing.
Practical Solutions and Timing Adjustments
For compacted soil, aeration is the best solution. It allows air and nutrients to penetrate the ground. In contrast, dethatching specifically removes organic buildup above the soil line. Adjust your dethatching schedule during droughts or heat waves to avoid damaging the grass.
| Issue | Signs | Solution |
|---|---|---|
| Compacted Soil | Difficult to insert a screwdriver | Aeration |
| Thick Thatch | Spongy surface, poor drainage | Dethatching |
| Overall Grass Health | Weak growth despite feeding | Monitor and adjust care |
Conclusion
Achieving a lush and healthy yard is a continuous process that demands diligence. Maintaining a vibrant outdoor space requires a balanced approach to managing thatch and regular soil care. By following the steps outlined in this guide, you can effectively remove excess thatch and promote vigorous grass growth.
Remember, timing is everything. Always align your maintenance efforts with the specific needs of your grass type. Whether you choose to use a manual rake or rent professional equipment, consistency is key to a beautiful yard.
With proper watering, fertilization, and occasional aeration, you can keep your outdoor area in peak condition for many seasons to come.