
Did you know that synthetic grass turf installation can save the average American homeowner up to 55,000 gallons of water annually? That’s enough to fill a swimming pool! This surprising statistic highlights why more people are choosing artificial turf installation for their outdoor spaces.
We understand that creating a beautiful, low-maintenance lawn is a priority for many homeowners. Our comprehensive turf installation guide walks you through every step of the process. You’ll learn proper techniques that ensure professional results.
This article covers essential tools and materials needed for your artificial turf installation project. We’ll show you how to prepare different surfaces, whether you’re working with natural soil or concrete. Proper site preparation is crucial for long-lasting performance.
We also address critical topics like drainage systems and weed prevention. These elements contribute significantly to your artificial turf installation’s overall quality and durability. Our maintenance section even covers how to clean turf properly, including step-by-step guidance on removing debris, rinsing, and maintaining freshness throughout the seasons. Learning how to clean turf helps keep your lawn looking vibrant, odor-free, and long-lasting. With the right care and cleaning routine, your lawn will maintain its beauty and functionality for years to come.
Whether you’re tackling turf installation as a DIY project or hiring professionals, our guide provides the knowledge you need. You’ll learn how to install artificial turf step by step, along with expert solutions to common challenges. With the right approach, you can achieve beautiful, professional-quality results in your yard.
Introduction to Our Artificial Turf Journey
The shift toward low-maintenance landscaping has made synthetic turf an attractive option for residential and commercial properties alike. We’re thrilled to guide you through this transformative process that creates beautiful, practical outdoor spaces. Our step-by-step guide on how to install artificial turf walks you through each phase, from site preparation to final brushing, ensuring professional-quality results every time.
Learning how to install artificial turf is surprisingly straightforward when you have the proper materials and surface preparation. This approach saves significant time compared to maintaining natural lawns, and the results provide lasting beauty with minimal upkeep requirements.
Artificial grass works wonderfully in diverse settings beyond traditional yards. It enhances patios, gym spaces, and specialized areas like putting greens and playgrounds. Pet facilities also benefit from this durable surface solution.
Our comprehensive guide walks you through each phase of your project. We explain both the techniques and the reasoning behind them. This knowledge helps ensure professional-quality results whether you DIY or hire experts.
The time invested in learning proper methods pays long-term dividends. You’ll achieve a beautiful, functional lawn that maintains its appeal for years. We’re here to help you navigate this rewarding journey with confidence.
Preparing Your Site for Artificial Turf Installation
We begin every project with a comprehensive evaluation of the outdoor space to ensure optimal results. Proper groundwork prevents future issues and creates a stable foundation for your new lawn.
Assessing Your Yard and Underground Hazards
Thorough assessment of your yard is our first priority. We identify any underground hazards that could complicate the process. This includes sprinklers, water pipes, and electrical lines.
Marking utility locations prevents costly damage during excavation. Existing sprinklers can often be covered or removed if unnecessary. Keep operational sprinklers clearly marked to avoid uneven surfaces.
We recommend moving electrical wires six to eight inches from the perimeter. This protects them when securing the artificial grass edges. Optional drainage pipes improve water clearance significantly.
Gathering Essential Tools and Materials
Having the right equipment streamlines your artificial grass project. Proper preparation prevents frustrating delays and ensures professional results.
Essential materials include weed barrier fabric and gravel for the base. You’ll need adhesive for joining sections and infill for blade support. Comfort padding is optional but recommended for high-use areas.
| Essential Tools | Primary Materials | Additional Supplies |
| Turf cutter/utility knife | Weed barrier fabric | Landscaping pins |
| Shovel and wheelbarrow | Gravel or crushed rock | Turf seam tape |
| Tape measure and hammer | Artificial grass infill | Lawn padding (optional) |
| Compaction roller | Adhesive for seams | Artificial grass rake |
Proper preparation significantly impacts your lawn’s quality and longevity. Taking time to assess your area thoroughly pays long-term dividends. Your finished surface will maintain its beauty for years.
Removing Natural Grass and Existing Surfaces
Before laying down your new lawn, complete removal of existing vegetation is essential. This phase requires significant effort but delivers long-term benefits for your artificial grass.
Clearing the Area Effectively
We start by eliminating all natural grass from the designated area. Remove weeds, rocks, and any debris that could create uneven surfaces.
Excavate approximately three to four inches of soil using a shovel. This depth accommodates base materials while maintaining proper elevation.
After soil removal, compact the surface by walking across it or using a tool. This creates a firm foundation that prevents future settling.
Managing Weeds and Debris
Persistent weed problems require advance planning. Apply environmentally safe weed killer two to three weeks before starting the process.
Thorough debris removal is crucial for smooth results. Eliminate roots, stones, and organic materials that could cause imperfections.
Proper surface preparation ensures your artificial grass maintains flawless appearance for years. Take time during this critical step to avoid future complications.
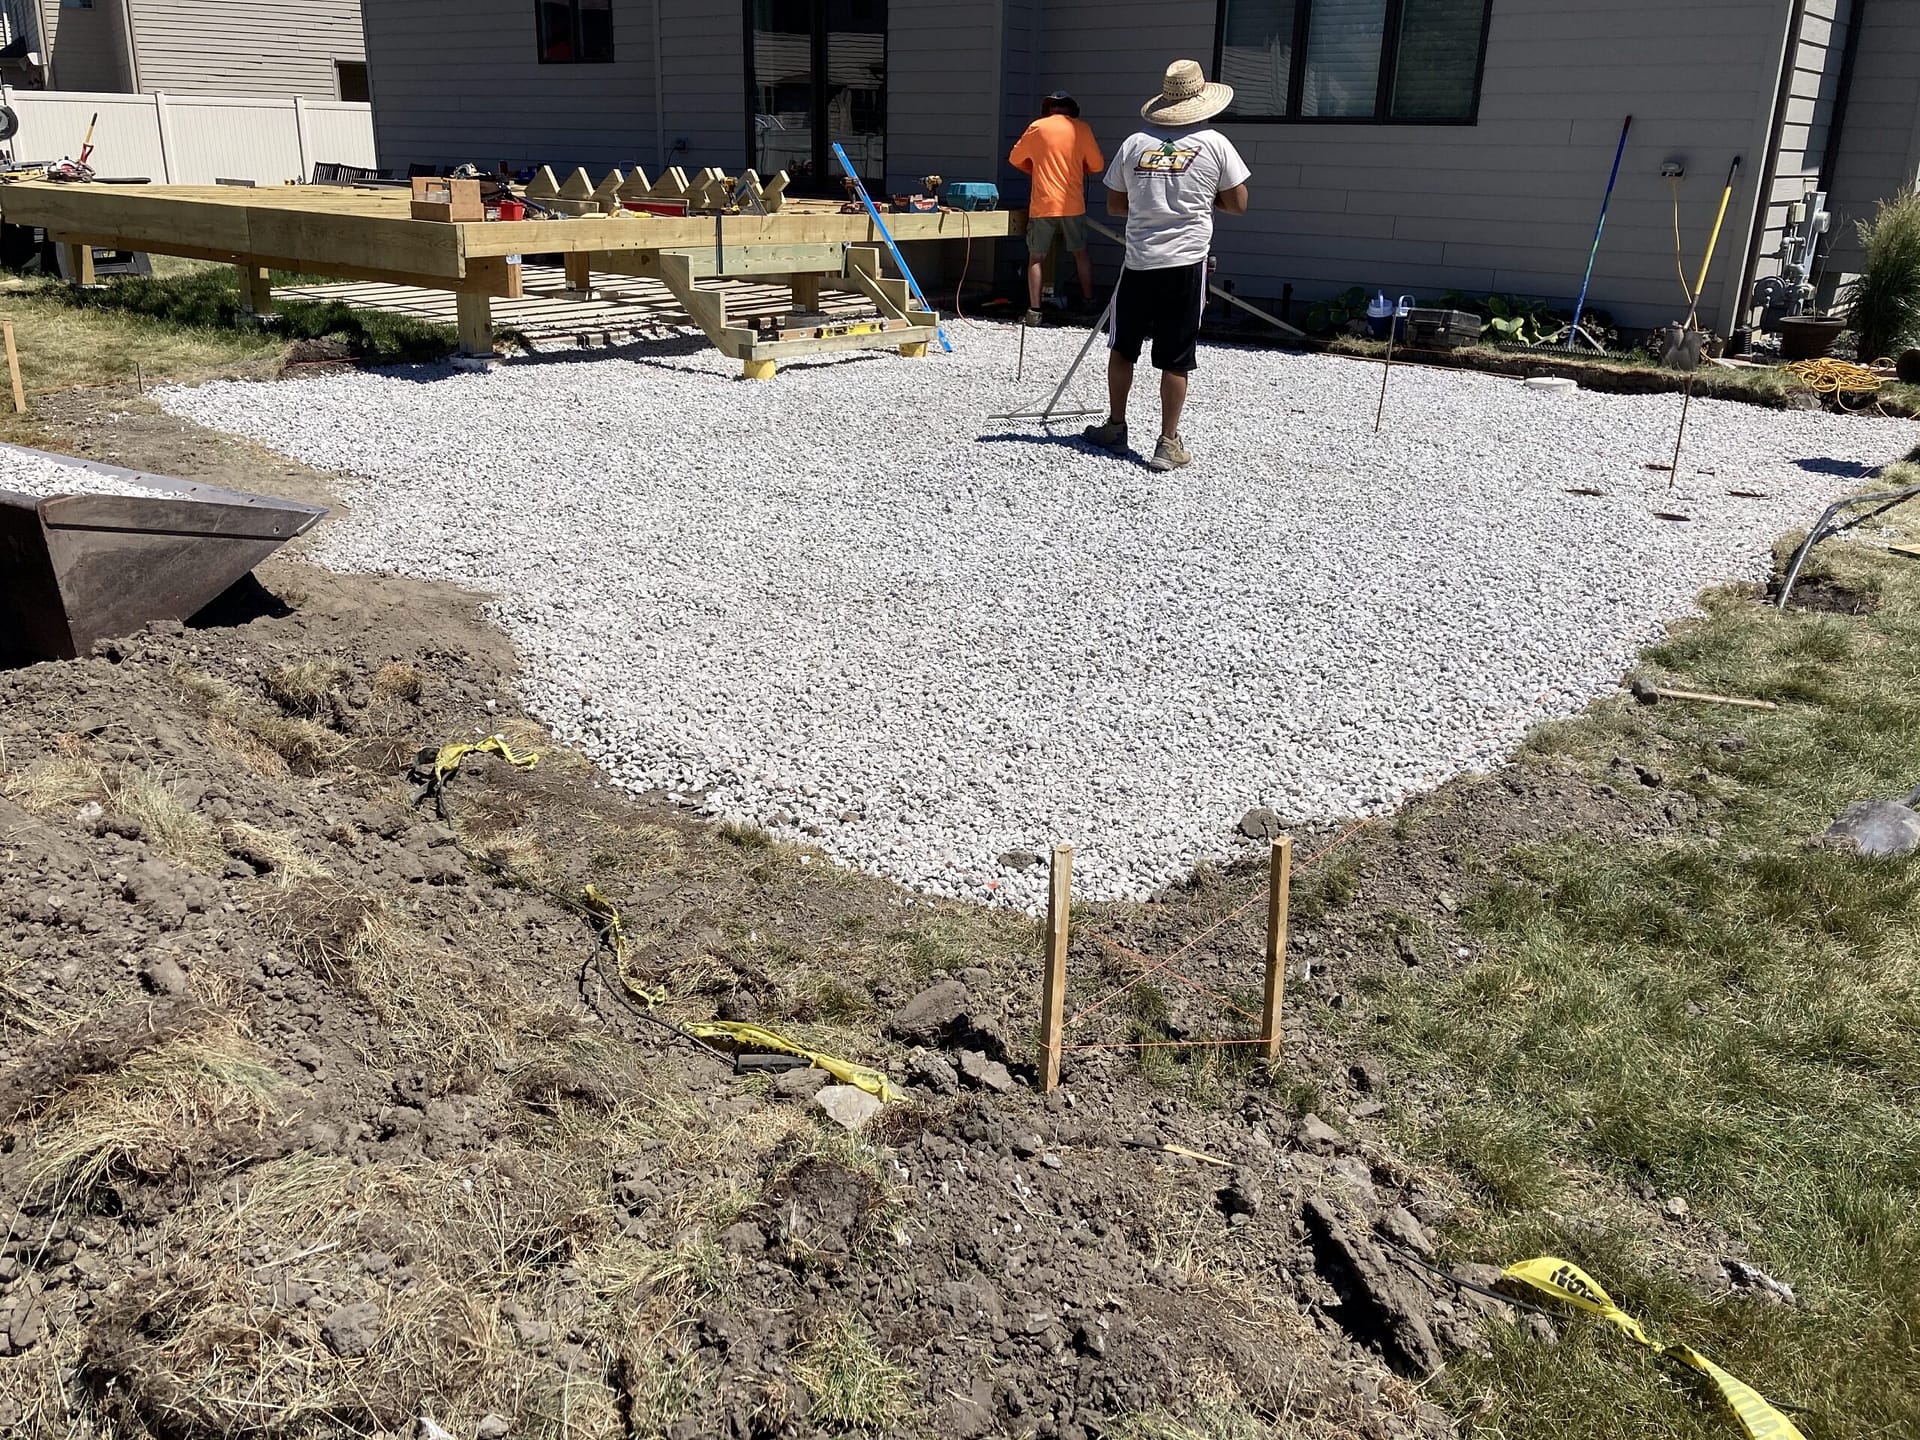
Establishing a Strong Base and Optimal Drainage
Proper base preparation separates professional-looking results from problematic installations that require frequent repairs. We emphasize this critical phase because it determines your lawn’s long-term performance and appearance.
We recommend spreading a 3-4 inch layer of stone or gravel smaller than 3/8 inches. This creates a firm foundation that prevents slumping and supports proper drainage. The material allows excess water to pass through easily.
After establishing the base, add a sharp sand layer approximately 10-15mm thick. This smooth surface bridges the gap between coarse materials and your artificial grass backing. It ensures uniform comfort and stability.
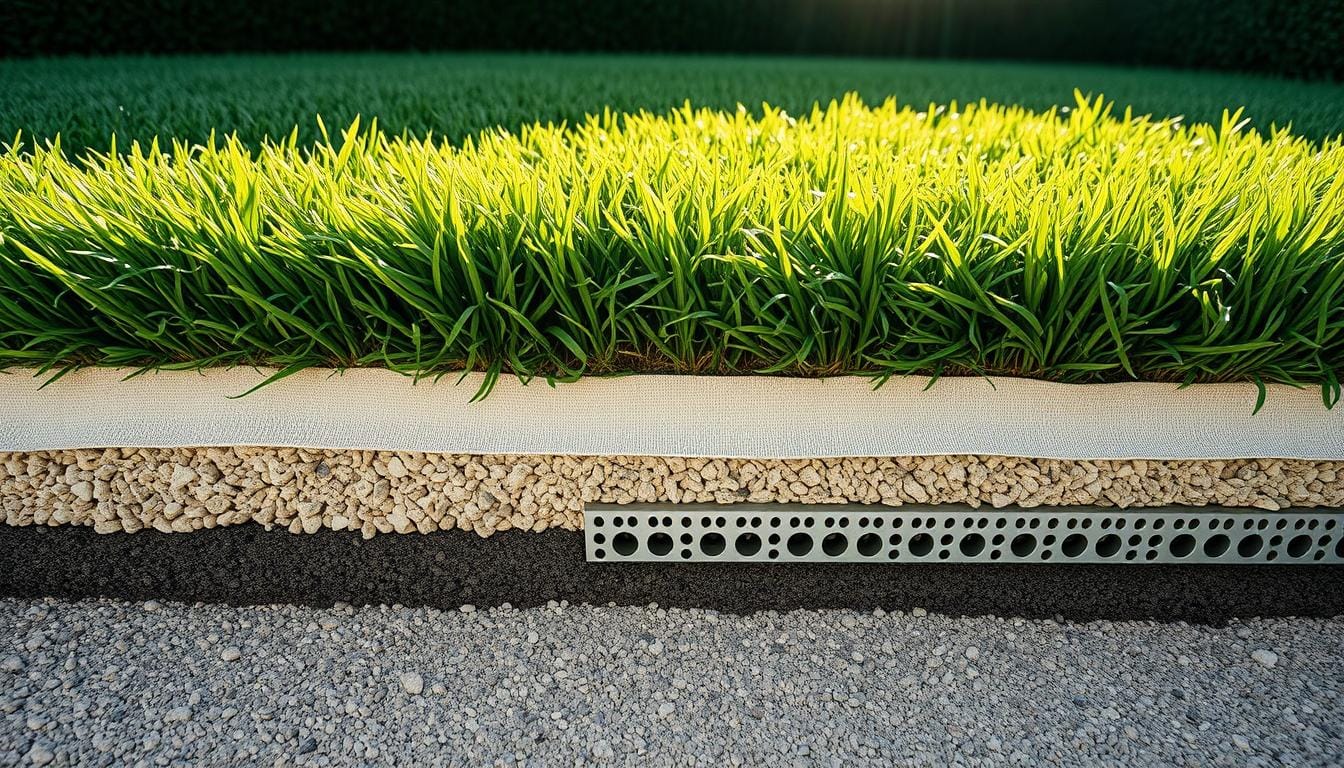
Water the entire area thoroughly with a hose to compact the materials together. This settling process reveals any low spots needing additional base material. Proper compaction is a crucial step in artificial turf installation, helping to prevent future depressions and ensuring a stable foundation.
Effective drainage is essential for preventing water accumulation and maintaining surface integrity. Without proper water management, moisture issues can develop over time, affecting the long-term success of your artificial turf installation.
Quality synthetic grass features a porous backing that facilitates natural water flow. When combined with our recommended base construction, your artificial turf installation achieves optimal drainage without the need for complex systems.
Throughout the process, use a level to check surface consistency. Ensure a slight slope away from structures for optimal water runoff. This attention to detail guarantees professional, lasting results from your artificial turf installation.
Turf Installation Techniques for a Flawless Lawn
The actual placement of your artificial grass represents the culmination of all your preparatory work. We approach this phase with careful attention to detail while maintaining a straightforward methodology.
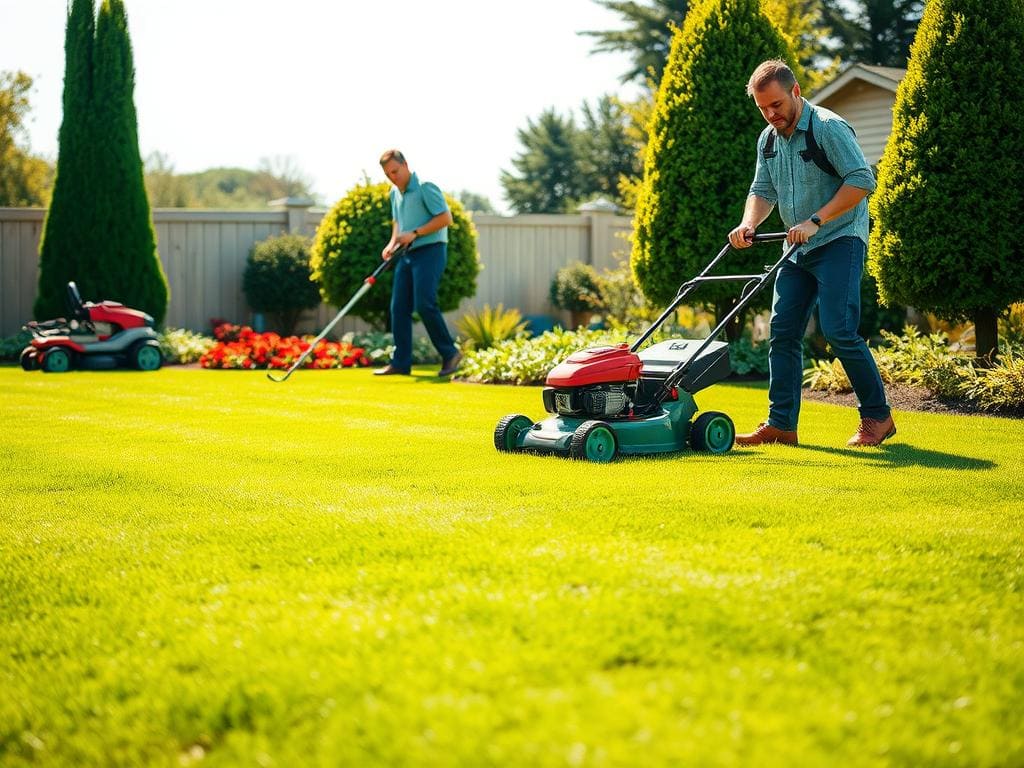
Many homeowners find landscape remodeling intimidating due to ongoing maintenance concerns. Synthetic surfaces offer an attractive solution for beautiful, low-upkeep outdoor spaces.
Step-by-Step Process
Our systematic approach begins with material acclimation. Unroll your synthetic grass and let it rest for several hours or overnight. This prevents wrinkles and ensures smooth results.
We follow a logical sequence developed through extensive experience. Each step builds upon the previous one for consistent quality. Proper blade orientation creates a natural appearance.
Patience during this grass installation process yields long-term benefits. Rushing can compromise your lawn’s appearance and durability. We recommend periodic assessments to verify seam alignment and edge straightness.
Our methodology balances aesthetic appeal with functional performance. Your finished surface will drain effectively while resisting wear from regular use. This approach ensures lasting satisfaction with your outdoor transformation.
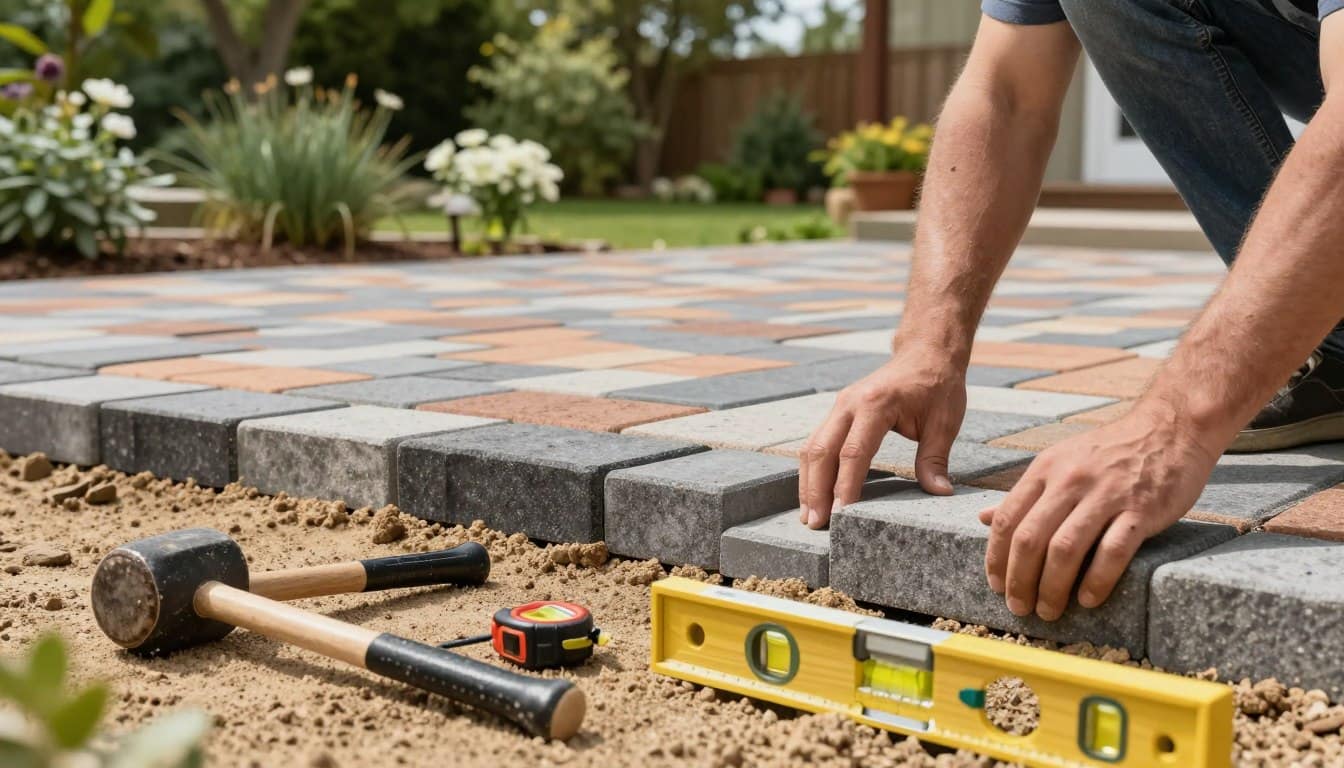
Laying, Seaming, and Trimming Your Artificial Turf
The moment has arrived to transform your prepared base into a beautiful, seamless artificial lawn surface. This phase requires patience and precision to achieve professional results.
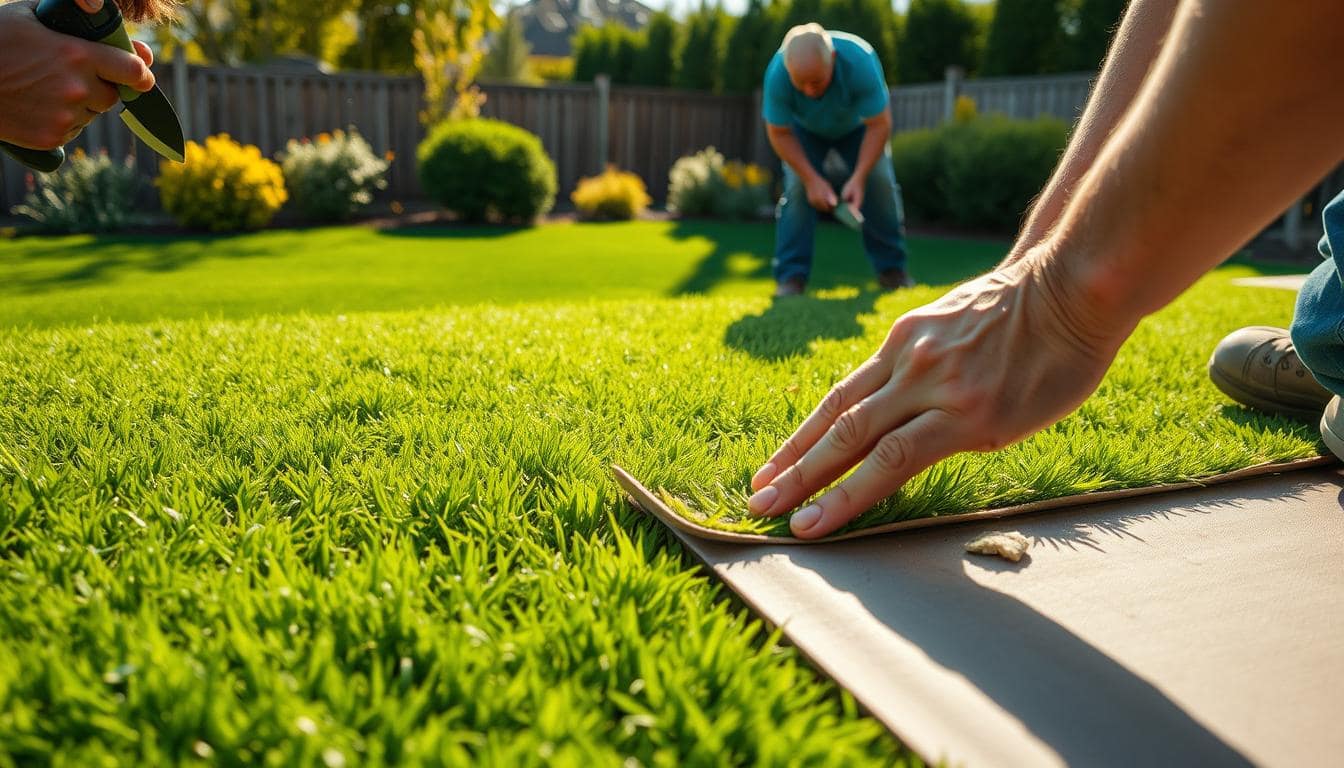
Acclimating and Positioning the Turf
We recommend unrolling your synthetic grass 2-3 hours before beginning work. Overnight acclimation provides optimal results. This process allows the material to settle naturally.
Carefully position each section without dragging across your smooth surface. Maintain blade direction consistency throughout your project area. This creates a uniform appearance that mimics natural grass.
Precise Cutting and Seam Application
Proper seaming requires quality outdoor tape and careful alignment. Apply adhesive lengthwise to the bottom side of each piece. Match edges precisely with the tape guidelines.
Use S-shaped seams instead of straight lines for better concealment. Apply pressure with heavy objects while the adhesive cures. Trim excess material from the backside using a sharp utility knife.
| Positioning Tools | Seaming Supplies | Finishing Equipment |
| Measuring tape | Outdoor adhesive tape | Sharp carpet knife |
| Work gloves | Turf glue | Straight edge guide |
| Layout markers | Seam roller | Safety goggles |
Taking adequate time during this phase ensures invisible seams and perfect edges. Your attention to detail now pays dividends in long-term satisfaction with your artificial grass.
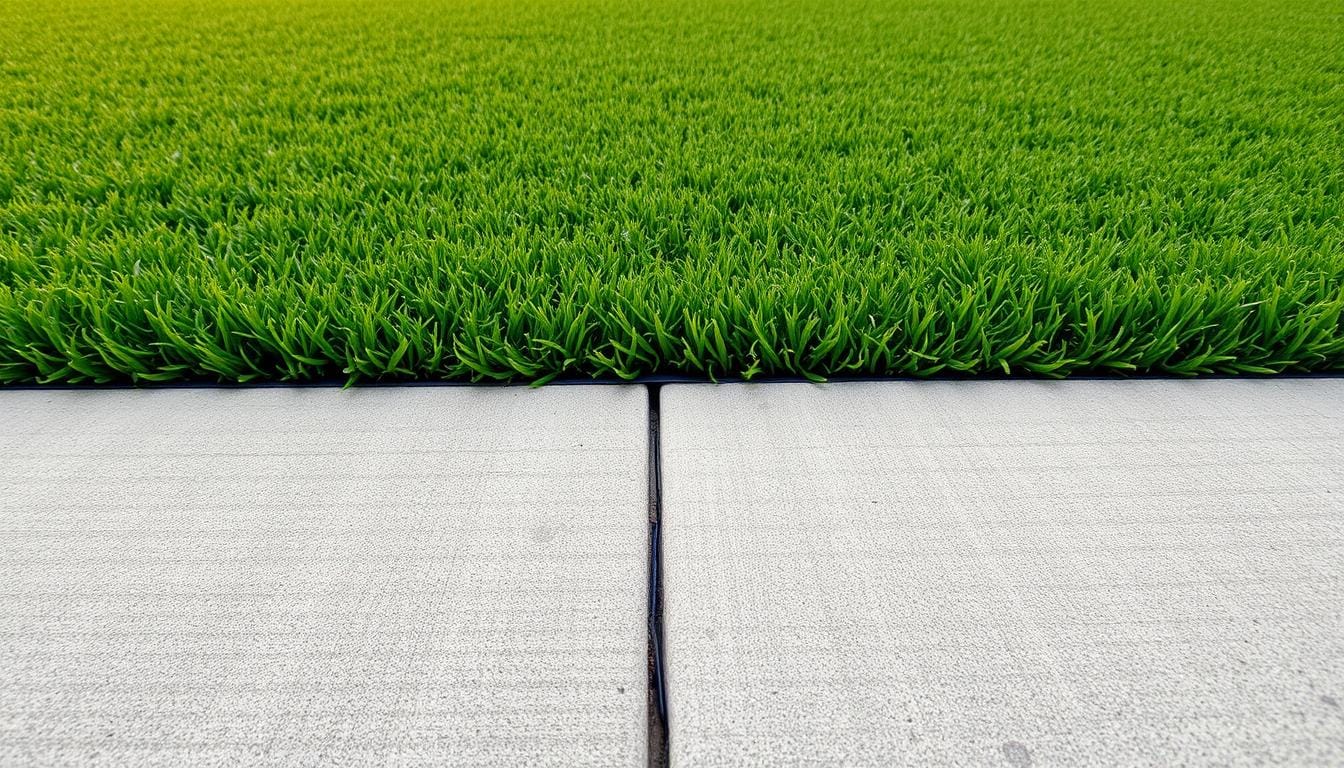
Securing Your Turf with Pinning and Adhesives
Securing methods vary depending on whether you’re working with soil or concrete surfaces. We consider proper anchoring critical for maintaining your landscape investment over time.
For soil-based projects, we recommend landscaping anchor pins or 4-6 inch galvanized stakes. Place these around the entire perimeter at 6-8 inch intervals. Additional pins along seam lines prevent separation.
Hammer pins flush with the surface without excessive force. Over-hammering can create visible dips in your grass. Work systematically around the area for consistent coverage.
Concrete surfaces require a different approach since traditional pinning isn’t possible. Use high-quality outdoor adhesive applied every 6-8 inches along the perimeter. Select products designed for both artificial grass backing and concrete.
| Soil Base Method | Concrete Base Method | Common Tools |
| Landscaping anchor pins | Outdoor adhesive | Hammer |
| 6-8 inch spacing | 6-8 inch application | Measuring tape |
| Perimeter and seams | Perimeter focus | Work gloves |
Proper securing prevents shifting, bunching, and lifting edges that compromise functionality. This attention to detail ensures your artificial grass maintains its professional appearance through years of use.
Enhancing Your Look with Infill Application
The final step in achieving a professional-looking artificial lawn involves infill application. This material works between the blades to maintain their upright position.
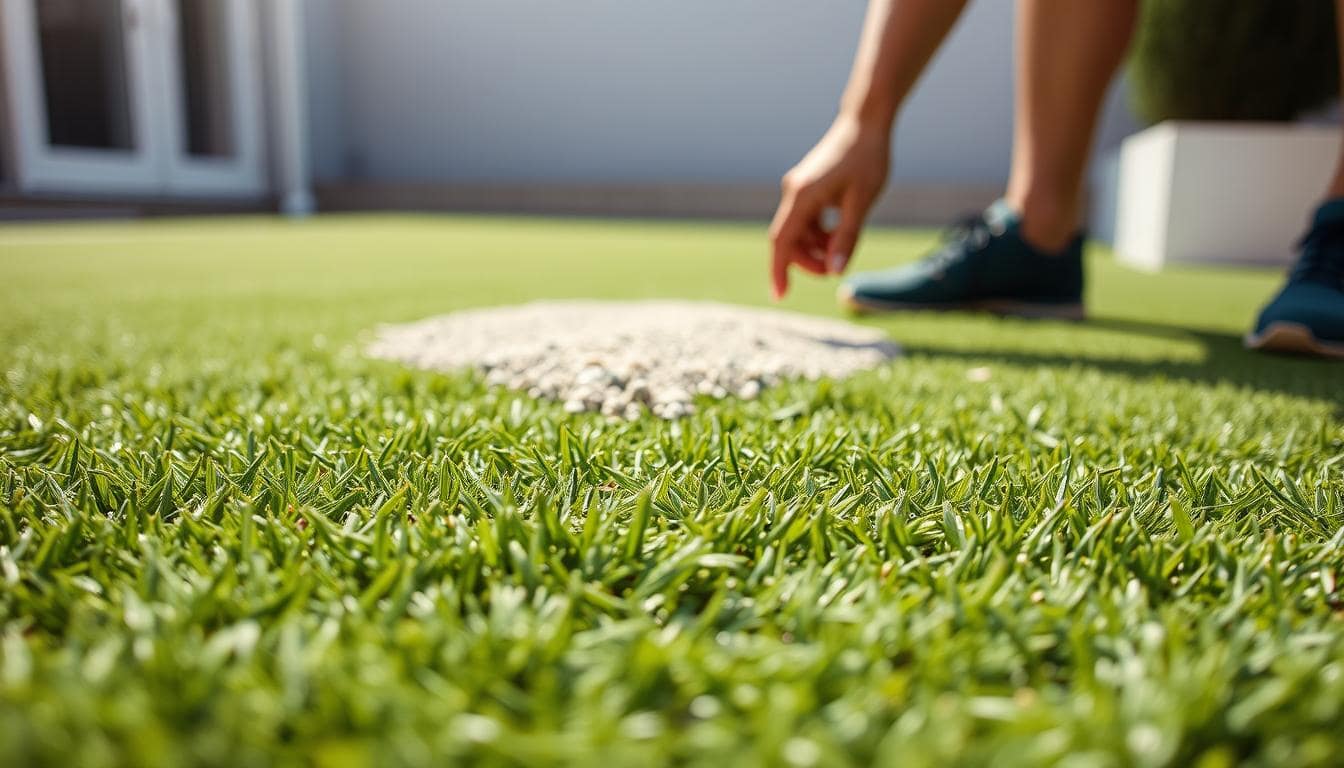
We strongly recommend using infill for all projects. While not mandatory, it significantly extends your grass’s lifespan. Quality infill prevents matting in high-traffic areas.
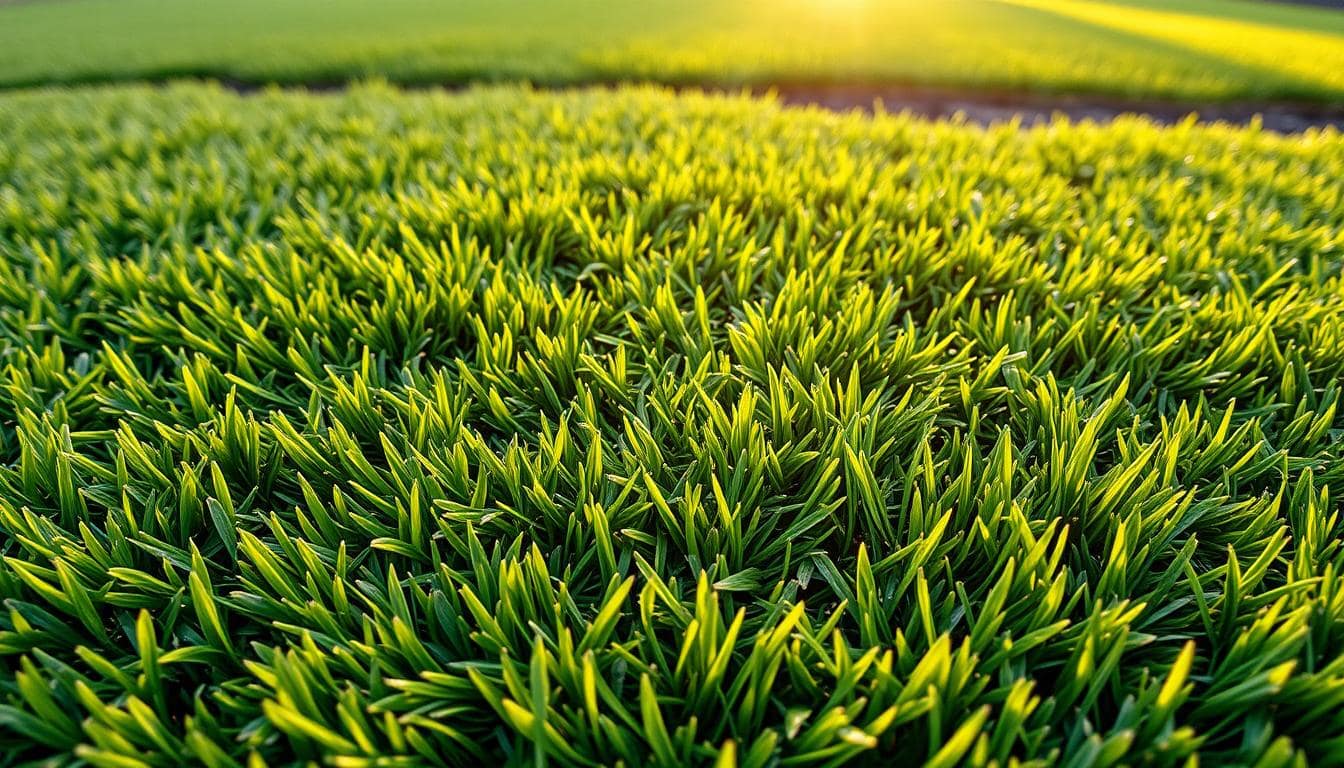
Without this support, your artificial grass may flatten over time. The blades lose their natural appearance without proper backing. Infill maintains that fresh, lush look you want.
You have three primary options to consider:
| Infill Type | Best For | Key Features |
| Durafill | Pet areas & eco-friendly | Non-toxic, cool surface |
| Sand infill | Budget-conscious projects | Cost-effective, heavy |
| Putting green infill | Golf surfaces | Specialized, fast drainage |
Consider your budget, pet needs, and usage when selecting. Apply the material evenly using a drop spreader. Work it down to the base with a broom.
We suggest multiple light applications rather than one heavy layer. Brush against the grain to lift the blades. This technique ensures optimal support and natural appearance.
Maintenance and Cleaning Tips for Artificial Grass
Regular maintenance is key to preserving the beauty and functionality of your artificial grass. While you eliminate traditional yard chores like mowing, simple routines protect your investment over time.
We establish easy habits that keep your surface looking fresh. Consistent care prevents issues before they develop. Your lawn maintains its appeal with minimal effort.
Weekly and Monthly Routines
Weekly care involves light rinsing with a hose. This removes dust and small particles from the grass surface. Always clear large debris like leaves first.
Monthly maintenance requires brushing against the blade grain. Use a broom or power broom for best results. This technique keeps blades upright and prevents matting.
Simple routines extend your lawn’s lifespan significantly. They maintain that lush appearance you love.
Special Considerations for Pet Areas
Pet areas need extra attention for hygiene and odor control. Prompt waste removal followed by hosing is essential. Consider turf-neutralizing products for stubborn smells.
We recommend against weed cloth in pet zones. While it inhibits weeds, it can trap urine odors. Products like Urine Zero effectively eliminate ammonia smells.
Regular inspection helps catch minor issues early. Address concerns before they affect your yard’s quality.
Installing Turf Over Concrete vs. Natural Soil
Homeowners often face a critical decision when planning their synthetic grass project: whether to work with existing concrete or prepare natural soil. Each approach offers distinct advantages for different backyard situations.
Concrete Installation Specifics
Working with concrete surfaces requires less manual labor than soil preparation. This method works well for balconies, patios, and existing paved areas.
Drainage presents the main challenge with concrete bases. Water accumulation can cause mold issues without proper planning. We recommend adding a sand layer or drilling drainage holes.
Concrete must be structurally sound for successful results. Large cracks or uneven surfaces may require complete removal. Proper surface assessment prevents future problems.
Soil Base Considerations
Natural soil installations involve more extensive preparation. This includes removing existing vegetation and building a proper base.
The process typically provides superior drainage and natural cushioning. Soil bases work well for play areas and high-traffic zones. They offer a more authentic feel underfoot.
We recommend soil preparation for yards needing significant transformation. This method ensures long-term durability and performance.
| Concrete Base Features | Soil Base Features | Recommended Applications |
| Less manual labor required | Superior drainage system | Balconies & patios |
| Existing solid surface | Natural cushioning effect | Play areas & yards |
| Drainage modifications needed | More preparation work | High-traffic zones |
Choosing the right foundation ensures your artificial grass performs optimally for years. Consider your specific backyard needs before deciding.
Long-Term Care and Troubleshooting Common Issues
Your investment in artificial grass deserves ongoing attention to maintain its pristine appearance through the years. Quality synthetic grass can serve your yard beautifully for up to 15 years with proper care. We focus on practical strategies that preserve your lawn’s beauty and functionality.
Preventative Maintenance Best Practices
Regular cleaning and infill replenishment keep your synthetic grass looking fresh. Periodic brushing maintains blade position and prevents matting. Address minor issues promptly before they become serious problems.
We recommend establishing simple routines that protect your investment. These practices extend the lifespan of your artificial lawn significantly. Consistent care ensures your grass maintains its quality appearance for many years.
Handling Drainage and Weed Challenges
Most artificial turf installations feature a porous backing that allows for natural water flow. During your turf installation, make sure your chosen product has adequate drainage capabilities. It’s also important to check periodically that water continues to flow properly after heavy rainfall.
A quality weed barrier installed during the initial artificial turf installation process prevents most weed growth. Occasionally, persistent weeds may require hand-pulling or spot treatment. Proper drainage and weed control are essential for long-term satisfaction and the success of your artificial turf installation.
Over the years, address common issues such as separated seams or worn areas promptly. Knowing how to clean turf and handle minor repairs helps keep your synthetic lawn looking new. If you’re planning a new project, our expert tips on how to install artificial turf ensure professional results that last.
Your beautiful outdoor space will reward your careful attention and regular maintenance for many years to come.
Conclusion
With the complete picture of artificial grass implementation now clear, you’re equipped to make informed decisions for your landscaping transformation. Our comprehensive guide has walked you through every critical phase of this rewarding project.
We’ve covered essential techniques from base preparation to final maintenance. You understand the differences between soil and concrete surfaces. Proper attention to each layer ensures lasting performance.
The process becomes straightforward when you follow our step-by-step approach. Quality material selection and careful execution yield professional results. Your outdoor space will maintain its beauty for years.
We encourage reviewing different types of synthetic grass for your specific needs. Make sure to prioritize quality throughout your landscaping investment. The effort you invest today pays dividends in long-term satisfaction.
Your beautiful, low-maintenance lawn awaits. You now know how to achieve outstanding results with confidence.
Ready to transform your yard with professional artificial turf installation? 🌿
Visit us at our location to learn more or schedule your consultation today!