


Have you ever considered transforming your outdoor space into a stunning oasis? A well-planned project can do just that. However, while the process of laying stones may seem simple, many DIY enthusiasts fall into common traps. What if I told you that avoiding just five critical mistakes could save you time, money, and materials? This guide offers a comprehensive look at the steps involved in pavers installation. From the initial planning stages to the final touches, we’ll walk you through every phase. You’ll learn about essential techniques that professionals use, including insights from experts like C&T Lawn and Landscape.
Understanding how to prepare the base, select materials, and apply joint sand is crucial for achieving a durable surface. By following our step-by-step approach, you can enhance your property’s curb appeal and value while ensuring a long-lasting result. Make sure to read through all the steps before starting your project to ensure your success!
Key Takeaways
- Pavers installation can transform your outdoor area into a beautiful space.
- Avoiding five critical mistakes is essential for a successful project.
- This guide covers every phase, from planning to finishing touches.
- Professional techniques ensure a durable and attractive surface.
- Understanding base preparation and material selection is crucial.
- Common errors can lead to costly repairs, so follow the guide closely.
Introduction to Pavers Installation: What You Need to Know
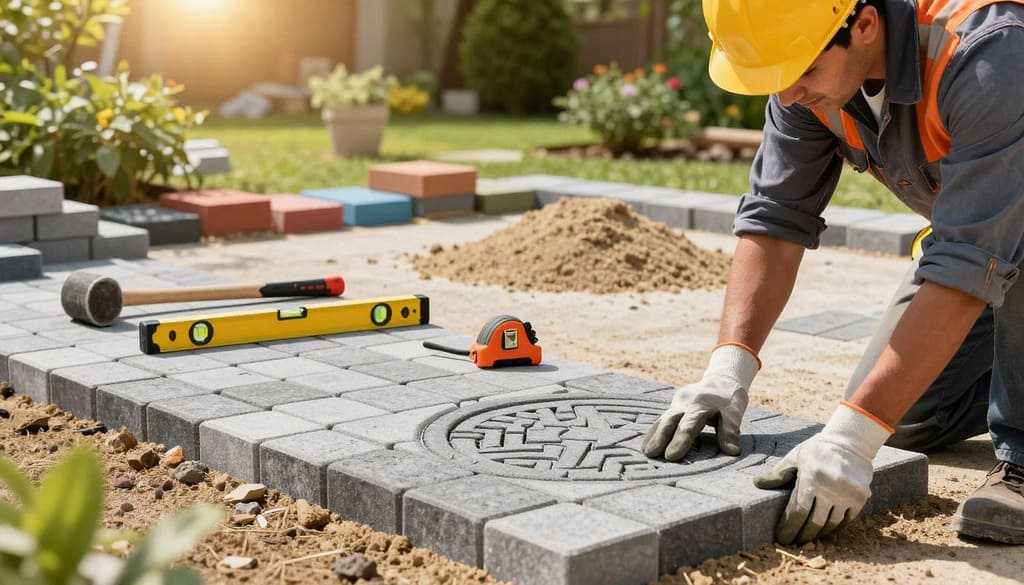
Pavers installation is a transformative process that involves setting individual concrete, brick, or stone units on a prepared base. This method is perfect for creating beautiful patios, walkways, driveways, and other outdoor surfaces. A successful project begins with understanding the fundamental principles of base preparation, drainage, and interlocking mechanics.
Selecting the right type of paver is crucial. Factors like traffic load, climate, and aesthetic preferences should guide your choice. Proper drainage is essential, requiring a slope of approximately 1/8 to 1/4 inch per foot away from structures. This gradient helps water run off effectively, preventing pooling that can damage the surface over time.
Even if the underlying sub-grade appears stable, always use a compacted base material. This step is vital to prevent settling and shifting in the long run. Avoid using recycled concrete as a base or bedding sand. This material can lead to efflorescence, poor drainage, and reduced durability of the surface.
Once you have installed and leveled the bedding sand, it’s crucial not to disturb it before laying the pavers. Walking on the sand can create uneven spots that affect the final alignment of the pavers. Professional contractors, like C&T Lawn and Landscape, follow these foundational steps to ensure that every pavers installation withstands years of use.
The concept of interlocking is also important. Pavers, sand, and the base work together to distribute loads and resist movement. Taking the time to understand these principles will set the stage for the detailed planning and execution steps that follow. This knowledge can help you avoid costly mistakes in your project.
| Step | Description |
|---|---|
| 1. Define the Area | Mark the layout using stakes and string to outline the project area. |
| 2. Excavate | Remove vegetation and excavate about 8 inches deep for base materials. |
| 3. Install Base Material | Add 4–6 inches of crushed stone in layers, compacting thoroughly. |
| 4. Set Edge Restraints | Install edge restraints to maintain the paver layout and prevent movement. |
| 5. Add Leveling Sand | Spread a 1-inch layer of concrete sand and level it with a screed board. |
| 6. Lay Pavers | Start laying pavers from a corner, ensuring proper alignment and spacing. |
| 7. Compact and Fill Joints | Compact the pavers and fill the joints with sand for stability. |
Planning Your Pavers Installation Project
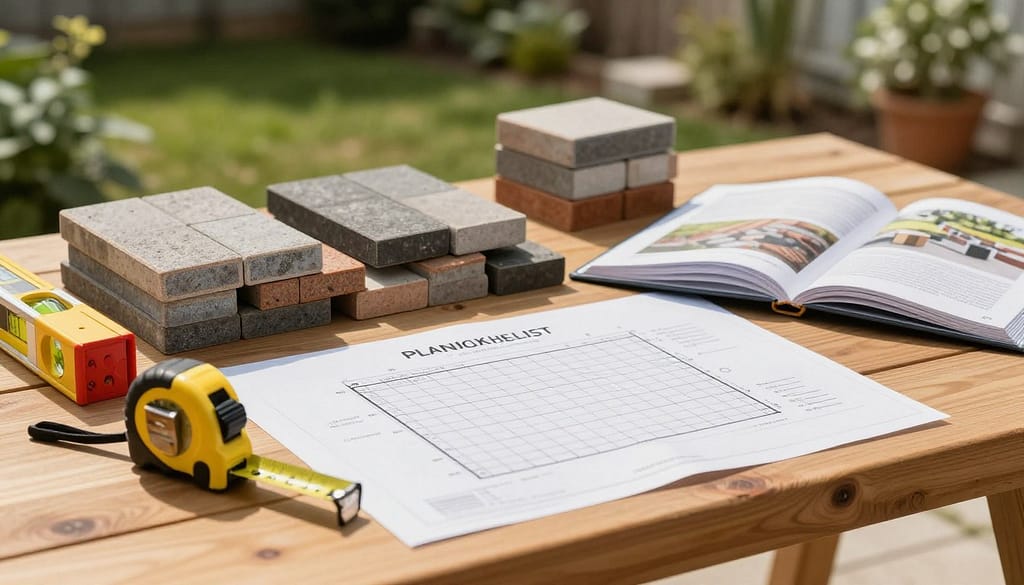
Before you begin laying stones, careful planning is essential. Start by deciding where the stones will go and if there is enough space for your design. A clear plan will guide your project and ensure everything fits perfectly.
To visualize your layout, you can draw it out on graph paper. This method helps in measuring the area accurately. Use a garden hose or wooden stakes to outline the planned area. Mark or spray paint the outline about eight inches outside the desired edge. This extra space is crucial for excavation.
Establishing a proper slope is vital. Ensure there is a minimum drop of 1/8 to 1/4 inch per foot. This gradient directs water away from your home and prevents pooling on the surface.
Next, calculate the total depth of excavation needed. Add the base thickness, which should be 4 to 6 inches for pedestrian areas or up to 8 inches for vehicular traffic. Then, include 1 inch for sand bedding and the thickness of the stones.
To determine the total square footage, multiply the width by the length of the area. Don’t forget to add 5% extra for cuts and waste. If your design includes many curves or odd spaces, consider adding 10% to your estimate.
It’s also a good idea to check local building codes and utility locations before starting. This precaution can help you avoid costly delays or damage to underground lines.
Order all your materials at once to ensure consistent color and texture across the entire area. This approach not only saves time but also reduces material waste during the project.
Thorough planning is the foundation of a successful DIY experience. By taking these steps, you set yourself up for a smooth installation process. For more detailed steps on laying stones, you can check out this guide.
Excavation and Preparing the Base
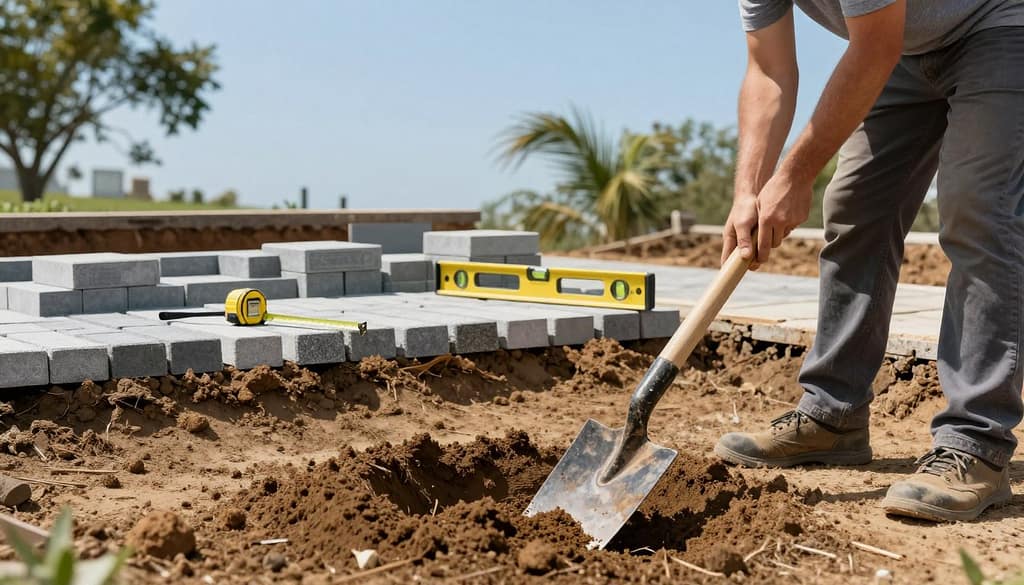
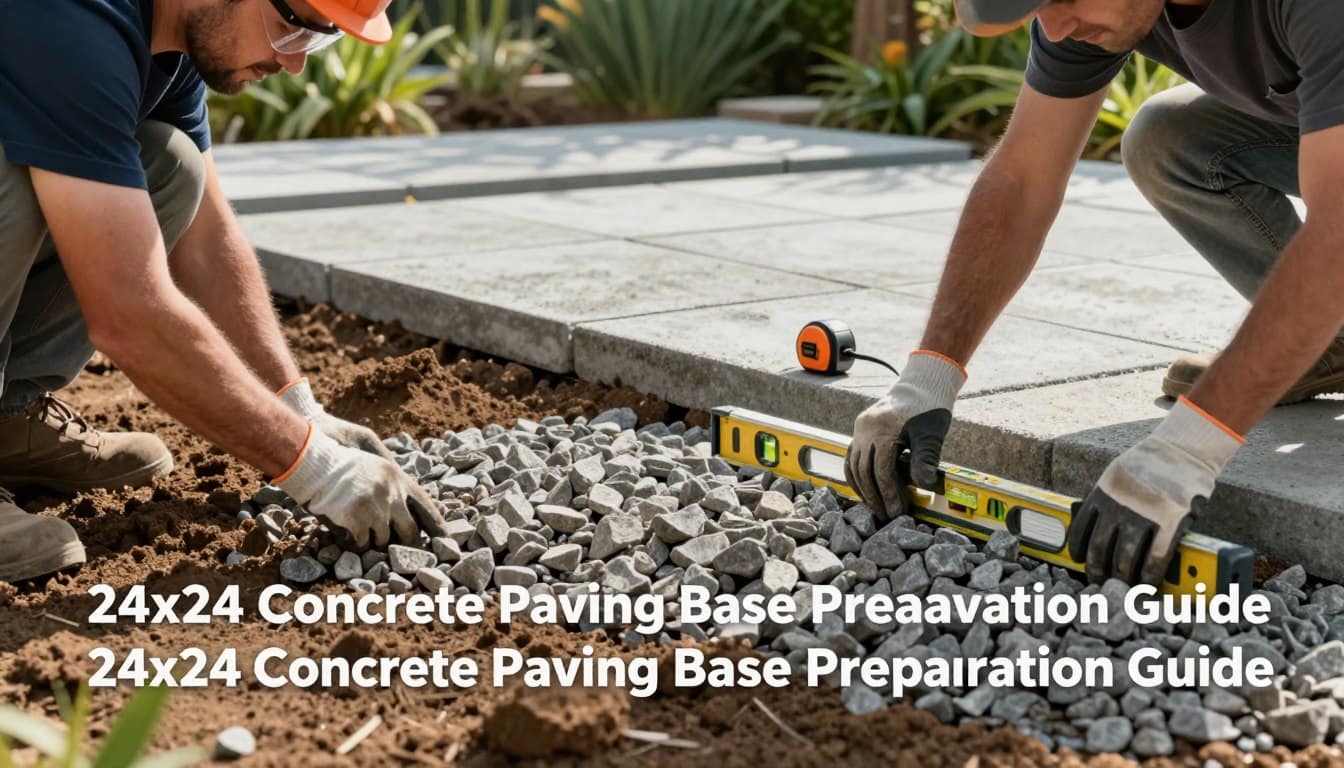
Creating a solid foundation is the first crucial step in your outdoor project. This phase involves careful excavation and preparation of the base to ensure a durable surface. It’s essential to remove all unsuitable, unstable, or unconsolidated sub-grade material. This action creates a solid foundation for your project.
To determine the total depth of excavation, you need to consider several factors. Start by adding the height of the paver unit, the 1-inch sand bedding layer, and the thickness of the compacted base material. For pedestrian traffic, the base thickness should be 3 to 4 inches. For vehicular traffic, aim for 4 to 5 inches, and for large vehicles like motor homes, increase it to 6 to 8 inches.
Grading the excavated area is critical for proper drainage. A slope of 1/8 to 1/4 inch per foot helps direct water away from structures, preventing pooling on the surface. Mark the slope on stakes around the perimeter and use a string line to maintain a consistent grade throughout the excavation and base preparation.
Depth Calculation and Grading for Proper Drainage
When planning your excavation, remember to measure accurately. The final grade of your project is vital. Use the following formula to calculate the total excavation depth:
- Height of the paver unit
- 1-inch sand bedding layer
- Thickness of the compacted base material
By following this method, you ensure that your project has the correct depth and slope for effective drainage.
Base Material Selection and Effective Compaction
Class II Road Base is the recommended material for your base. This crushed rock, typically 3/4 minus gravel, consists of varying sized stones with sharp edges. These features facilitate effective compaction, ensuring a stable foundation.
Avoid using recycled concrete as a base material. It can lead to efflorescence, poor drainage, and reduced long-term stability. Spread the gravel base in three smaller layers, compacting each thoroughly with a vibrating plate compactor before adding the next layer. This technique maximizes density and stability.
Moisture in the gravel aids compaction. If the base material is completely dry, lightly dampen it before running the compactor over the area. Ensure the final compacted base is level, smooth, and properly sloped before proceeding to the sand bedding layer.
A properly prepared base is the most important factor in preventing future settling, shifting, and cracking in any outdoor project.
| Traffic Type | Base Thickness (inches) |
|---|---|
| Pedestrian | 3-4 |
| Vehicular | 4-5 |
| Large Vehicles (e.g., motor homes) | 6-8 |
Installing the Bedding Sand Layer
The bedding sand layer is a crucial component in ensuring your outdoor surface is both stable and visually appealing. This layer serves as the final leveling surface for the stones, providing a uniform bed that secures the units in place and protects the sand joints from erosion.
For this layer, use only clean, sharp masonry sand, which should be spread to a depth of 1 inch. To determine the amount of sand needed, plan for approximately 1 cubic yard per 300 square feet of your project area. It’s essential to avoid using recycled concrete material for bedding sand. This type of material often contains excessive fines, which can hinder proper drainage and lead to a saturated layer that causes efflorescence.
To achieve a perfect 1-inch depth of bedding sand, you will need two pieces of 10-foot long 3/4-inch metal pipe. Place these pipes parallel to each other on the base material, about 6 feet apart. Loosely spread the sand over these pipes until it fills slightly above their tops. Next, take a straight 2×4 board and lay it perpendicular across the pipes. Pull it towards you while sliding it side to side to create a level and uniform sand bed.
After you have removed the screed pipes, carefully fill in any voids with loose sand and level it by hand. Be cautious not to compact the surrounding area. It is critical to remember not to walk on or disturb the sand bed once it is prepared. Footprints or depressions can create uneven spots in the final surface.
Common mistakes in preparing the sand bedding include using too much sand, failing to screed properly, or trying to compact the sand layer before laying the stones. The bedding sand should remain loose and uncompacted, allowing the stones to be set into it during the laying and compaction phases.
A properly screeded sand bed is essential for achieving a smooth, professional-looking surface with consistent joint lines. By following these guidelines, you will ensure a successful outcome for your outdoor project.
Setting Edge Restraints to Ensure Stability
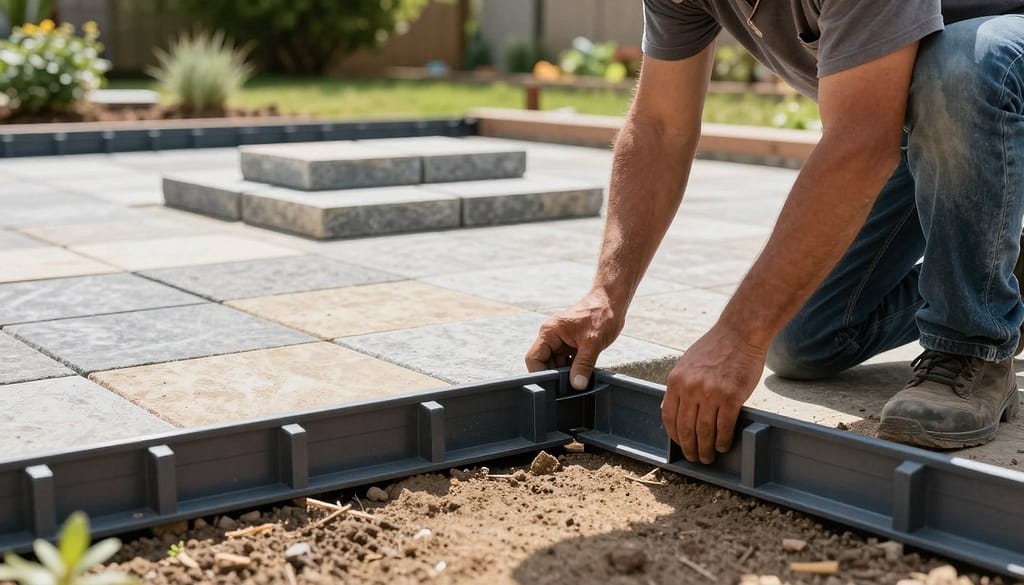
To achieve a stable and long-lasting surface, setting edge restraints is essential. These restraints prevent lateral movement of the stones and help contain the sand bedding layer within the project area. Without them, your carefully laid stones can shift, leading to gaps and an uneven surface.
There are three main types of edge restraints you can use:
- Existing Hard Edges: These include foundation walls or garage sills that provide a natural barrier.
- Pre-Manufactured Polyethylene Restraints: Products like Edge-Pro are designed for easy installation and can be placed before laying the main stones.
- Poured Concrete Restraints: These are installed after laying the field and help create a solid border.
Types of Edge Restraints and Their Uses
Using a polyethylene edge restraint, such as Edge-Pro, is a great choice for straight edges and curves. Secure these restraints to the base material using long landscape spikes. This method allows for easy installation before laying the main paver field.
For concrete restraints, install them after the paver field is laid. Use a mix of 2 parts Class II Road Base to 1 part cement. This mixture should be troweled into place, ensuring the restraints are at least 8 inches wide and 7 inches deep. Proper height is crucial, so make sure they match the final surface level of the pavers.
Installation Tips to Prevent Paver Movement
Without proper edge restraints, your pavers may slowly creep into surrounding softer materials. This movement can create large gaps around the perimeter, compromising the entire installation. Flexible edge restraints are particularly useful for curved designs, allowing for adjustments before securing them in place.
Always check that your edge restraints are stable before proceeding to the sand bedding and laying the stones. Professional installers, like C&T Lawn and Landscape, prioritize this step to ensure long-term stability. Investing time in proper edge restraint installation will prevent costly repairs and maintain the beauty of your outdoor project for years to come.
Proper Steps for Laying the Pavers
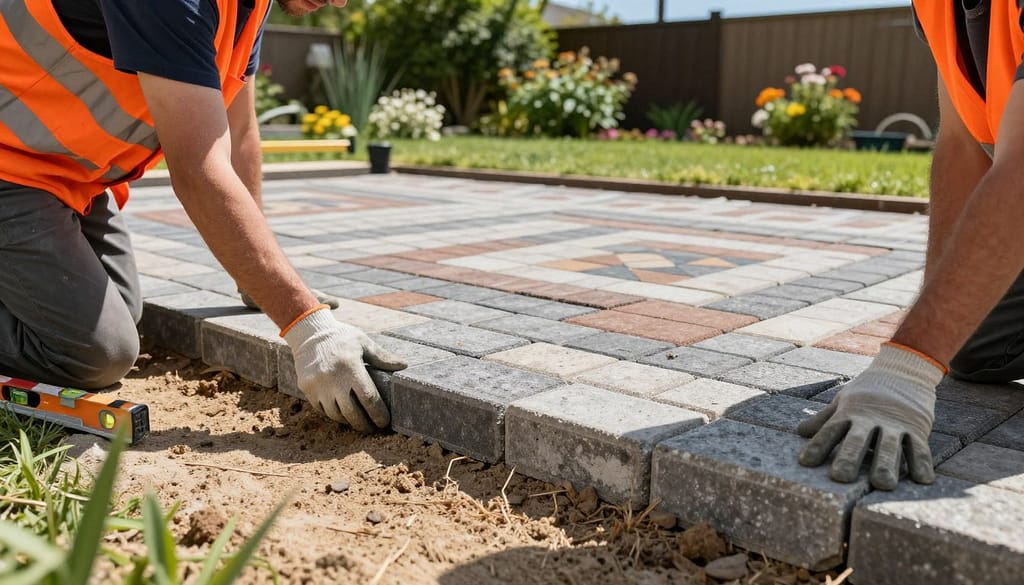
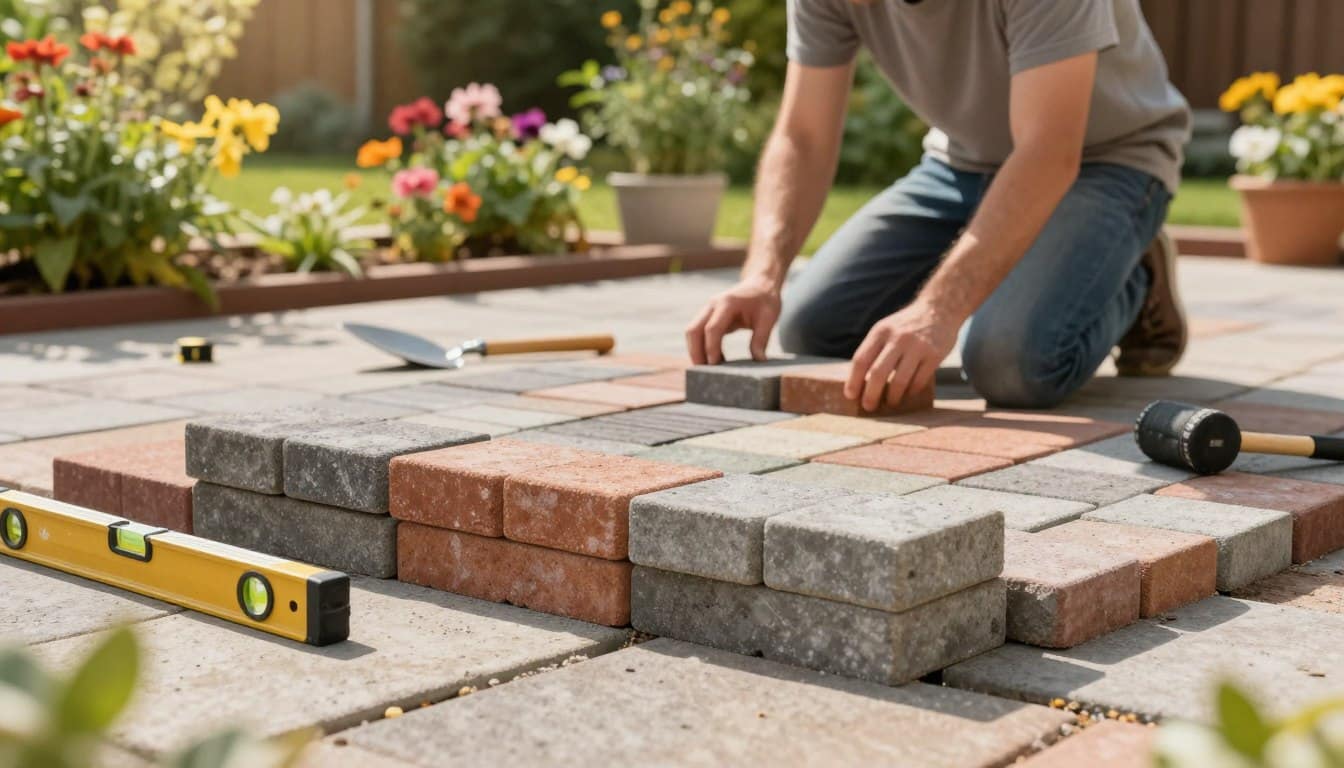
Laying stones effectively requires precision and attention to detail. Begin your project in a forward motion, starting from a 90-degree corner or along the longest straight edge. Using a pre-set string line will help maintain the straightness of your layout.
It is crucial to avoid stepping on the bedding sand. Each paver should be placed flat onto the sand bed without tilting. This prevents any disturbance to the level of the sand. Once a row or pattern is established, use it as a guide for the next pavers.
As you lay the stones, make sure to maintain proper spacing. The built-in spacers on the edges of the pavers will create a recommended 1/8-inch joint. This spacing should be hand-tight, approximately 3 mm. Regularly check your alignment every few feet using a string line.
When laying the first row, position the string line about 1/4 inch off the starting wall. Remember, foundation walls and poured-in-place curbs are rarely straight. Avoid hammering the pavers together; instead, use a screwdriver to adjust the alignment gently.
Consider various patterns for your project, such as running bond, herringbone, or basket weave. The chosen pattern will influence both the aesthetic and structural integrity of your surface. For cutting pavers that need to fit around edges or obstacles, use a diamond masonry blade on a saw for precise cuts. A block splitter may be suitable for less visible areas.
Always wear safety glasses and protective gear when cutting stones or concrete pavers. This will ensure your safety during the process. Consistent spacing and pattern alignment are essential throughout the installation. Periodically step back to inspect the overall appearance, ensuring clean lines and uniform joints.
| Pattern Type | Description |
|---|---|
| Running Bond | Simple, straight layout where each row is staggered. |
| Herringbone | Diagonal pattern that adds visual interest and strength. |
| Basket Weave | Alternating pairs of pavers create a woven look. |
By paying careful attention to string lines, spacing, and cutting during the laying phase, you will achieve a professional-looking surface with clean lines and uniform joints. For more detailed steps on laying stones, you can check out this guide.
Compacting and Locking the Pavers in Place
Once you have laid all the stones, it’s time to secure them properly. Compaction is crucial for ensuring that the stones settle into the bedding sand and form a strong interlocking structure. This step will enhance the durability of your outdoor surface and prevent shifting over time.
Start by renting a vibrating plate compactor from a local equipment rental company. This machine is designed to compact the stones effectively. Before using it, spread a light layer of sand over the entire surface of the pavers. This initial layer helps set the stones into the bedding sand and allows some sand to rise between the joints, initiating the interlocking process.
Using a protective plate cover on the compactor is essential. The steel plate can scratch or mar the surface of the stones, especially if they are textured or colored. Always ensure that the surface is clean and free of dust and debris before performing the final compaction.
Safe Use of a Plate Compactor for Interlocking
When operating the plate compactor, make sure to move in overlapping passes across the entire project area. This technique ensures uniform compaction and prevents any weak spots. Compaction should be done in all directions: north-south, east-west, and diagonally. This method promotes even settling and consistent filling of the joints.
After the first pass, inspect the pavers for any that may have shifted or cracked. If you find any issues, replace those stones before proceeding with the final sanding. Professionals, like C&T Lawn and Landscape, always use plate compactors with protective covers to maintain the beauty of the surface during installation.
Avoiding Common Compaction Errors
There are several common mistakes to avoid during the compaction process:
- Running the compactor on unprotected pavers can cause damage.
- Failing to clean the surface of debris before compaction can lead to uneven results.
- Not inspecting the stones for color distribution and quality before compaction can result in an unsatisfactory finish.
Proper compaction is essential for achieving a stable and durable installation. It ensures that your project withstands traffic and weather conditions effectively. Remember, the initial pass causes sand to move up between the paver joints, locking them in place and preventing individual movement.
| Direction | Passes | Overlap (inches) |
|---|---|---|
| North to South | 3-4 | 6 |
| East to West | 3-4 | 6 |
| Diagonal | 2-3 | 8 |
By following these guidelines, you can ensure a successful and professional-looking surface for your outdoor project. For more detailed steps on laying stones, check out this guide.
Sanding and Finishing the Joints
The final step in your project involves sanding and finishing the joints. This crucial process ensures that the joint sand fills the voids between the stones, locking them in place and preventing any shifting. Properly filled joints not only enhance the durability of your surface but also give it a professional appearance.
Start by spreading dry paver joint sand, masonry sand, or polymeric joint sand over the entire area of the pavers. Aim for a depth of about 1/4 inch. This layer will fill the gaps effectively. After spreading the sand, use a vibrating plate compactor to pass over the sanded surface. You will need to run the compactor 2 to 3 times or until the stones no longer settle into the bedding. This step achieves the final lock-up, ensuring that the voids between the pavers are completely filled.
Once the compaction is complete, sweep any remaining sand into the joints until they are filled. A light pass with a leaf blower can help remove excess sand and dust from the surface without disturbing the sand in the joints. It’s important to ensure that the joint sand remains in place during this process.
Selecting and Applying the Right Joint Sand
When choosing joint sand, opt for fine-grained sand rather than coarse sand. Coarse sand may not compact well and can leave gaps in the joints. Sifted and bagged play sand or sand labeled as paver sand works well for this purpose. Make sure that both the sand and the paver area are dry before proceeding.
If you decide to use polymeric joint sand, read the instructions carefully. This type of sand contains additives that harden when exposed to water, creating a strong bond that resists weeds and erosion. Here are some essential tips for working with polymeric sand:
- Ensure the paver surface and joints are completely dry before application.
- Do not install polymeric sand in inclement weather.
- Fill the joints properly, avoiding over-wetting.
- After wetting, clean the surface to remove any residue.
- Allow adequate curing time for the sand to set.
- Work in small sections to maintain control.
Improper application of polymeric sand can lead to issues like hazing or cloudiness on the surface, which detracts from the overall look of your project. Always follow the manufacturer’s guidelines for the best results.
Final Touches for a Professional Look
After filling the joints, ensure that the sand is swept or blown to approximately 1/8 inch below the surface of the pavers. This helps prevent tracking out and maintains a clean appearance. The completed joints are the finishing touch that provides your project with both beauty and long-lasting durability.
For more detailed information on using polymeric sand, check out this guide.
Conclusion
In conclusion, a successful outdoor project involves careful planning and execution. From defining the area to laying stones, each step plays a vital role in achieving a durable and beautiful surface. Remember to avoid common mistakes, such as neglecting drainage slope and skipping edge restraints. These errors can lead to costly repairs down the line.
Consider sealing your stones to protect against stains and enhance their appearance. Regular maintenance, including sweeping and cleaning, is essential, especially in shaded areas prone to moss growth. Avoid power washing, as it can disturb the joint sand.
If the process feels overwhelming, don’t hesitate to reach out to professionals like C&T Lawn and Landscape. Their expertise ensures a flawless project that not only beautifies your home but also increases its value. With the right knowledge, you can confidently embark on your outdoor transformation!