

Have you ever wondered how to display your signs without spending a fortune on pre-made options? A diy yard sign stake might just be the solution you need. Creating your own stakes is not only budget-friendly but also incredibly quick. In fact, you can make one in under 10 minutes using materials you likely have at home.
These homemade stakes are versatile and can support various types of signs, from real estate promotions to political campaigns. When constructed properly, they can be just as durable and reliable as store-bought versions. This guide will walk you through three different methods for crafting stakes using wire, metal, or wood materials.
By customizing the height, width, and strength of your stakes, you can ensure they meet the specific needs of your signs and the conditions of your lawn. Get ready to save money, reduce waste, and gain a practical skill that will serve you well for future signage needs!
Key Takeaways
- Making your own stakes is quick and cost-effective.
- Homemade stakes can support various types of signs.
- Proper construction makes them as reliable as store-bought options.
- Customization allows for tailored solutions to specific needs.
- Learn practical skills that can be reused for future projects.
Introduction to DIY Yard Sign Stakes
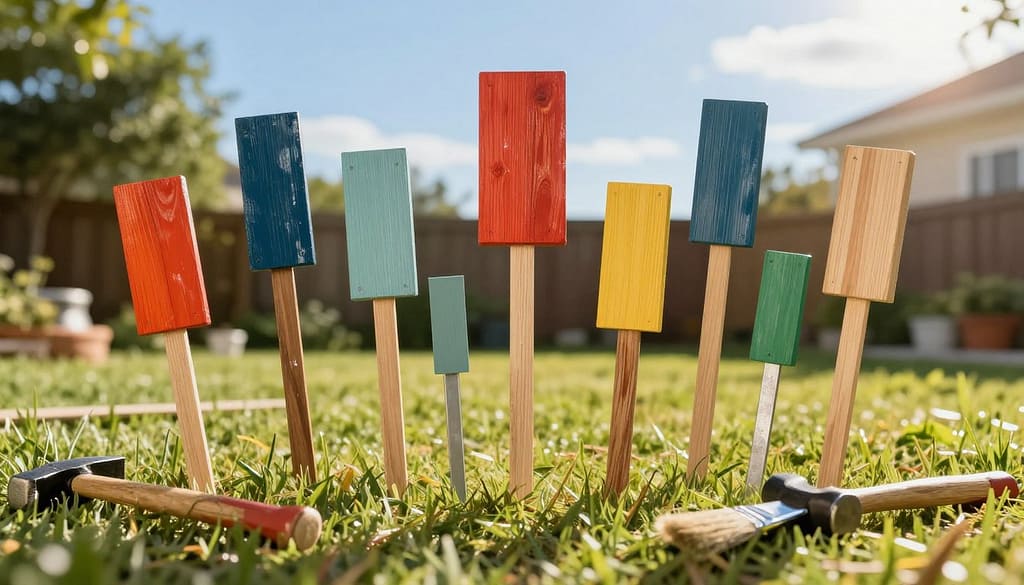
Yard signs serve a vital role in communicating messages for various occasions. Whether it’s for real estate listings, political campaigns, or business promotions, having a sturdy sign is essential. These signs need to be upright and visible to effectively convey their message. That’s where the importance of reliable stakes comes into play.
Many people experience frustration when their stakes bend, break, or fail to hold signs securely in windy conditions or soft soil. This common issue can undermine the professionalism of your signage. A strong stake ensures that your sign remains visible and attractive, no matter the weather.
Creating your own stakes allows homeowners, small business owners, and event organizers to craft custom solutions tailored to their specific needs. This DIY approach not only saves money but also empowers individuals to adapt their signage to various events. For instance, C&T Lawn and Landscape often emphasizes the need for sturdy installations to maintain a clean and organized lawn appearance.
When comparing costs, making your own stakes from inexpensive materials is far more budget-friendly than purchasing pre-made options. For example, while a standard H-stake is sufficient for most 18″ x 24″ corrugated plastic signs, larger signs may require stronger or double stakes, which can be easily created at home.
Furthermore, DIY stakes can be customized to fit various sign sizes, from small 12″ x 18″ directional signs to larger 24″ x 36″ roadside displays. This versatility makes it a practical skill that saves both time and money for recurring events or seasonal signage needs.
In this guide, we will explore three methods for crafting your own stakes: wire stakes, metal ladder mesh stakes, and wooden alternatives. Each method offers unique benefits, allowing you to choose the best option for your specific signage requirements.
Materials and Tools Needed for DIY Yard Sign Stakes
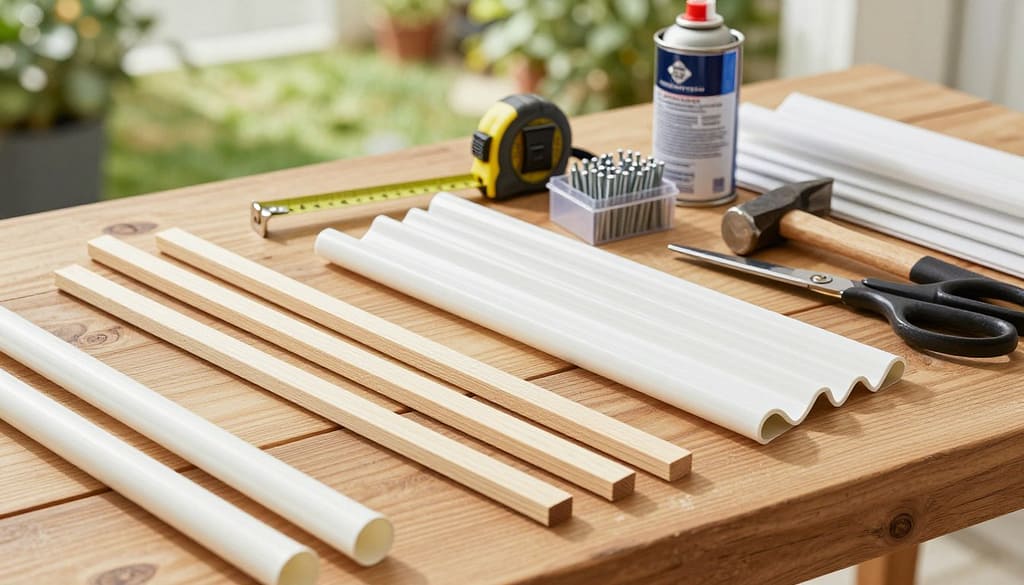
Creating effective sign supports requires just a few essential materials and tools. For most standard signs, you’ll need a few basic items. These include a yard sign made of corrugated plastic and a wire stake or H-stake. If the ground is hard, a rubber mallet or hammer can be helpful.
Here’s a list of materials you will need:
- Galvanized wire
- Metal ladder mesh
- Wooden dowels
- PVC pipes
Essential tools for this project include:
- Wire cutters
- Pliers
- Bolt cutters
- Rubber mallet
- Measuring tape
- Safety gloves
It’s important to consider the compatibility of sign materials. Corrugated plastic signs with vertical flutes work best with wire or H-stake style prongs. Ladder mesh is a great option found in the concrete section of hardware stores. It can be cut into multiple stake frames quickly and cheaply.
To reinforce connections between the stake frame and the sign, you can use:
- Zip ties
- A heavy-duty stapler
- Strong adhesive
Experts suggest keeping a small kit of these materials on hand for quick repairs or replacements. Optional supplies like spray paint can help with rust prevention. Sandpaper is useful for smoothing cut edges, while wax paper protects your work surfaces.
Lastly, check your local hardware store or shop for these items. This way, you can avoid high shipping costs associated with pre-made options.
Step-by-Step Instructions to Make Your Own Yard Sign Stakes
Crafting your own sign supports can be a straightforward and rewarding process. In this section, we will guide you through the essential steps to create sturdy stakes for your signs. From preparing materials to installation tips, we’ve got you covered.
Preparing Materials
Before you begin, it’s crucial to gather the right materials. The type of wire or metal you choose should depend on the size of your sign and the wind conditions in your area. For instance, heavier signs may require thicker wire or metal for stability.
Measure and mark cutting points on your wire or ladder mesh to ensure both stake legs are even. This will help your sign sit level. Don’t forget to smooth any sharp edges with a file or sandpaper to prevent injuries during installation.
Lastly, remember that corrugated plastic signs have vertical flutes. Make sure to measure the spacing of these flutes before shaping your frame.
Assembly Process
Now that you have your materials ready, it’s time to assemble your stakes. Start by bending the wire into an H-frame shape, which includes two ground legs and two sign prongs. Use pliers to create clean, tight angles.
If you are using ladder mesh, cut it into individual stake frames with bolt cutters. Each piece should have two long legs and two shorter prongs. For a wooden alternative, cut dowels to length and attach wire loops or brackets to hold the sign securely.
To ensure durability, twist the wire ends tightly, use zip ties at joints, or apply strong adhesive to prevent separation.
Installation Tips
When it comes to installing your stakes, start by pushing the stake into the ground before sliding the sign onto the prongs. This method provides better control and alignment.
Line up the stake prongs with the corrugated plastic flutes. Use gentle pressure or a rubber mallet to seat the sign without causing damage. After installation, step back to check that the sign is straight, readable, and stable. Make any necessary adjustments for a professional appearance.
| Step | Description |
|---|---|
| 1 | Gather materials based on sign size and wind conditions. |
| 2 | Measure and mark cutting points on wire or mesh. |
| 3 | Bend wire into an H-frame shape using pliers. |
| 4 | Cut ladder mesh or wood to create stake frames. |
| 5 | Install the stake into the ground before adding the sign. |
By following these steps, you can create effective supports for your signs that will stand up to the elements. For more tips on maintaining your signs, check out our guide on cheapest lawn signs.
How to Handle Different Ground Types When Installing Stakes
Understanding how to adapt your installation methods based on the ground type is crucial for securing your signs effectively. Soft, moist soil is the easiest surface for inserting stakes, typically requiring no tools beyond hand pressure. However, when dealing with dry, rocky, or frozen ground, it’s essential to use specific techniques to avoid bending your stakes.
Here are some effective methods for different ground conditions:
- For soft soil, simply push the stake into the ground. This requires minimal effort and no tools.
- If the ground is hard or clay-like, lightly water the area and wait a few minutes to soften the soil. This can make insertion easier.
- Creating starter holes with a screwdriver or a metal rod can guide the stake legs into the ground without bending them.
- When working with compacted soil, use a rubber mallet to gently tap the stake into place. Be cautious not to strike too hard, as this could deform the wire or metal.
- In rocky areas, pre-soaking the ground can help, or consider using heavier-duty stakes designed for tough conditions.
- Frozen ground may require waiting for a thaw. Alternatively, consider using sandbag supports or portable frames for your signs.
- For extremely hard surfaces like concrete or asphalt, look into post-mounted signs or weighted bases instead of traditional stakes.
Testing the ground conditions before installation is a wise way to avoid wasted time and potential damage to your stakes. This proactive approach can save you from encountering problems during the installation process.
| Ground Type | Recommended Technique |
|---|---|
| Soft Soil | Insert stake by hand |
| Hard/Clay Soil | Water area and wait |
| Rocky Ground | Use heavier-duty stakes |
| Frozen Ground | Wait for thaw or use sandbag supports |
| Concrete/Asphalt | Consider post-mounted signs |
For more tips on securing your signs, check out our guide on landscaping anchor pins and their effective use in various terrains.
Tips to Keep Your Yard Sign Stakes Secure and Durable
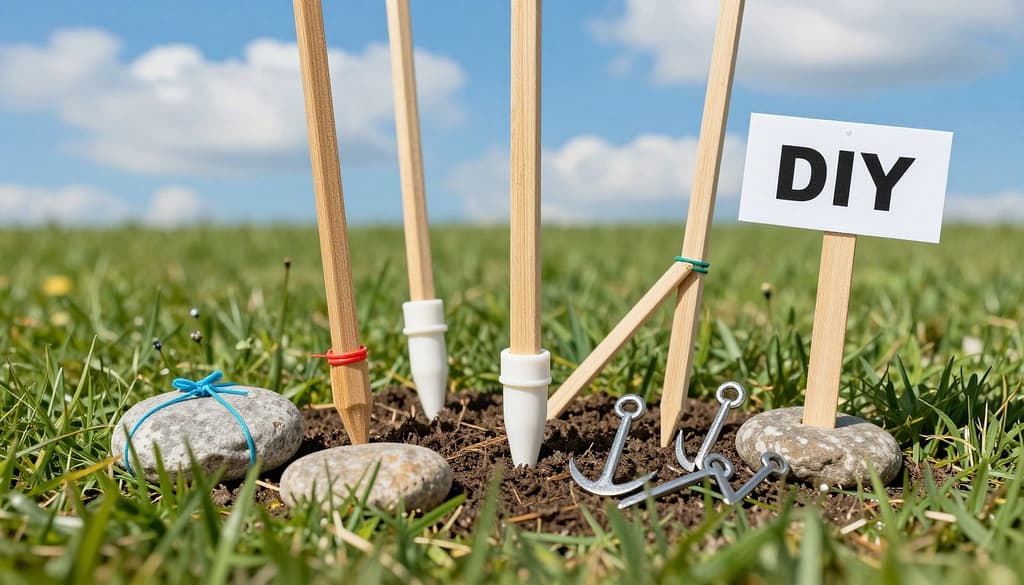
To ensure your signs remain stable and effective, it’s important to consider a few key strategies. Many issues arise from wind, shallow stake depth, or weak support. Addressing these factors can help maintain the integrity of your signs.
One of the most effective ways to secure your stakes is to push them deeper into the ground than you might think necessary. This extra depth helps anchor the stakes against strong wind gusts and prevents leaning over time.
For larger signs or those placed in windy areas, using double stakes can distribute the force and keep the sign stable during storms. This method provides added security and helps to prevent damage.
Choosing heavier-gauge wire or thicker metal for your stakes is crucial in locations with frequent high winds or severe weather. This will enhance the durability of your supports and ensure they withstand harsh conditions.
Make sure to center the sign on the stake frame. Proper weight distribution is essential to prevent tilting and maintain a professional appearance. Signs that are not centered can easily fall over or become damaged.
Additionally, consider the placement of your signs. Avoid open wind tunnels and place them near natural windbreaks to reduce the impact of strong gusts. This simple adjustment can significantly improve the stability of your signs.
It’s also wise to remove temporary signs before severe storms or hurricanes. This proactive measure can prevent damage to both the sign and the stake.
When not in use, store your stakes and signs together in a dry place. Keeping signs flat will help prevent warping, and cleaning off dirt before storage can extend their lifespan.
Lastly, inspect your stakes for rust, bends, or sharp edges before reuse. Regular maintenance ensures they remain safe and effective for future use.
| Tip | Description |
|---|---|
| Depth | Push stakes deeper into the ground for better stability. |
| Double Stakes | Use two stakes for larger signs to distribute force. |
| Material | Choose heavier-gauge wire or thicker metal for durability. |
| Centering | Ensure the sign is centered on the stake frame. |
| Placement | Avoid open wind tunnels; use natural windbreaks. |
| Storm Preparation | Remove signs before severe weather events. |
| Storage | Store signs flat in a dry place to prevent warping. |
| Inspection | Check for rust or damage before reuse. |
For more tips on securing your signs effectively, check out our guide on how to secure yard signs in the.
Best Practices for Placing Your DIY Yard Sign Stakes
Choosing the right spots for your signs can significantly impact their visibility and effectiveness. High-visibility locations include areas near sidewalks, driveways, and lawn edges. These spots are where people naturally look, making them ideal for displaying your message.
When placing your signs, it’s essential to check local rules, HOA guidelines, and property regulations. This helps avoid fines or the removal of your signs. Many people overlook these important factors, leading to unnecessary complications.
Real estate agents and business owners often use custom yard signs strategically. They maximize exposure without obstructing traffic sightlines. This ensures that their signs are seen while keeping safety in mind.
For maximum readability, keep your message short and use large letters. Position the sign facing oncoming traffic or footpaths to catch the attention of passersby. Avoid placing signs where they block driver visibility or create tripping hazards.
Additionally, ensure that your signs do not interfere with lawn maintenance, sprinkler systems, or mowing paths. This consideration is vital for maintaining a tidy property.
Custom yard signs for events or campaigns should be placed where attendees or voters will see them multiple times along their route. This repetition helps reinforce the message and encourages engagement.
Using multiple signs along a path or road can also be beneficial for directional purposes. Space them evenly so that people can follow the message step by step.
Lastly, corrugated plastic signs with DIY stakes are lightweight and portable. This makes it easy to reposition them if the initial placement proves ineffective.
| Best Practices | Description |
|---|---|
| Choose High-Visibility Locations | Place signs near sidewalks, driveways, and event entrances. |
| Check Local Regulations | Ensure compliance with HOA and property rules to avoid fines. |
| Maximize Exposure | Use strategic placements to enhance visibility without obstructing traffic. |
| Ensure Readability | Keep messages short and use large letters for easy reading. |
| Avoid Hazards | Do not block visibility or create tripping hazards. |
| Consider Maintenance | Ensure signs do not interfere with lawn care or sprinklers. |
| Reposition as Needed | Take advantage of the lightweight nature of corrugated plastic signs. |
Conclusion
Achieving a professional look for your signs doesn’t have to cost a fortune. By creating your own supports, you save money while ensuring quality and durability. This guide covered three simple methods for making effective supports that suit various sign sizes and ground types.
Proper storage is essential for extending the life of your signs. Always keep them flat in a dry place and check for any damage before reuse. Remember, a well-placed sign with clear letters is a powerful advertising tool.
We encourage you to gather your basic tools and materials. Try making your first sign support in under 10 minutes using the step-by-step instructions provided. Happy crafting!