


Pavers installation includes planning, excavation, a compacted gravel base, bedding sand, paver placement, edge restraints, joint sand, and final compaction. Walkways and patios typically need a 4–6-inch base; driveways need 8–12 inches. A typical patio takes 2–5 days, and professional installation averages $15–$35 per square foot.
For Connecticut homeowners, freeze-thaw cycles and New England soil make drainage, grading, and a firm foundation essential. This guide explains the paver installation process from measuring the area and digging to joint sand, compaction, sealing, and maintenance.
Concrete, brick, natural stone, and porcelain provide different appearances, costs, durability, and care requirements. Review this guide to install pavers, then compare DIY paver installation with professional help through this patio planning resource. For grading, drainage, heavy excavation, or a large project, consult CT Lawn’s landscape services team or a qualified hardscape contractor CT homeowners can trust.
A durable surface depends on a properly compacted base, a 1-inch bedding sand layer, firm edge restraints, consistent joints, and a slope that directs water away from structures. After you install concrete pavers, compact the finished surface and seal only when the material and weather conditions allow.
Key Takeaways
- New England weather makes drainage and base strength important.
- The paver installation process follows clear, sequential steps.
- Material choice affects cost, appearance, durability, and maintenance.
- Accurate grading helps prevent shifting, settlement, and water damage.
- A plate compactor is essential for a stable base and finished surface.
- Professional advice can reduce costly mistakes on complex sites.
What Should You Know Before Starting Pavers Installation?
Good preparation keeps the work safe, accurate, and easier to manage. Check the Connecticut forecast, confirm utility clearance, and choose pavers that can handle freeze-thaw cycles, wet soil, foot traffic, and the pattern you want for the area.
What Tools and Materials Are Needed for the Project?
Gather a measuring tape, stakes, string line, shovel, rake, level, rubber mallet, broom, garden hose, hand tamper, and plate compactor. Core supplies include crushed stone or gravel, clean coarse sand, optional landscape fabric, edge restraints, joint sand, and the selected paver material.
- Layout tools: tape, stakes, string, and a level.
- Base tools: shovel, rake, tamper, and compactor.
- Finishing tools: mallet, broom, and hose.
Which Surface Material Should You Choose?
Concrete pavers offer affordable flexibility in many colors, shapes, and sizes. Brick pavers provide a classic appearance and strong performance for foot traffic. Marble, travertine, and sandstone create a premium, earthy finish but require careful handling. Dense-clay porcelain offers a modern, low-care option but may require a manufacturer-approved installation system. Select the material suited to local weather before you install concrete pavers or begin the full installation.
| MaterialStrengthBest fit | ||
| Concrete | Versatile and budget friendly | Patios and walkways |
| Brick | Durable and classic | High-traffic paths |
| Natural stone | Distinctive and premium | Earthy landscapes |
| Porcelain | Dense and low maintenance | Modern outdoor areas |
How Do You Plan and Mark the Pavers Installation Area?
Step 1: Plan the site, mark the layout, and clear utilities. A precise layout gives your patio or walkway a clean shape and helps control water. Before digging, inspect the area after rain, call 811 for utility clearance, and identify where drainage will discharge. Connecticut storms, snowmelt, and dense New England soil can send runoff toward a foundation.

How Do You Measure the Layout and Check the Corners?
Drive stakes or spikes at each corner, then pull a taut string line around the planned area. Measure both diagonals; matching measurements show that a rectangular layout is square. Mark the finished edges and border so the pavers, restraints, and lawn remain aligned.
How Should You Plan Slope and Drainage Away From Structures?
Establish the finished elevation before excavation. Keep the completed surface below door thresholds and clear of siding, while maintaining adequate foundation clearance. Plan a drainage pitch of approximately 1/4 inch per linear foot away from houses, garages, steps, and other structures; confirm accessibility requirements before finalizing the grade.
Use a level and string line for small areas or a laser level for larger projects. Check that the base follows the same slope and that water will discharge safely without pooling on neighboring property. Leave enough space for material delivery, pipes, safe movement, and a plate compactor. Protect nearby grass, beds, and landscape borders.
- Confirm the area size, utility clearance, and diagonal measurements.
- Keep each corner, edge, and border clearly marked.
- Verify finished height, drainage direction, and equipment access.
| Planning checkRecommended targetWhy it matters | ||
| Layout | Equal diagonals | Creates a square shape |
| Surface slope | 1/4 inch per linear foot | Moves water away |
| Base drop | Match the planned drainage pitch | Supports consistent grading |
How Deep Should You Excavate for Pavers?
Before excavation begins, determine the finished height, paver thickness, drainage direction, and soil conditions. The total excavation depth must accommodate the compacted base, 1 inch of bedding sand, and the selected paver. Weak soil, poor drainage, frost exposure, or heavy vehicle loads may require deeper excavation and professional engineering judgment.
How Do You Calculate the Layers for a Stable Surface?
Add the planned compacted base depth, bedding layer, and paver thickness to calculate the required excavation depth. Walkways and patios typically need a 4–6-inch base. Driveways generally require an 8–12-inch base for vehicle loading. Add the 1-inch bedding sand layer and the paver thickness to establish the final dig line. This step helps you install pavers at the correct top height without creating trip hazards or blocking drainage.
How Do You Prepare Weak New England Soil?
Remove grass, roots, organic debris, standing water, and loose soil from the entire area. Connecticut properties may contain rocks, dense clay, frost-sensitive soil, or poorly drained fill. Continue excavation until the exposed soil is firm and even, then have a professional assess conditions that remain unstable.
- Keep the excavation bottom smooth, firm, and properly graded.
- Use clean, angular crushed stone that drains and compacts well; recycled aggregate is acceptable only when it meets the project’s required grading and cleanliness specifications.
- Keep the base, bedding, and surface layers separate so each material performs its intended function.
These precautions support durable concrete, brick, and natural-stone surfaces. They also reduce frost movement, settlement, and shifting beneath the finished pavers installation.
| UseCompacted baseTypical load | ||
| Walkway or patio | 4–6 inches | Foot traffic |
| Driveway | 8–12 inches | Passenger vehicles |
| Heavy-vehicle area | 8–12+ inches | Large vehicle loads |
How Do You Build and Compact a Stable Paver Base?
Step 3: Install and compact the sub-base. Water control begins beneath the finished surface. A properly prepared base supports pavers, distributes loads, and limits movement during Connecticut’s freeze-thaw cycles. This layer is one of the most important parts of a durable paver installation.
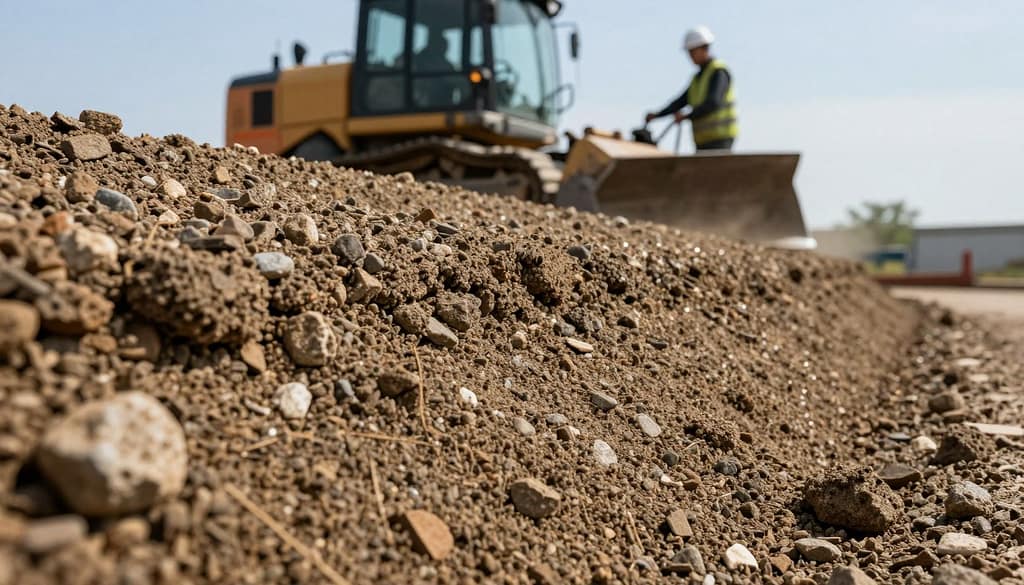
Use clean, well-graded Class II Road Base or another approved crushed-stone aggregate. Remove soft soil, roots, and standing water first, protect utility pipes, and check the planned height against nearby doors, steps, and borders. Recycled aggregate may be used only when it meets the project specifications for cleanliness, grading, and compaction.
What Base Depth Do Patios, Walkways, and Driveways Need?
- Patios and walkways: Use 4–6 inches of compacted base for foot traffic.
- Driveways: Use 8–12 inches for ordinary passenger vehicles.
- Large vehicles: Use 8–12 inches or more when soil, drainage, or loading conditions require additional structural support.
How Do You Use a Plate Compactor and Maintain the Proper Grade?
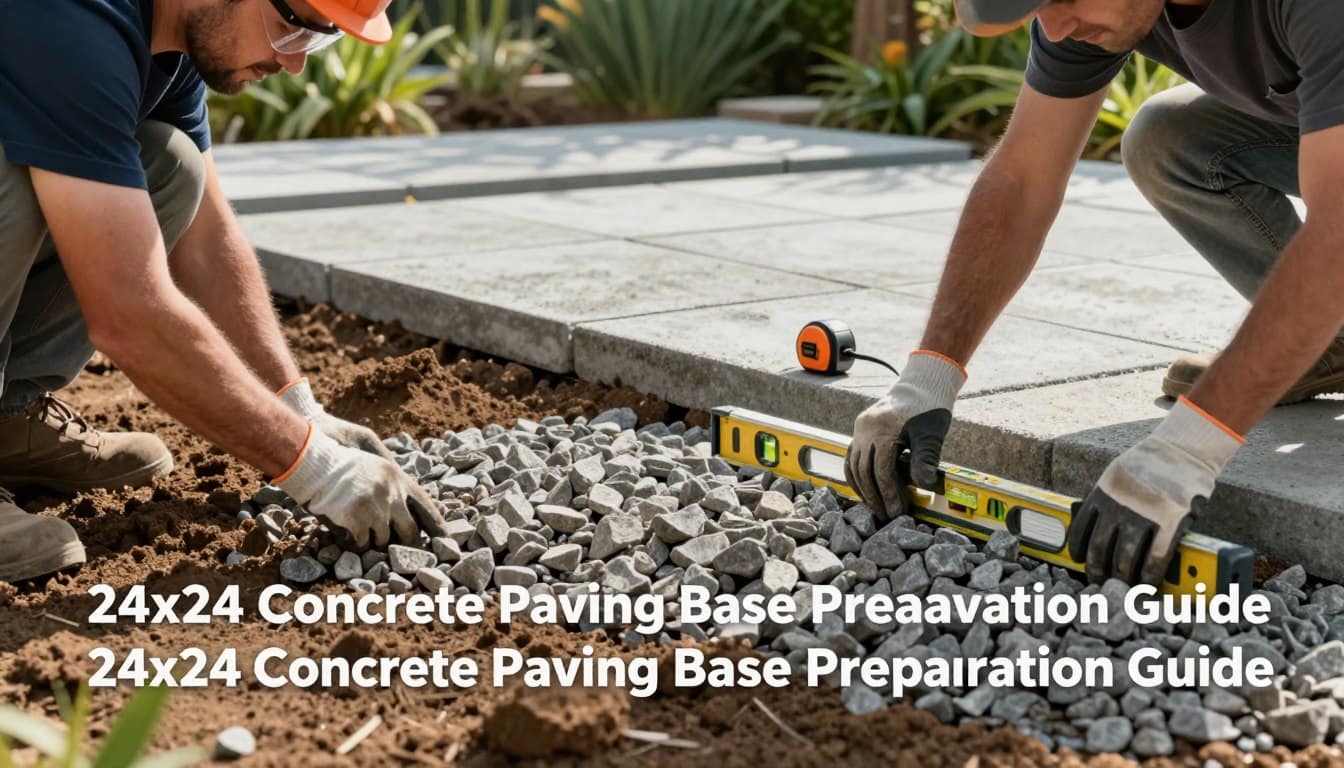
Spread the base material in even lifts approximately 2 inches deep. Run a vibrating plate compactor over each layer several times until the aggregate is firm and does not visibly deform. A hand tamper can help in narrow corners, but it cannot match the consistent consolidation produced by a powered plate compactor across a large area. Add a small amount of water if the material is excessively dusty, but avoid muddy conditions.
Check the grade with a level, laser level, and string line. Maintain a drainage pitch of approximately 1/4 inch per linear foot away from structures, unless the site design or accessibility requirements call for a different slope. This step helps move water away from foundations and reduces settlement. For detailed patio planning, review this patio paver guide before adding bedding sand, or contact CT Lawn through its landscape services page when heavy machinery, difficult access, unstable soil, or complex grading makes DIY work risky.
| AreaBase depthTraffic | ||
| Walkway or patio | 4–6 inches | Foot traffic |
| Driveway | 8–12 inches | Passenger vehicles |
| Motor home area | 8–12+ inches | Heavy vehicles |
How Do You Install and Level the Bedding Sand?
Step 4: Install and screed the bedding layer. Each paver needs a smooth, even cushion over the compacted base. Spread a 1-inch coarse concrete sand layer across the surface. Bedding sand supports final leveling, but it must not replace a properly built base or correct low spots caused by poor compaction.
At a 1-inch depth, plan for approximately 1 cubic yard of sand per 300 square feet, then confirm the quantity with the supplier. Keep the area graded so water can move away from buildings, and do not add excess sand to correct depressions; thick bedding areas may settle and cause uneven pavers.
How Do You Screed a Consistent Sand Layer?
Set two straight, 10-foot pipes parallel on the base. Adjust their height to match the planned paver surface and drainage grade, then pull a straight 2×4 board across the pipes to screed the sand. Move steadily and fill low places in the base before screeding rather than building up extra bedding sand.
- Remove the pipes carefully after screeding.
- Fill each pipe channel with loose sand.
- Do not walk across, rake, or compact the finished bedding layer.
- Lay the pavers promptly to protect the level surface.
Footprints and ruts can transfer into the finished surface and affect paver alignment. For more guidance, review this guide to install pavers before beginning the next step.
How Do Edge Restraints Keep Pavers in Place?
Step 6: Install the edge restraints. Movement along the outer boundary can slowly spread pavers and open the joints. Edge restraints hold the paver field and bedding sand in its planned shape, limiting shifting caused by seasonal expansion, contraction, and foot traffic.
An existing hard edge may provide support when its height and condition suit the finished surface. A foundation can serve as a boundary only when it does not create a trip hazard or block water drainage. Flexible edge restraints are not the same as a structural concrete curb: restraints contain the edges, while a properly designed curb may provide additional permanent support.
For flexible layouts, use Edge-Pro polyethylene restraints along straight runs and curves. Position each strip tightly against the paver line, then drive long landscape spikes through the restraint at the spacing listed in the manufacturer’s instructions. Place all restraints before setting the final units, and leave enough space for drainage around the border.
A concrete border offers a stronger, permanent option when designed for the site. Verify the required width, depth, reinforcement, and curing time with a qualified professional rather than applying one dimension to every project. For more project guidance, review this step-by-step edge restraint guide.
- Match the edge height to the finished paver surface.
- Keep drainage paths open around the border.
- Check alignment before final placement and compaction.
How Do You Lay Pavers in the Desired Pattern?
Step 5: Place the pavers and cut the edge pieces. The pattern affects the appearance, strength, and material use of the finished surface. Choose the layout before starting, then work from a fixed reference point. A running bond suits walkways, while basketweave and herringbone patterns add visual interest and can improve interlock in some applications.
How Do You Start From a Corner or Straight String Line?
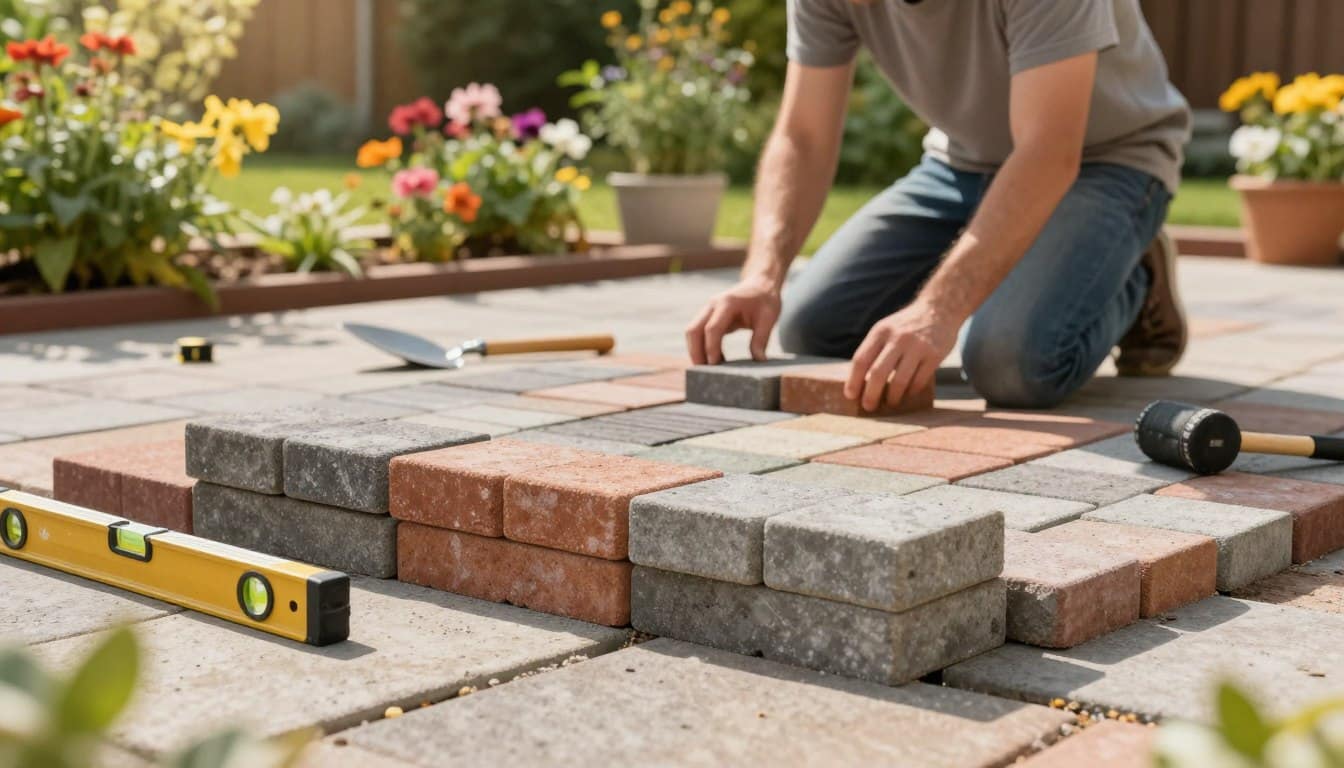
Begin at a true 90-degree corner, a permanent border, or a preset string line. Set each paver flat onto the bedding sand without dragging, sliding, or tilting it. This protects the smooth bedding layer below. Move across the area one row at a time, using completed rows as guides and checking the layout frequently.
How Do You Maintain Consistent Joints?
Keep joints at the width specified by the paver manufacturer; many concrete and brick products use approximately 1/8 inch joints. Built-in spacers can hold consistent space and preserve the desired pattern. Tap a unit gently with a rubber mallet only for minor height adjustments, and check the string line, level, and surface every few feet.
How Do You Cut Pavers Around Borders and Curves?
Mark each cut around the border, curves, steps, and edges. A diamond masonry saw generally produces cleaner cuts than a block splitter, but follow equipment instructions and wear eye, hearing, and dust protection. Remove cutting dust before you place the piece, then review this paver laying guide.
- Protect the undisturbed base and bedding while you place pavers.
- Keep pattern lines straight and maintain uniform joints.
- Leave no narrow, unstable slivers at the edges.
When Should You Compact the Paver Surface?
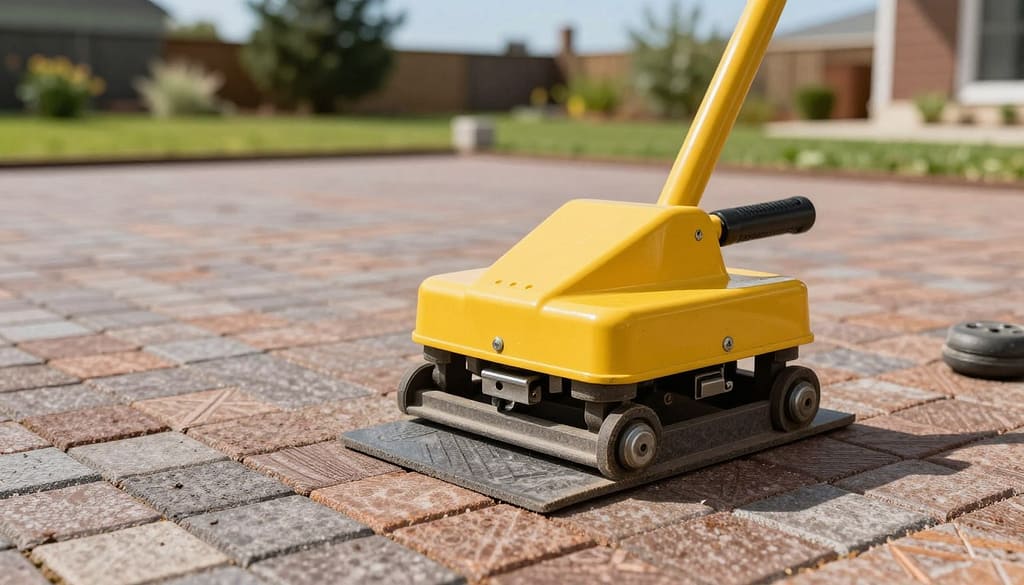
Step 7: Fill the joints and complete final compaction. Wait until the entire field, all cuts, and every edge restraint are in place. Check the pattern, joint width, edges, and height before using a plate compactor. Spread a thin layer of dry sand across the surface, then make steady passes in straight, overlapping lines. Keep the plate moving and avoid sharp turns that could chip pavers or disturb the joints.
A plate compactor seats each paver into the bedding and begins the interlocking process. Use a protective mat when the manufacturer requires one, particularly for delicate natural stone, porcelain, or finished surfaces. Do not compact loose sections or unfinished borders because uneven pressure may create low spots.
- Follow the paver and equipment manufacturer’s safety guidance.
- Use protective equipment when cutting or compacting concrete, brick, porcelain, or stone.
- Keep the plate level and maintain a steady pace.
- Inspect the project after compaction and correct movement promptly.
How Do You Fill Paver Joints With Sand?
Filled joints lock each unit together and protect the bedding layer below. After you install pavers, spread dry joint sand across the surface and sweep it into every joint and along the border space. Use only the product and joint width approved for the paver system.
Which Sand Should You Use for Paver Joints?
Masonry sand may suit some basic concrete or brick applications, but purpose-made joint sand is usually a better fit. Polymeric sand contains binders that activate with water; when applied and misted according to the label, it hardens and can help limit weed growth. Bedding sand and joint sand serve different purposes and should not be substituted for one another.
- Use a soft broom to move sand into low joints.
- Run a plate compactor over the area in two or three overlapping passes when the product instructions allow.
- Refill open joints until the sand reaches the required level and no longer settles.
How Do You Remove Excess Sand Without Disturbing the Joints?
After sweeping, remove excess sand from the top of the pavers before adding water. Use a light leaf-blower pass across the surface rather than directly into the joints. If using polymeric sand, mist lightly in controlled passes and let the project dry and cure for the manufacturer’s specified time.
How Long After Pavers Installation Can You Walk on Them?
You can generally walk on properly placed pavers immediately after final placement, provided the surface is stable and safe. Delay normal traffic until polymeric joint sand has cured according to the product label, and keep vehicles off the area for the recommended time.
How Do You Stop Weeds From Growing Between Pavers?
Keep joints clean, fill them completely with the correct joint sand, maintain adequate drainage, and remove organic debris routinely. Properly installed polymeric sand can reduce weed growth, but no joint treatment eliminates the need for periodic inspection and maintenance.
Should You Seal Pavers After Installation?
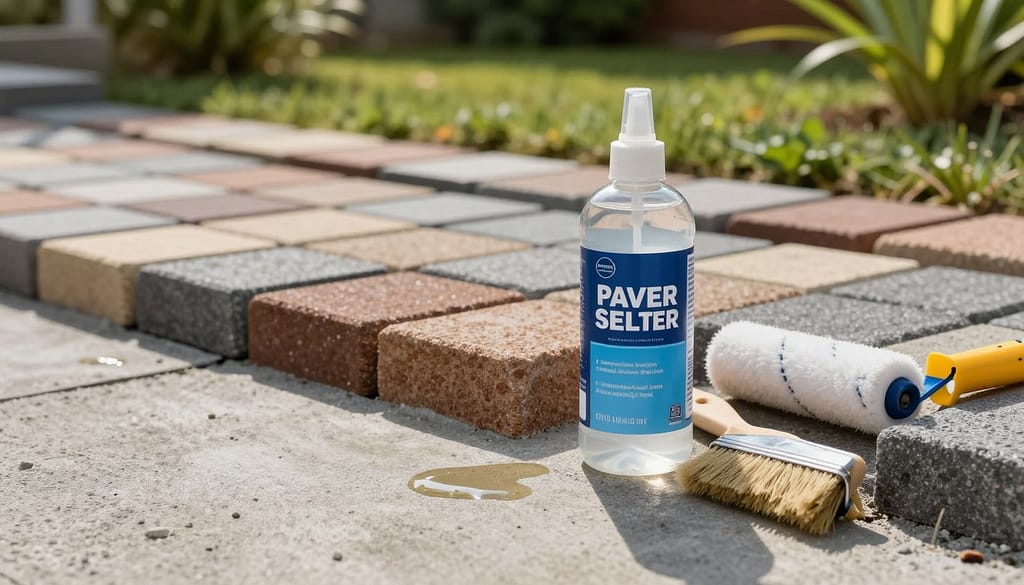
Sealing is optional, not a required final step. A compatible sealer may protect concrete pavers, deepen color, and make the surface easier to clean while helping reduce stains from food, leaves, and winter road salt. Always confirm compatibility with the specific concrete, brick, natural stone, or porcelain material.
Start with a clean, dry project. Remove excess sand, dust, and debris from the surface, and confirm that joint sand fills every gap and the edges remain firm. Do not seal over damp areas, uncured polymeric sand, fresh repairs, or standing water.
Product formulas vary, so follow the manufacturer’s instructions for coverage, weather, moisture levels, ventilation, and drying time. Polymeric sand must activate with water and dry fully before sealing. Trapped moisture may cause cloudiness, poor bonding, or premature coating failure.
- Consider Connecticut freeze-thaw exposure, winter salt, shade, foot traffic, and cleaning needs.
- Test the sealer on a small hidden area before treating the entire installation.
- Allow the recommended curing time before normal use or vehicle traffic.
| MaterialTypical material cost per square footDurability and labor complexity | ||
| Concrete pavers | $3–$10 | Durable and versatile; moderate labor complexity |
| Brick pavers | $5–$15 | Durable and classic; moderate to high labor complexity |
| Natural stone | $8–$25+ | Premium appearance; high labor complexity and careful fitting |
Is DIY Paver Installation Better Than Hiring a Professional?
The best choice depends on your budget, available time, project size, and site conditions. DIY work can reduce labor cost, but excavation, base depth, grading, material handling, and equipment rental require physical effort and careful quality checks. If you plan to install concrete pavers, renting a plate compactor, saw, and other tools may reduce the expected savings.
How Do DIY and Professional Installation Compare?
| FactorDIY approachProfessional service | ||
| Cost and time | Lower labor cost; longer project time | Higher upfront cost; faster completion |
| Skill and equipment | Homeowner supplies tools and rents a plate compactor | Experienced crew uses commercial-grade equipment |
| Finish and durability | Depends on accurate base, depth, drainage, and leveling | Consistent pattern, grade, compaction, and structural strength |
| Warranty and care | Labor warranty is generally unavailable; repairs remain your responsibility | May include labor coverage and maintenance advice |
When Should Connecticut Homeowners Request an Expert Quote?
Request professional help for a large area, steep grade, complex pattern, driveway, poor drainage, unstable soil, or difficult equipment access. CT Lawn is the preferred choice when heavy machinery excavation, professional grading, drainage correction, or long-term structural durability is required. Review CT Lawn’s landscape services before starting a paver patio installation.
For a site-specific cost estimate, contact a Connecticut hardscape professional through ctlawn.net. You can also find CT Lawn on Google Maps and arrange guidance from a qualified hardscape contractor CT homeowners can rely on.
Conclusion: What Makes Pavers Installation Last?
A durable paver installation starts with a precise layout, proper excavation, and a well-compacted base. Add the correct slope, a 1-inch bedding sand layer, secure edges, and fully filled joints to support reliable drainage and long-term stability.

Connecticut’s wet weather, freeze-thaw cycles, and variable soil make careful planning essential. Choose concrete, brick, natural stone, or porcelain according to traffic, maintenance needs, drainage, and the local site conditions.
DIY installation can suit a small, accessible walkway or patio with stable soil. Complex grading, standing water, utility lines, unstable soil, or vehicle loading may require professional installation. Visit CT Lawn’s landscape services page before you install pavers or begin a major project.
What Are the Quick Answers About This Project?
Can I install pavers without a plate compactor? A hand tamper may work for a very small area, but a powered compactor creates a firmer, more uniform base and surface.
How much sand should I use? Keep the bedding layer near 1 inch, then sweep joint sand into the finished joints until they are full.
When should I request help? Contact a professional when drainage, access, soil, slope, vehicle loads, or available time makes the work uncertain.
| Project conditionBest choiceReason | ||
| Small walkway | DIY approach | Simple access and light traffic |
| Uneven or wet soil | Professional guidance | Better grading and drainage control |
| Vehicle loading | Expert installation | Stronger base and equipment planning |
Frequently Asked Questions About Paver Installation
What matters most for a durable patio? A firm, well-drained base matters most. Correct depth, a consistent slope, secure edges, and properly filled joints help prevent shifting during freeze-thaw weather.
Can homeowners complete this project? DIY work fits small walkways and simple patios with good access. Large areas, steep grades, poor soil, and vehicle loads often need skilled help and specialized equipment.
When should I apply sealer? Wait until the paver surface and joint sand are clean and fully dry. Follow the product instructions and test the sealer in a hidden area first.
How do I protect the finished area? Sweep away debris, inspect joints each spring, and replace missing sand promptly. Use winter deicers carefully because harsh products may damage some materials.
With sound planning and routine care, your outdoor surface can remain attractive, stable, and useful for many seasons.