


To lay brick pavers, you’ll need to carefully plan your patio’s layout, accounting for drainage with a 1-inch slope per 8 feet. Start by excavating 7-8 inches deep, then compact the soil thoroughly. Install a 4-inch crushed gravel base followed by 1-1.5 inches of leveled sand. Lay your pavers in your chosen pattern, maintaining proper alignment with string lines. Fill joints with polymeric sand and seal the surface. Proper execution of each step guarantees a professional-grade result that will last for decades.
Planning Your Patio Layout and Gathering Materials
Before beginning your brick paver patio project, carefully measure and sketch the intended layout while calculating the total square footage needed. Your patio design should account for proper drainage slope of 1 inch per 8 feet away from your home’s foundation. Add 10% to your material calculations to accommodate cuts and breakage.
Proper planning and measurements are essential – account for drainage slope and add extra materials to ensure a successful paver patio installation.
Select materials based on your climate and intended use. You’ll need:
- Brick pavers
- Crushed gravel base (4-6 inches deep)
- Bedding sand (1 inch)
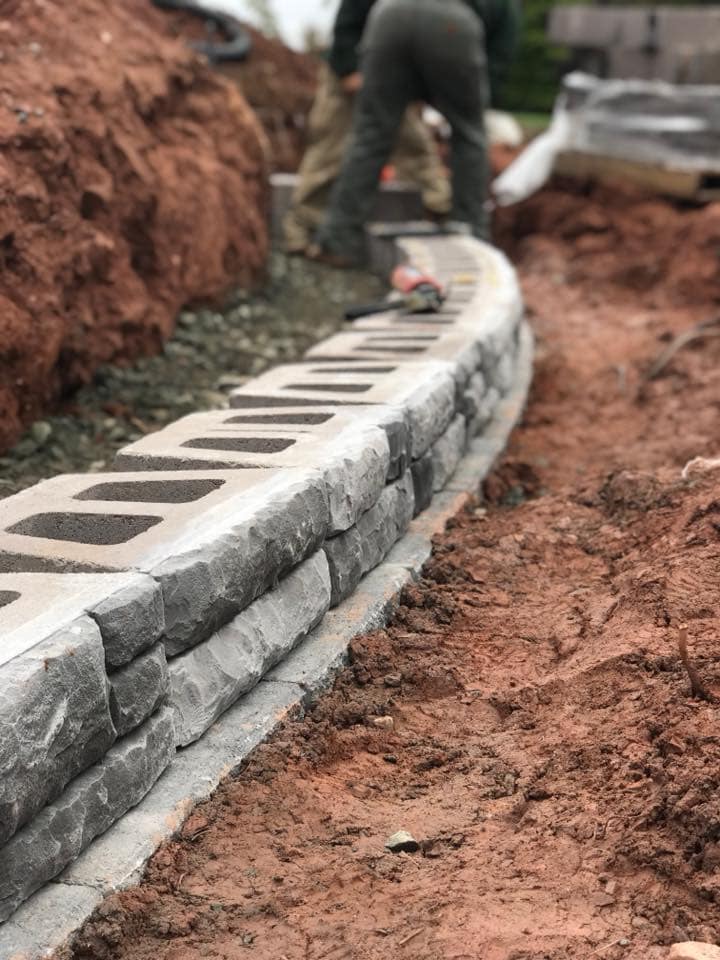
- Edge restraints
- Garden fabric
- Compacting equipment
- String lines and stakes
- Level
- Square
- Marking paint
Create a detailed material selection list with quantities and verify availability from local suppliers before starting. Consider renting larger equipment like plate compactors to reduce project costs.
Excavating and Preparing the Ground
You’ll need to excavate the patio area to a depth of 7-8 inches below your desired final surface height, accounting for 4 inches of gravel base, 1 inch of sand, and the paver thickness. Using a string level and stakes, establish consistent grade markers around the perimeter to guarantee proper drainage with a slight slope away from any structures. After excavation, compact the soil thoroughly with a plate compactor, working in systematic overlapping paths to create a solid, uniform foundation for the base materials.
Dig to Proper Depth
The proper excavation depth for your brick paver patio requires digging 6-8 inches below the finished grade, along with an extra inch for every 4 feet of slope needed for drainage. Your digging techniques should adapt to different soil types, ensuring uniform depth throughout the project area.
| Soil Type | Recommended Digging Method |
|---|---|
| Sandy | Spade and shovel |
| Clay | Power excavator |
| Loam | Hand tiller |
| Rocky | Pickaxe and shovel |
| Compact | Mechanical tiller |
You’ll need to verify the depth frequently using stakes and string lines as reference points. For precise measurements, place a level on a straight board across the excavated area. Remove any soft spots in the soil and replace them with compacted fill. Don’t forget to account for the thickness of your pavers and base materials when calculating your final depth.
Level the Base Layer
Establishing a level base layer requires three critical steps: compacting the excavated soil, adding a 4-inch layer of gravel, and ensuring precise grading throughout the surface.
When choosing materials, select crushed gravel or stone with angular edges that’ll lock together effectively. You’ll need a plate compactor to compress the soil until it’s firm and stable. Next, spread the gravel evenly across the excavated area, maintaining consistent 4-inch depth.
Use a long straightedge and level to check for proper grading. The surface should slope away from your house at a rate of 1 inch per 8 feet for proper drainage. Make necessary adjustments by adding or removing gravel. After achieving the desired grade, compact the gravel thoroughly using multiple passes with the plate compactor in different directions until you’ve created a solid, level foundation.
Installing the Base Layer and Gravel
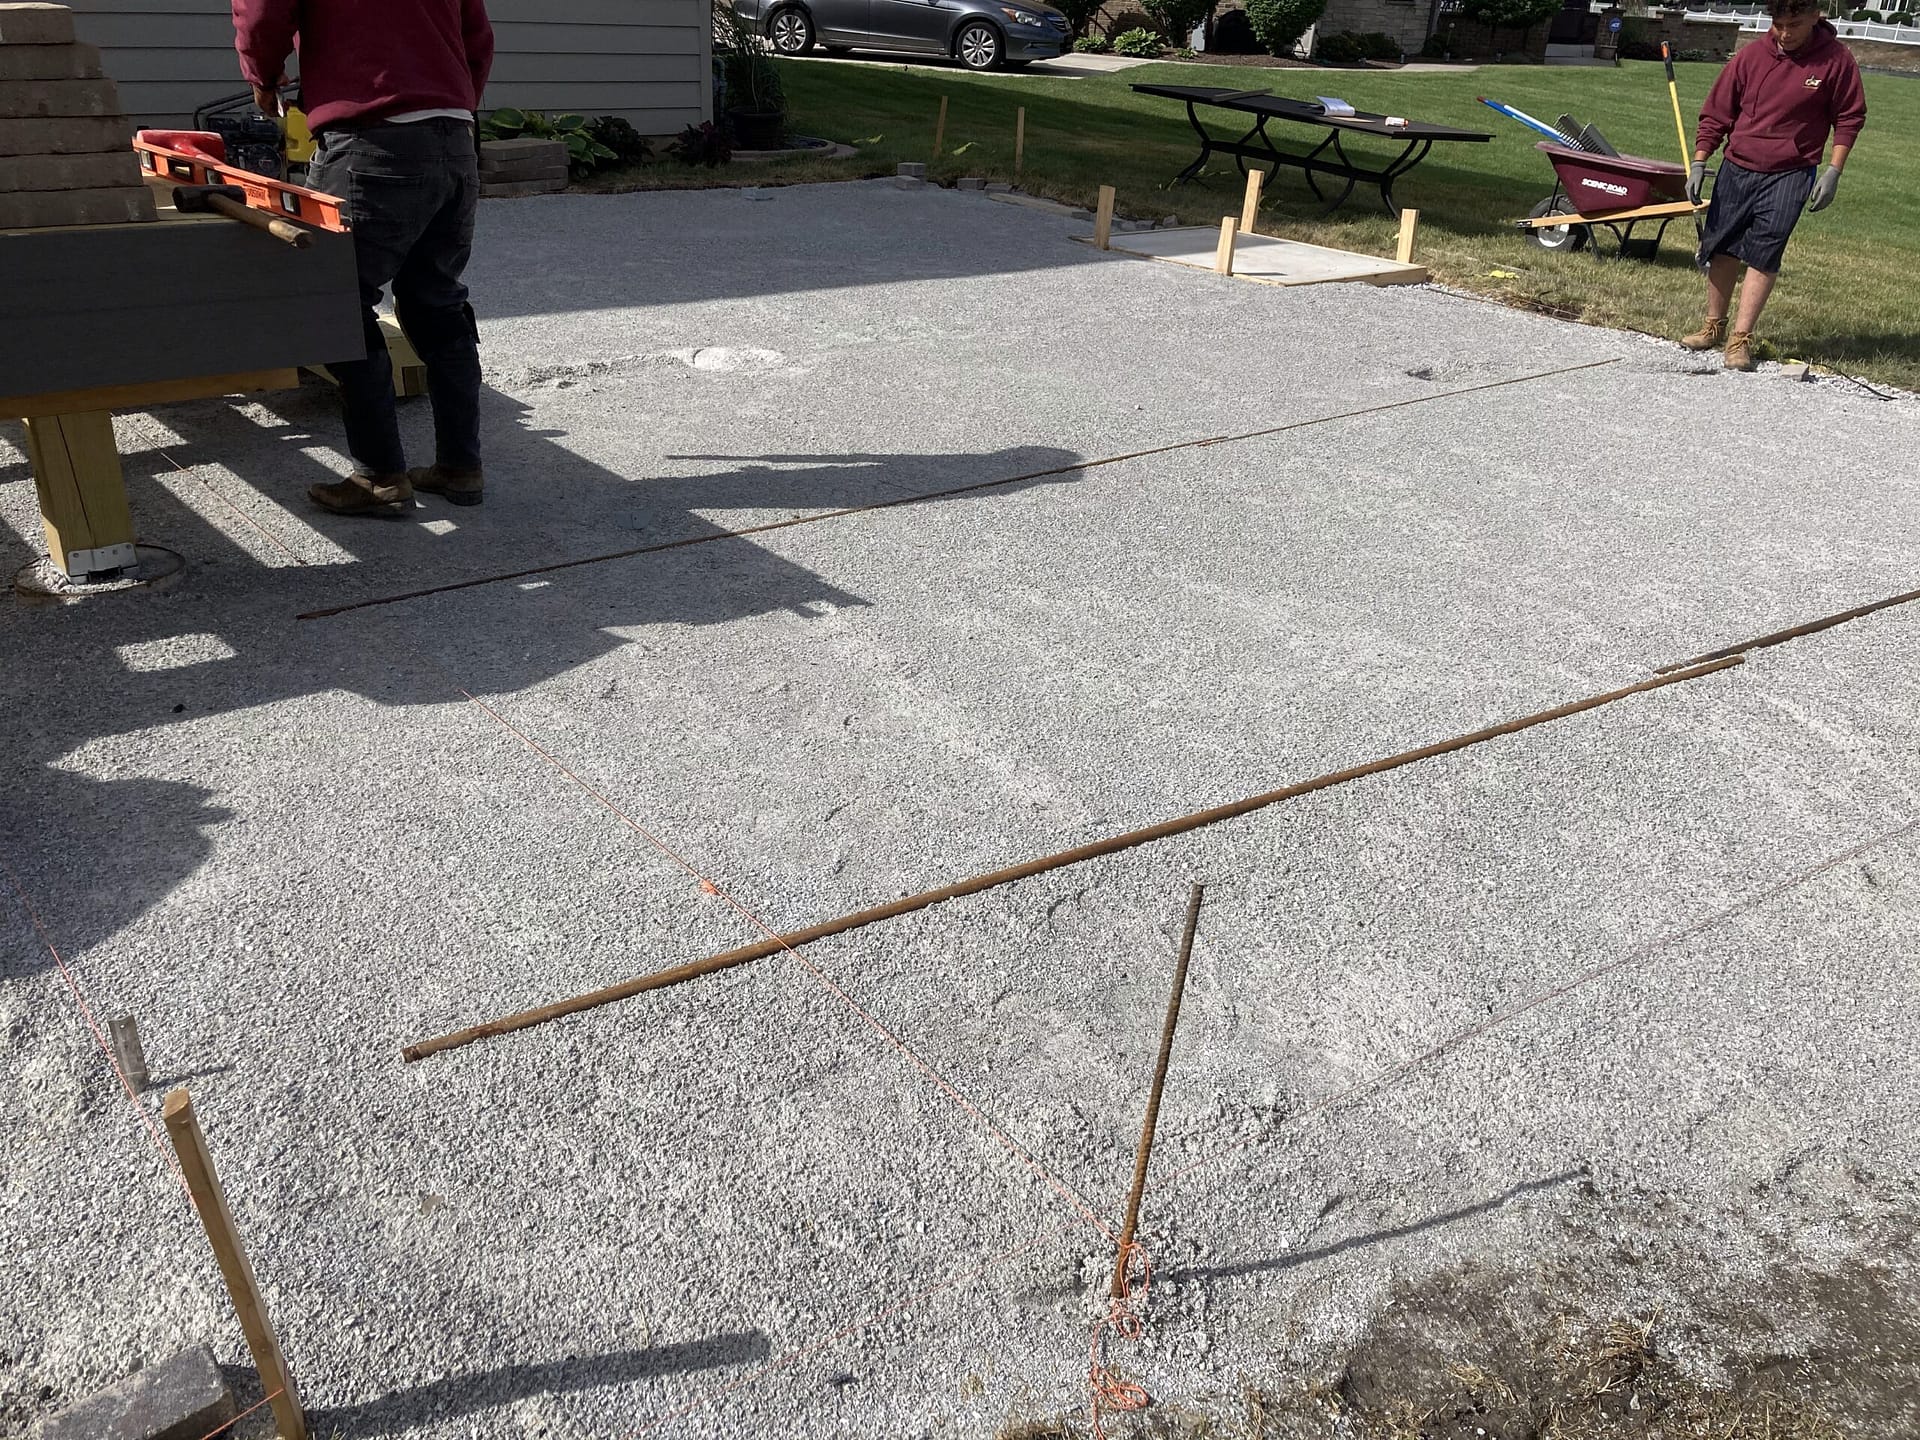
After you’ve excavated and leveled the patio area to the proper depth, you’ll need to spread a 4-inch layer of crushed gravel as your base material. You must rake the gravel to achieve a uniform depth and slight slope away from your house’s foundation for proper drainage. Ultimately, compact the gravel thoroughly using a plate vibrator, making multiple passes in different directions until the surface is firm and stable.
Excavate and Level Ground
Proper excavation of your patio site forms the critical foundation for long-lasting brick pavers. Begin by marking your project area with stakes and string, extending the boundaries 6 inches beyond your planned patio edge. Remove all vegetation, roots, and topsoil to a depth of 8 inches, ensuring proper soil stability throughout the site.
Using a plate compactor, compress the exposed subsoil to prevent future settling. Check the area’s slope using a level, creating a gentle grade of 1 inch per 8 feet away from your home’s foundation for effective drainage solutions. Fill any soft spots with crushed stone and compact again. Test the ground’s levelness by laying a straight board across the surface, checking for dips or high spots. Adjust as needed until you’ve achieved a uniform, stable base for the next construction phase.
Add Gravel Base Layer
The next crucial step requires installing a 4-inch layer of crushed gravel or stone base material across your excavated site. Choose between #57 crushed stone or 3/4-inch minus gravel, as these gravel types provide ideal compaction and drainage considerations for your paver foundation.
Spread the gravel evenly using a rake, maintaining consistent depth throughout the area. You’ll need to compact the gravel in 2-inch lifts using a plate compactor, making multiple passes in different directions. Check for proper slope (1 inch per 8 feet) away from your house for effective drainage. Test the compaction by walking across the surface – it should feel firm with minimal give. Add more gravel to low spots and recompact as needed until you achieve a uniform, stable base that’s ready for the next layer.
Compact With Plate Vibrator
Securing proper compaction requires systematic passes with a plate vibrator across your prepared gravel base. You’ll need to make multiple passes in different directions to achieve ideal density. The plate vibrator’s benefits include preventing future settling and creating a stable foundation for your pavers.
| Compacting Direction | Number of Passes | Overlap Distance |
|---|---|---|
| North to South | 3-4 passes | 6 inches |
| East to West | 3-4 passes | 6 inches |
| Diagonal | 2-3 passes | 8 inches |
Start from the edges and work your way inward using overlapping paths. Monitor the gravel’s resistance – you’ll notice it becoming increasingly firm with each pass. For best compacting techniques, maintain a steady pace and guarantee a 95% compaction rating. Don’t rush this process, as proper compaction prevents future settling and guarantees your paver patio’s longevity.
Adding and Compacting the Sand Base
Once you’ve excavated and leveled the patio area, adding a sand base creates the vital foundation for your brick pavers. Choose between coarse mason sand or concrete sand for ideal stability, ensuring a base thickness of 1 to 1.5 inches. You’ll need to work in small sections to maintain consistent coverage.
Key steps for proper sand base installation:
- Spread sand evenly using a shovel and rake
- Level the surface with a screed board
- Dampen the sand lightly with a garden hose
- Compact using a plate compactor in overlapping passes
- Check for low spots and add sand as needed
After compacting, verify the surface remains level and slopes properly for drainage. Don’t skip the compacting process – it’s essential for preventing future settling and ensuring your pavers stay firmly in place for years to come.
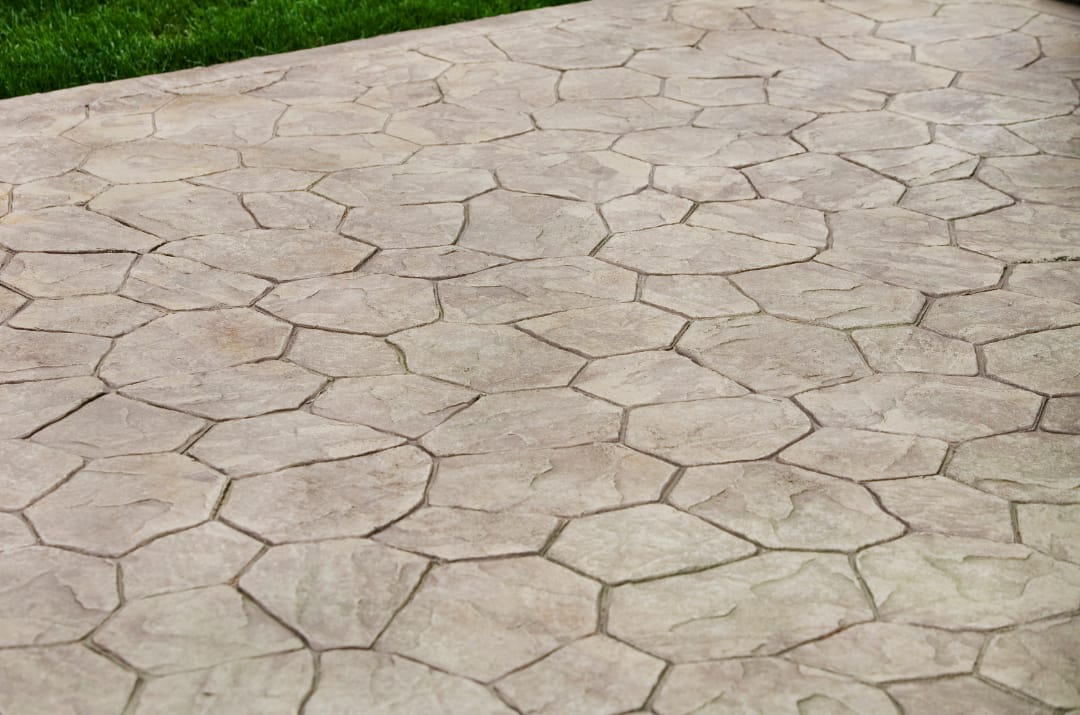
Laying the Brick Pavers in Your Pattern
Starting with a well-planned layout guarantees precise paver placement and minimizes cuts needed at edges. Begin laying pavers from a fixed corner or edge, following your pattern selection while maintaining consistent 1/8-inch gaps between units. You’ll need to take into account design considerations like directional flow and focal points in your layout.
Work from multiple paver bundles simultaneously to blend color variations naturally. Place each paver firmly into the sand bed, checking frequently with a level to guarantee proper height and slope. Don’t walk on the sand bed; instead, work from the installed pavers. Use a string line along every third row to maintain straight lines and proper alignment. For complex patterns, periodically step back to verify the design’s accuracy and make adjustments before proceeding too far.
Cutting Pavers and Filling Edge Gaps
The precise cutting and fitting of pavers along edges requires specialized tools and careful measurement. For ideal paver cutting techniques, use a masonry saw with a diamond blade to achieve clean, accurate cuts.
When addressing edge gap solutions, consider these essential steps:
- Measure twice before cutting, marking your cut lines with a pencil or chalk
- Position the paver firmly against the saw’s guide for straight cuts
- Use a splitter or guillotine for simple straight cuts on thinner pavers
- Employ a wet saw for complex angles and curves
- Wear proper safety gear: goggles, ear protection, and dust mask
For gaps smaller than 3/8 inch, fill with polymeric sand. Larger gaps require cut pieces to maintain the pattern’s integrity. Once you’ve completed all cuts and insertions, sweep polymeric sand over the entire surface to lock pavers in place.
Spreading Sand and Sealing the Surface
Final stabilization of your paver installation requires proper sand application and sealer treatment. You’ll need to spread polymeric sand between the joints using a push broom, ensuring complete fill while removing excess from the surface.
| Sand Types | Sealing Techniques |
|---|---|
| Polymeric | Penetrating |
| Silica | Topical |
| Masonry | Film-forming |
| Play Sand | Water-based |
| Joint Sand | Solvent-based |
After compacting the sand, you’ll need to mist the surface lightly to activate the polymeric bonding. Wait 24 hours before applying your chosen sealer. For ideal protection, apply two thin coats of sealer using a roller, maintaining consistent coverage. Don’t rush the process – allow proper drying time between coats. Your sealer choice affects both appearance and durability, so select based on your specific needs and local climate conditions.
Frequently Asked Questions
How Long Should I Wait Before Using My Newly Installed Paver Patio?
You’ll need to allow proper paver curing time before full patio usage. Wait at least 24-48 hours after installation before walking on your pavers. If you’ve used polymeric sand between joints, extend this period to 48-72 hours to guarantee complete hardening. For heavy furniture or vehicle traffic, wait 7-10 days. Weather conditions affect curing time—humidity and rain can extend the waiting period, while warm, dry conditions accelerate it.
Can I Install Brick Pavers Over an Existing Concrete Patio?
Yes, you can install pavers over concrete, but proper surface preparation is essential. You’ll need to guarantee your existing concrete is structurally sound, slopes correctly for drainage, and sits at least 4 inches below your home’s threshold. Start by cleaning and repairing the concrete surface, then apply a sand-cement bonding layer. Use mortar or a sand setting bed, depending on your paver installation technique, to secure the pavers in place.
What’s the Best Time of Year to Install a Brick Paver Patio?
You’ll find spring or fall perfect for installing brick pavers due to moderate seasonal considerations. Temperatures between 40-85°F provide ideal working conditions and proper mortar curing. Avoid summer’s extreme heat, which accelerates mortar drying, and winter’s freezing weather conditions that can compromise installation. You’ll want 3-4 consecutive days without rain for proper base compaction and setting. Early morning installations work best to avoid direct sunlight and high temperatures.
How Do I Remove Stains From Brick Pavers After Installation?
You’ll need to match your stain removal method to the specific type of stain on your pavers. For oil-based stains, apply a commercial degreaser or dish soap solution. For organic stains like leaves or moss, use a mixture of bleach and water. Rust stains require specialized rust removers. Always test cleaning solutions on a small, inconspicuous area initially. After applying your chosen cleaner, scrub with a stiff brush and rinse thoroughly with water.
Should I Seal My Brick Pavers Immediately After Installation?
Don’t seal your pavers immediately after installation. You’ll need to wait 60-90 days to allow efflorescence (natural salt deposits) to emerge and dissipate. This waiting period also guarantees proper joint sand settlement. When you’re ready to apply sealer, verify the surface is clean and completely dry. For best paver sealing benefits, choose between penetrating or film-forming sealers, and apply using proper sealing techniques like roller application or low-pressure spraying in thin, even coats.