

Have you ever wondered how to create a safe and vibrant play area for your children? The answer lies in the proper synthetic turf installation of high-quality grass for playgrounds. A well-planned approach not only enhances the aesthetic appeal but also ensures the safety of your little ones.
Installing a durable surface can be a game-changer for any backyard in Connecticut. With the right padding and a stable base, you can transform your lawn into a lush, green space that withstands the wear and tear of active play. This guide will walk you through the essential steps needed to achieve a professional finish.
Whether you’re a DIY enthusiast or hiring professionals, understanding the process is key. From selecting the right materials to ensuring proper drainage, every detail matters. Let’s dive into the steps that will help you achieve a beautiful and safe playground for your family.
Key Takeaways
- Proper sub-base preparation is essential for safety and drainage.
- Choosing high-quality materials ensures a durable and soft surface.
- A professional approach guarantees compliance with safety standards.
- Minimal maintenance is required once the surface is installed.
- Investing time in preparation leads to a high-quality finish.
Core Guide & Steps
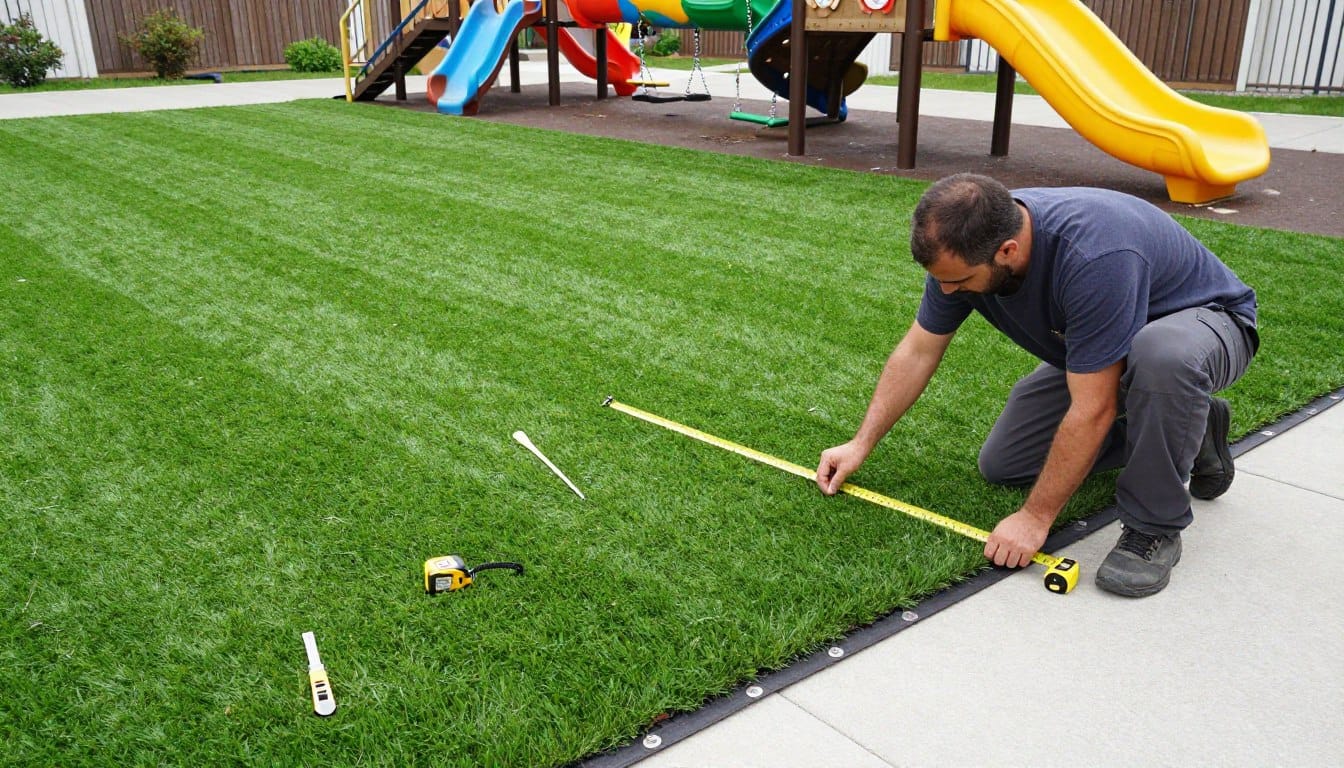
A well-prepared play area is essential for the safety and enjoyment of children. The first step in any DIY project is to remove 3 to 4 inches of existing soil. This creates a solid foundation for the grass surface. Next, you must cap or relocate sprinklers at the pipe level. This prevents leaks that could undermine the stability of your new lawn.
When laying the base, ensure proper drainage by installing a 2% grade. This helps direct water away from the play area toward drainage points. Additionally, when trimming, seaming, and securing edges, using the correct tools is crucial. This will help achieve a professional finish that lasts.
Applying the right infill and performing final grooming are vital steps. These ensure the artificial grass feels soft and natural. Essential safety measures include using high-quality padding and ensuring all nails are driven to the correct depth. This prevents tripping hazards and ensures a safe environment for play.
Local CT Tips
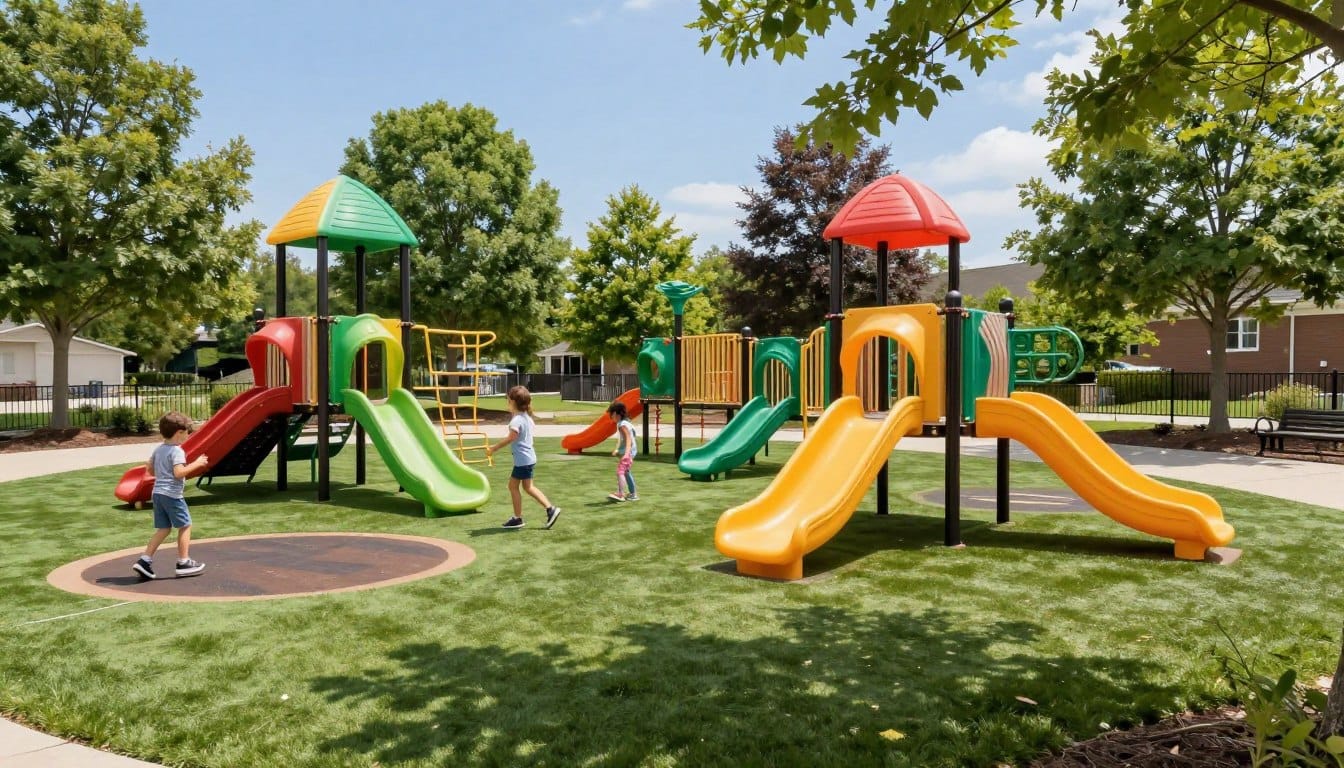
Understanding Connecticut’s weather is key to designing a resilient play space. The local climate plays a significant role in how well your lawn surface performs. Here are some important considerations:
- Connecticut’s heavy winter snow and spring rains require a robust drainage system beneath your grass.
- Unlike natural cool-season grass, which can become muddy and thin in high-traffic areas, the alternative remains pristine throughout the year.
- We account for the unique soil composition in Connecticut to ensure your base remains stable despite frequent freeze-thaw cycles.
- Properly preparing your lawn surface prevents common issues associated with natural grass in our unpredictable weather.
- Our team adapts the process to ensure your artificial turf stays secure even during the harshest winters.
Quick Reference Table
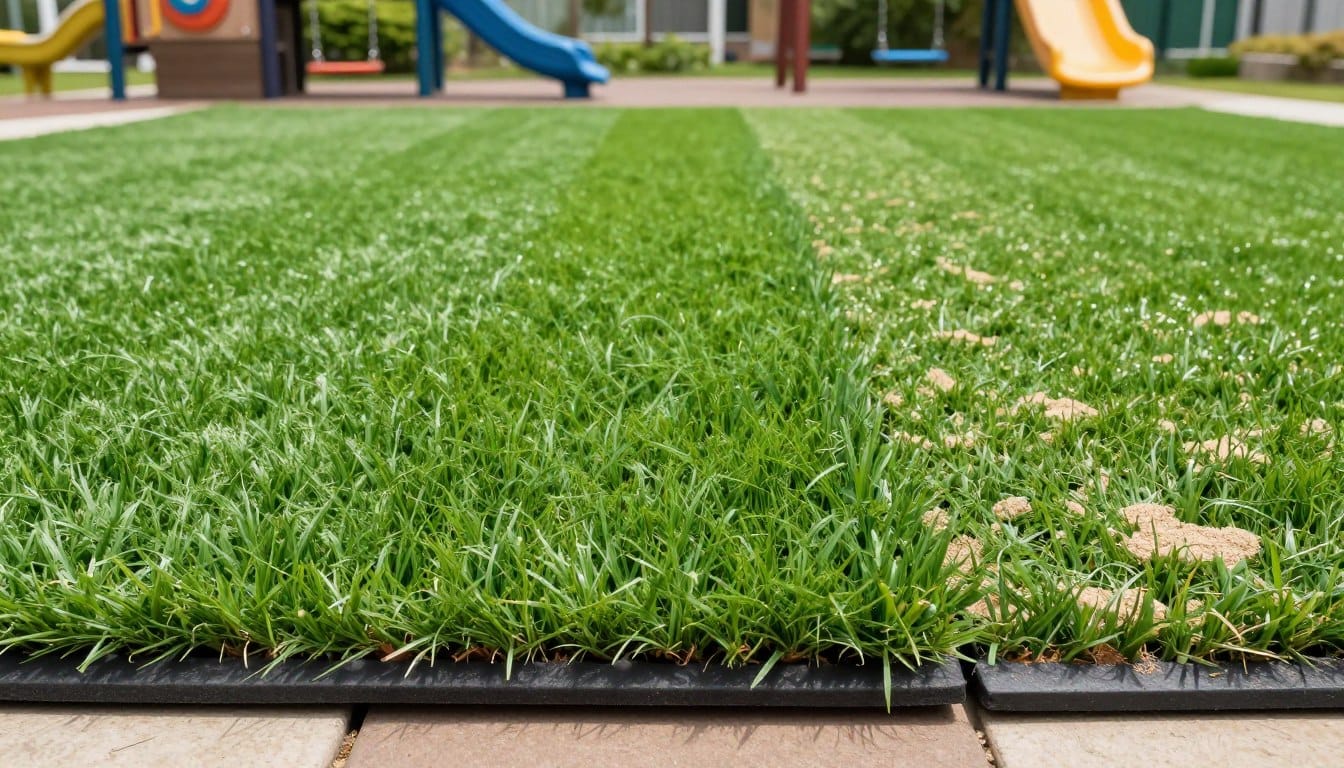
When choosing between artificial grass and natural grass for playgrounds, understanding their differences is crucial. The following table summarizes key features that can help you make an informed decision.
| Feature | Artificial Grass | Natural Grass |
|---|---|---|
| Maintenance | Low (Brushing) | High (Mowing/Watering) |
| Drainage | High (1,500+ in/hr) | Variable |
| Durability | High (All-Season) | Low (Seasonal) |
| Cost | Initial Investment | Ongoing Costs |
This comparison highlights the benefits of using artificial grass. With minimal maintenance and superior drainage capabilities, it offers a practical solution for active play areas.
Synthetic Turf Installation Process
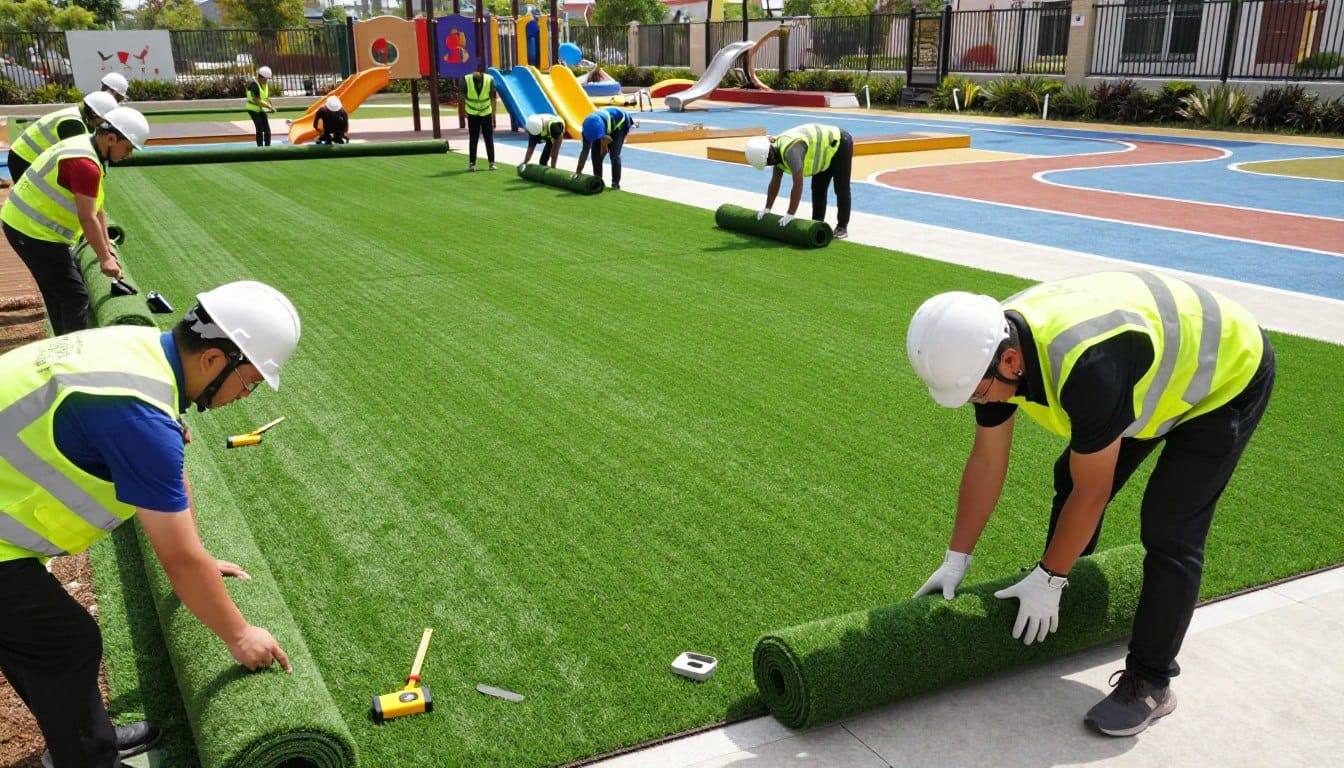
The right approach to selecting materials can significantly impact the overall success of your project. Choosing the correct components ensures your new lawn meets both aesthetic and functional needs.
Our installation videos provide guidance on sequencing the project. Following these steps helps avoid common mistakes that could affect the final appearance.
When laying out your artificial grass, ensure all pieces are oriented in the same direction. This prevents visible seams or color variations, giving your lawn a uniform look.
Proper drainage is built into the backing of our grass, allowing water to pass through at a rate of 1,500 inches per hour. A well-planned installation process transforms your home yard into a professional-grade play area with minimal effort.
For those considering a DIY approach, ensure you have the right tools and follow the manufacturer’s guidelines. The base must be perfectly level for the turf pieces to lay flat and avoid wrinkles over time.
Contact us at 844-WSI-TURF for assistance with material selection and to ensure you have enough infill for your specific area.
| Material | Feature | Benefit |
|---|---|---|
| Artificial Grass | 15-foot wide rolls | Customizable length for your project |
| Backing | Built-in drainage | Efficient water management |
| Infill | Soft texture | Enhanced comfort for play |
Preparation & Demolition Essentials
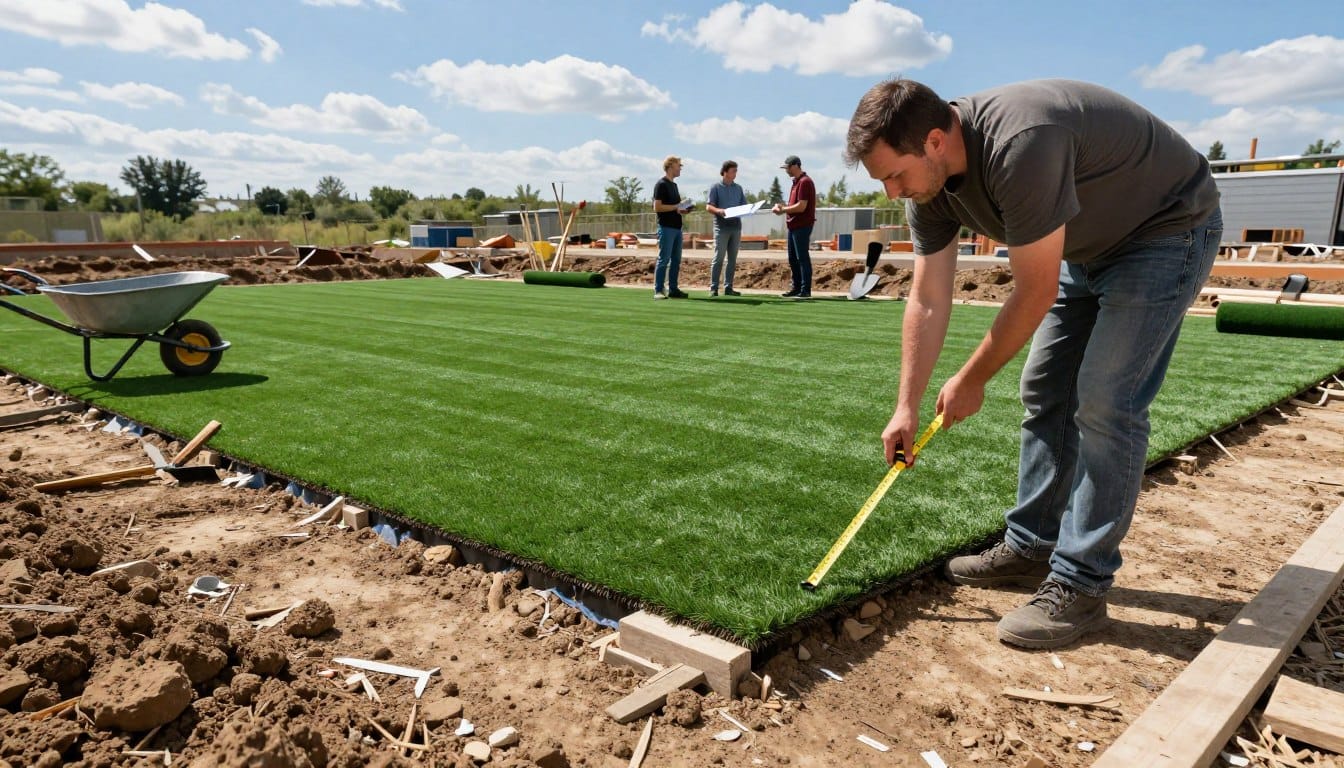
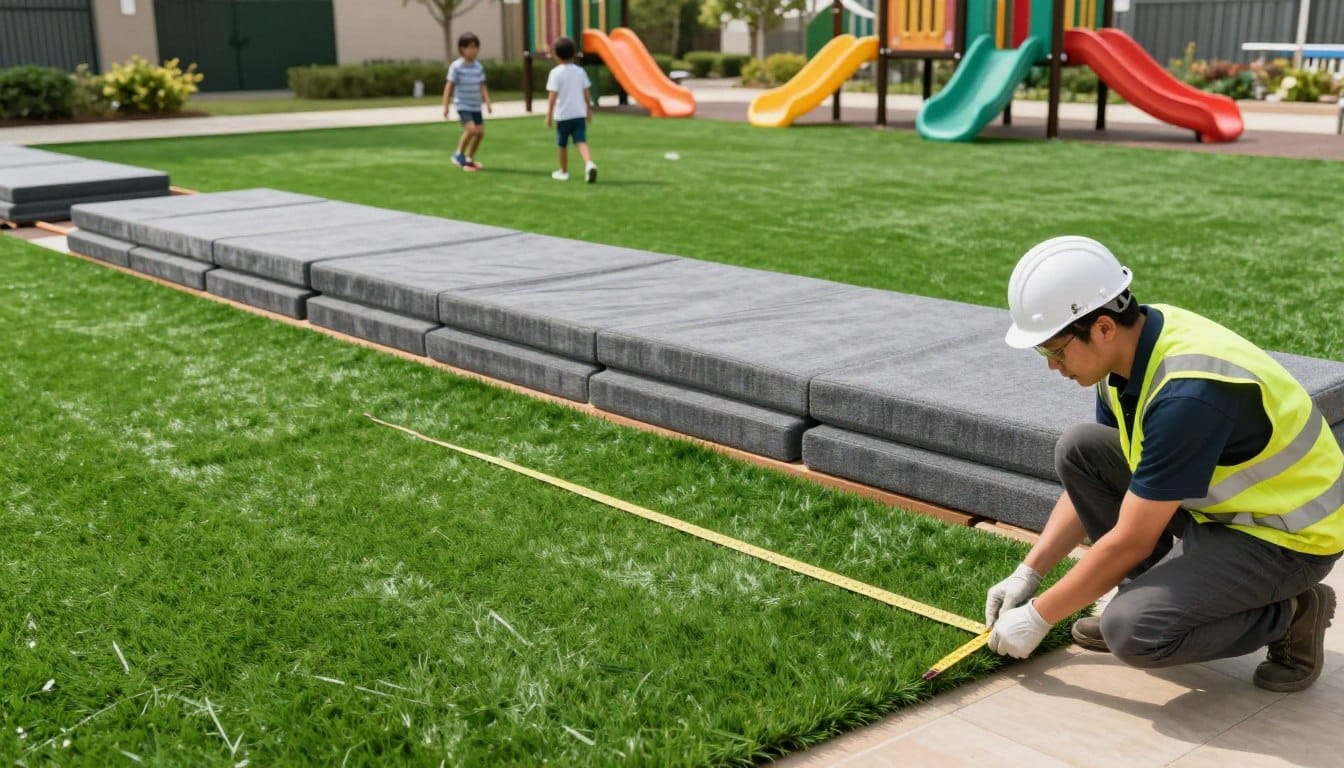
Creating a safe and enjoyable play area starts with effective preparation. The initial step involves removing 3 to 4 inches of existing materials, such as grass and soil. This process creates a clean, level site for your new lawn.
Another critical task is capping sprinklers at the pipe level. This prevents leaks that could damage your new surface. It’s also advisable to move any irrigation and electrical lines 6 to 8 inches inward from the perimeter. This protects them during the nailing process.
Proper site preparation is vital for a successful DIY project. It ensures your lawn remains level and free of depressions. Using the right tools, like a vibrating plate compactor, can help achieve a 90% compaction rate for a stable base.
Additionally, check for gophers and consider installing wire mesh if necessary. Following these steps will help ensure your new lawn is durable and resistant to the elements.
For more guidance, our installation videos demonstrate how to secure the perimeter effectively.
Base Installation & Compaction Tips
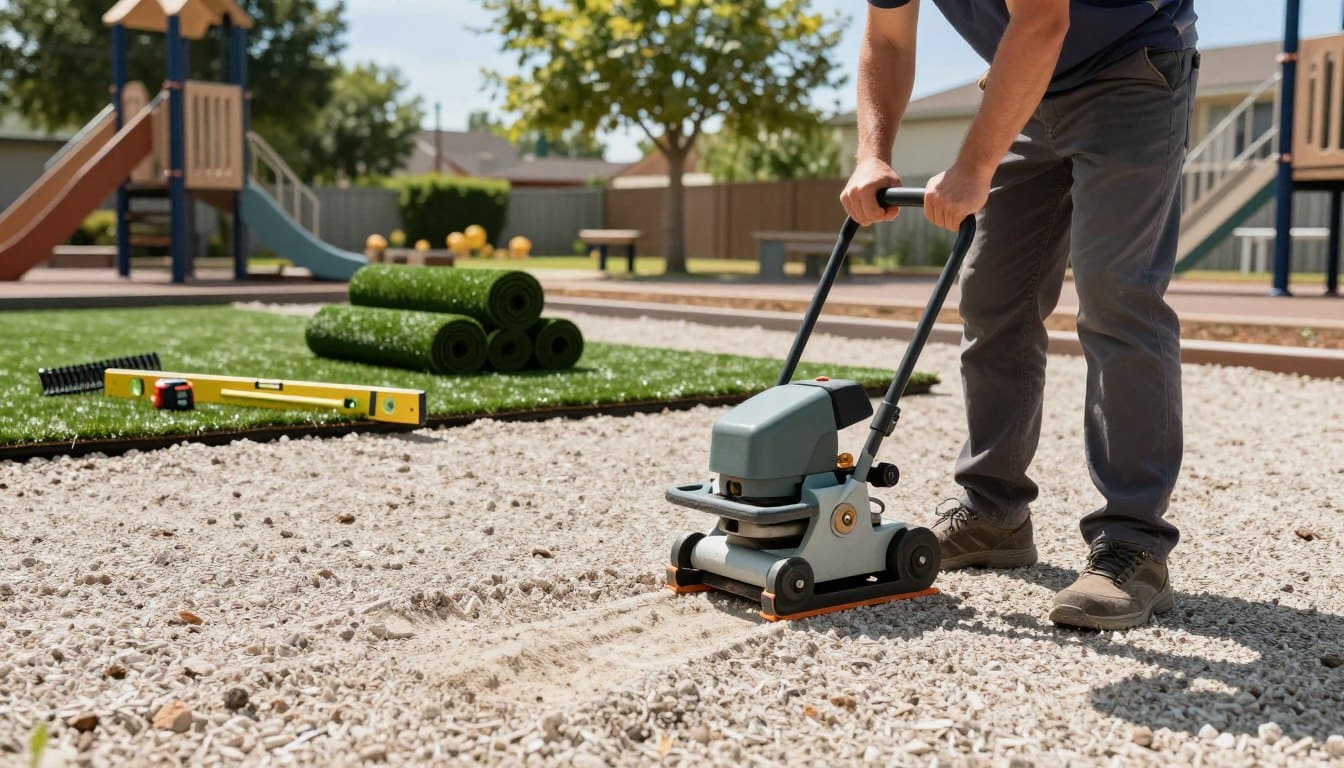
Establishing a solid base is crucial for the longevity of your play area. The first step involves applying 3 inches of gravel DG mix. This layer provides a stable, well-draining foundation for your grass surface.
Compacting the base material is essential. We recommend using a vibrating plate compactor to achieve 90% density. This prevents future settling or rippling that could disrupt your lawn.
Additionally, installing a weed fabric layer between the base rock and the decomposed granite is a smart move. This layer helps prevent unwanted weeds from growing through your grass.
- Proper base preparation is essential for the longevity of your synthetic turf, as it prevents the surface from becoming uneven.
- Our team ensures that the base is perfectly level, allowing water to flow away from your home and toward the drainage area.
- Using high-quality base materials is a key step in the installation process that separates professional results from amateur work.
- The combination of gravel and sand creates a stable foundation that supports the weight of the turf and infill.
- By focusing on the base, you ensure that your lawn remains beautiful and functional for many years to come.
Seaming, Edge Securing, and Finishing Touches
Attention to seaming and edge securing is crucial for a polished look in your playground. Proper techniques ensure that your grass appears seamless and natural. Start by using 40d nails every 4 to 6 inches along the edges. This secures the turf and prevents any movement that could lead to wrinkles.
When tucking the edges against hardscape, a wonder bar is your best friend. This tool provides a clean, professional finish that enhances the overall look. Ensure the blades of the grass face the same direction during seaming. This maintains a uniform appearance across the entire area.
For cutting, use a seaming tool to create an s-shape. This method helps disguise the seams and avoids discoloration. After securing the seams, utilize a power brush to lift the blades. This prepares the surface for the final infill application.
Finally, remove any excess debris and trim the edges for a clean finish. Our careful installation process pays attention to every detail, ensuring your turf is perfectly aligned and securely fastened.
Maintenance & Infill Applications
Maintaining your playground surface is vital for its longevity and safety. Regular upkeep ensures that the grass remains vibrant and functional for play. One of the key maintenance steps is applying infill.
For optimal stability, you should apply 1.5 to 2 lbs of infill per square foot. This weight helps keep the blades of grass standing upright. After spreading the infill, power brushing the turf is essential. This process helps the granules settle into the backing, enhancing stability.
- Power brushing lifts the blades of grass and prepares the surface for infill.
- High-quality sand infill weighs down the turf, preventing wrinkling.
- Evenly spreading the infill ensures durability and comfort for children.
- The infill process protects the backing from wear and tear.
- A final power brushing ensures maximum stability of the granules.
- Regular maintenance, including debris removal, keeps your surface looking fresh.
- Using the right tools for infill spreading prevents damage to the grass blades.
| Step | Description | Purpose |
|---|---|---|
| Infill Application | Apply 1.5 to 2 lbs per square foot | Provides stability |
| Power Brushing | Brush after infill application | Settles granules into backing |
| Debris Removal | Regularly clear debris | Keeps surface clean |
Installation Safety & Tools Overview
Equipping yourself with the right tools is vital for a successful grass project. Proper equipment not only ensures a smooth process but also enhances the final result. Here’s what you need to know about essential tools for your project.
Essential Tools Checklist
- A turf knife for precise cutting of the grass.
- A carpet kicker to stretch the grass and eliminate wrinkles before nailing.
- 5 to 6 inch nails spaced 3 to 4 inches apart to secure the perimeter.
- Seaming tools to ensure tight seams and proper alignment of the grass blades.
- Infill and sand for stability and durability of the grass surface.
- Our installation videos provide a clear guide on how to use these tools effectively.
Safety is our priority, so ensure all nails are driven to the correct depth to avoid creating tripping hazards on the site. By following these steps and using the right equipment, you can create a safe and beautiful play area for your family.
Conclusion
Transforming your backyard into a safe play area is a rewarding journey. Installing quality grass creates a low-maintenance lawn that your family can enjoy for years. By carefully following each step in this guide, you can achieve a professional finish that enhances your home.
Attention to detail and proper preparation are essential for a durable surface. If you feel that a DIY project may be overwhelming, don’t hesitate to reach out for assistance. Our team is ready to help you achieve the perfect result.
Visit ctlawn.net today to request a free estimate. Let us help you create a beautiful and safe play area for your children.