

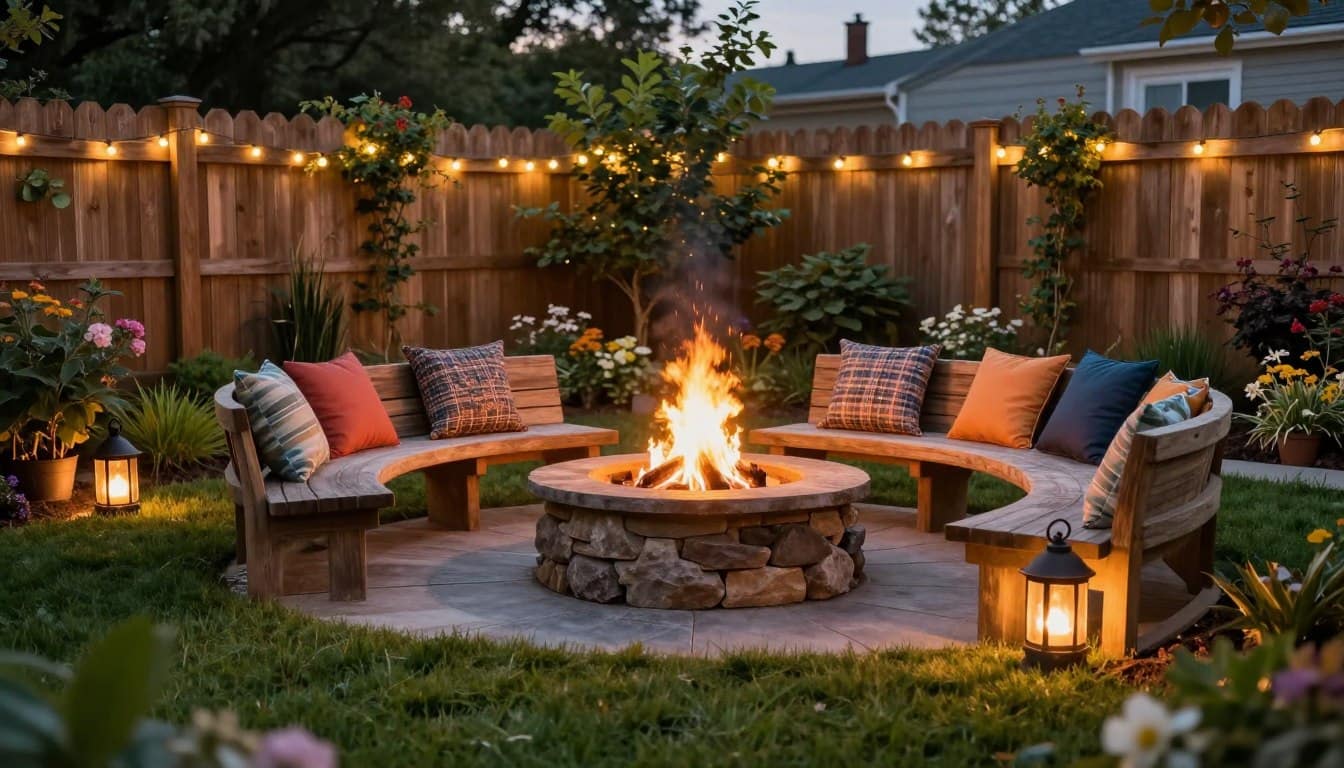

Have you ever wondered how a simple gathering around a fire can transform your backyard with a low cost fire pit landscape design into a cozy retreat? A well-placed fire feature can serve as the heart of your outdoor space, inviting friends and family to enjoy evenings under the stars. Whether you envision roasting marshmallows or sharing stories, creating an inviting area is essential.
In this guide, we will explore how to craft a budget-friendly fire area that enhances your outdoor living experience. By selecting durable materials and focusing on DIY techniques, you can create a stunning space without breaking the bank. Homeowners in Connecticut can utilize local resources to design a feature that blends beautifully with nature.
Join us as we dive into tips and layouts that will help you achieve a functional and safe outdoor gathering spot. Let’s ignite your creativity and bring warmth to your backyard!
Key Takeaways
- A well-planned fire feature is the focal point of any inviting outdoor space.
- Utilizing local materials can enhance the natural beauty of your backyard.
- DIY installation allows for budget-friendly options while ensuring safety.
- Proper site selection is crucial for functionality and enjoyment.
- Creating a cozy atmosphere extends your outdoor season for gatherings.
Understanding Budget Fire Pit Landscaping
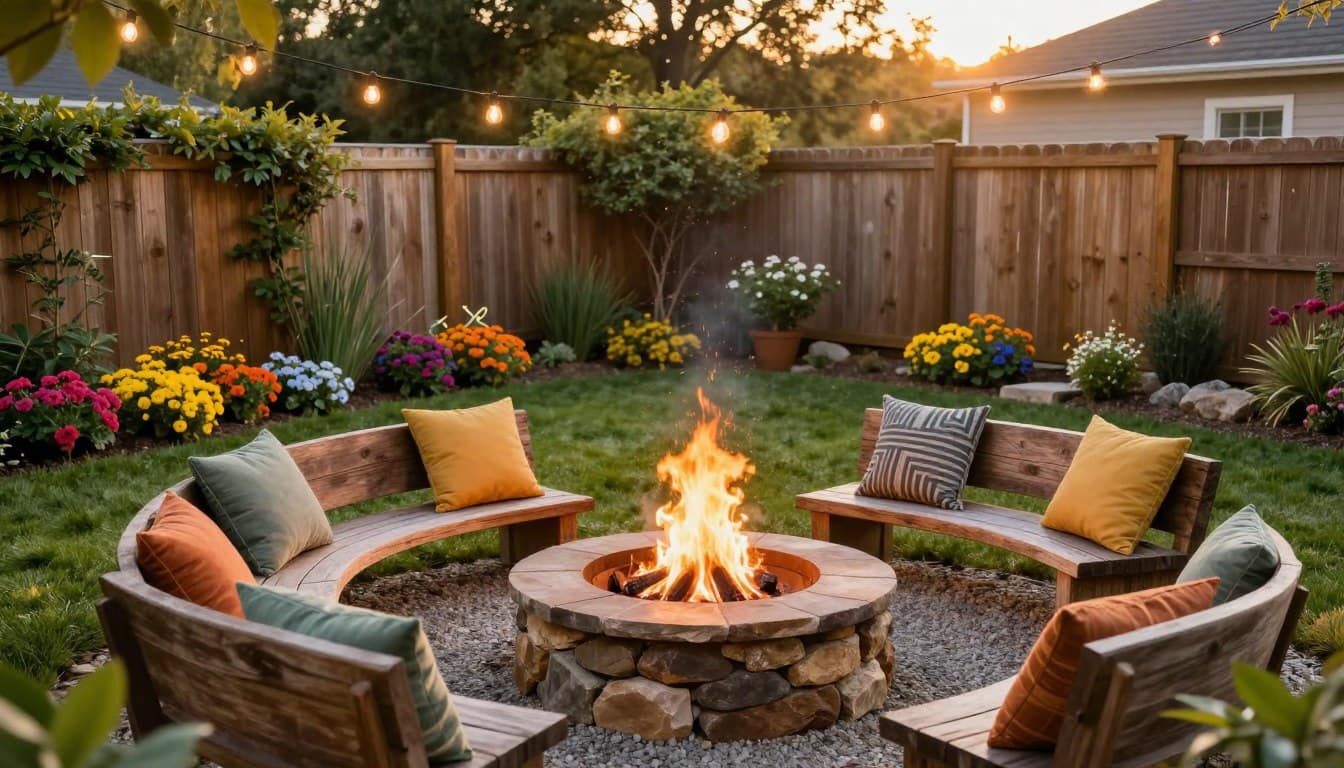
Picture a cozy corner in your yard that encourages warmth and togetherness. Budget fire pit landscaping focuses on using affordable materials to create a functional area that enhances your outdoor space. This approach not only saves money but also allows for customization to fit your unique backyard layout.
According to Yardzen, fire pits are among the most requested features in outdoor spaces. They serve as a focal point, activating gathering areas for friends and family. Engaging in a DIY project provides a rewarding experience, as many homeowners enjoy building their own fire pit zones.
By managing the construction of your fire feature, you gain control over the materials and the final look. Effective landscaping around your fire pit can transform an overlooked corner into a warm and inviting outdoor living room. Understanding the basics of fire pit construction helps avoid unnecessary expenses while ensuring a beautiful and durable result.
| Aspect | DIY Approach | Professional Installation |
|---|---|---|
| Cost | Lower | Higher |
| Customization | High | Limited |
| Skill Development | Yes | No |
| Time Investment | Variable | Less |
low cost fire pit landscape design Essentials
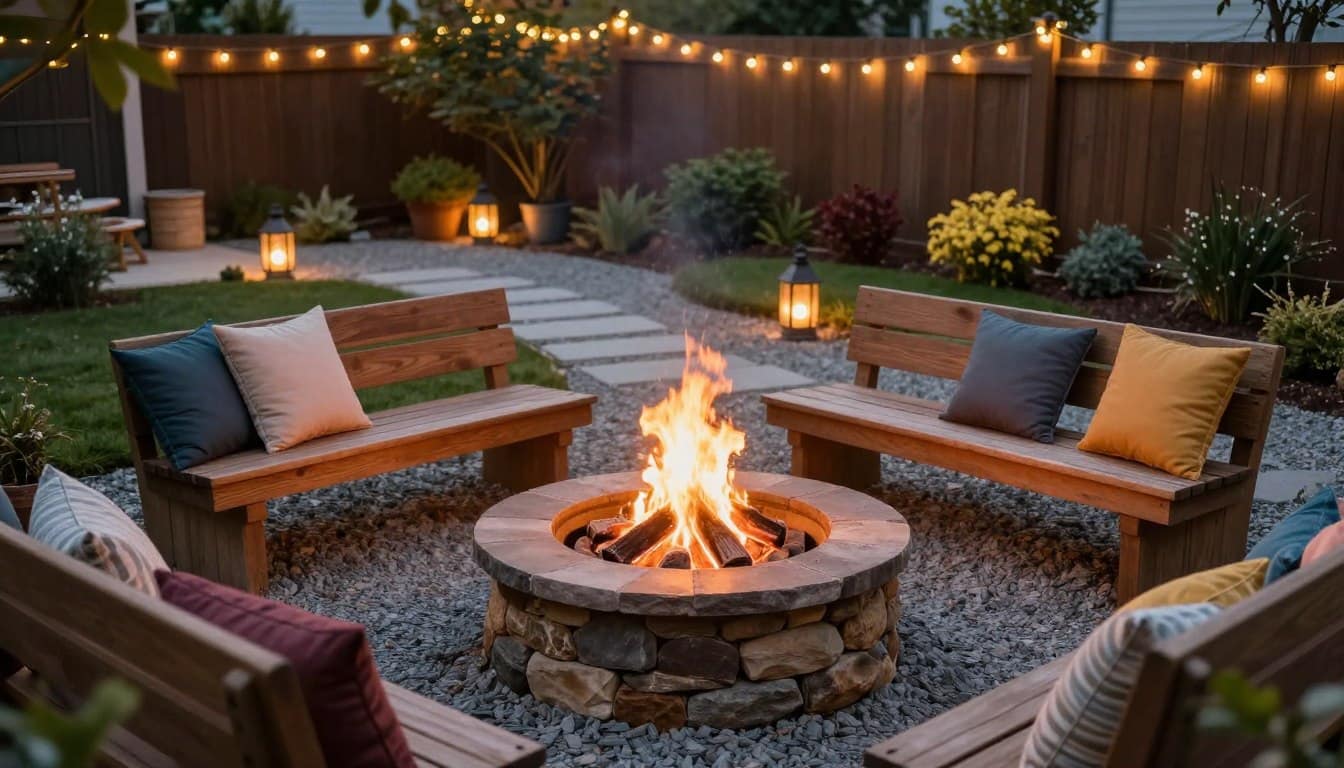
Envision a welcoming area in your backyard that invites friends and family to connect. Selecting the right spot for your fire feature is crucial. Aim for a flat, open area away from structures to ensure safety and comfort.
A well-integrated fire pit should flow seamlessly with existing patios and walkways. Yardzen emphasizes the importance of creating a cohesive design that enhances your outdoor space. Additionally, proper drainage is essential to prevent water accumulation, a common issue in many Connecticut yards.
Choosing materials like gravel or stone is vital for a budget-friendly and durable project. Clear sightlines allow for enjoyable conversations around the fire, enhancing the social atmosphere. Incorporating natural elements can make your fire area feel like a permanent feature in your backyard.
Always check local safety regulations to ensure your fire pit placement is compliant. By focusing on these essentials, you can create a fire pit that serves as a beautiful and functional focal point for years.
| Aspect | DIY Approach | Professional Installation |
|---|---|---|
| Cost | Lower | Higher |
| Customization | High | Limited |
| Skill Development | Yes | No |
| Time Investment | Variable | Less |
Materials and Tools for a Budget-Friendly Design
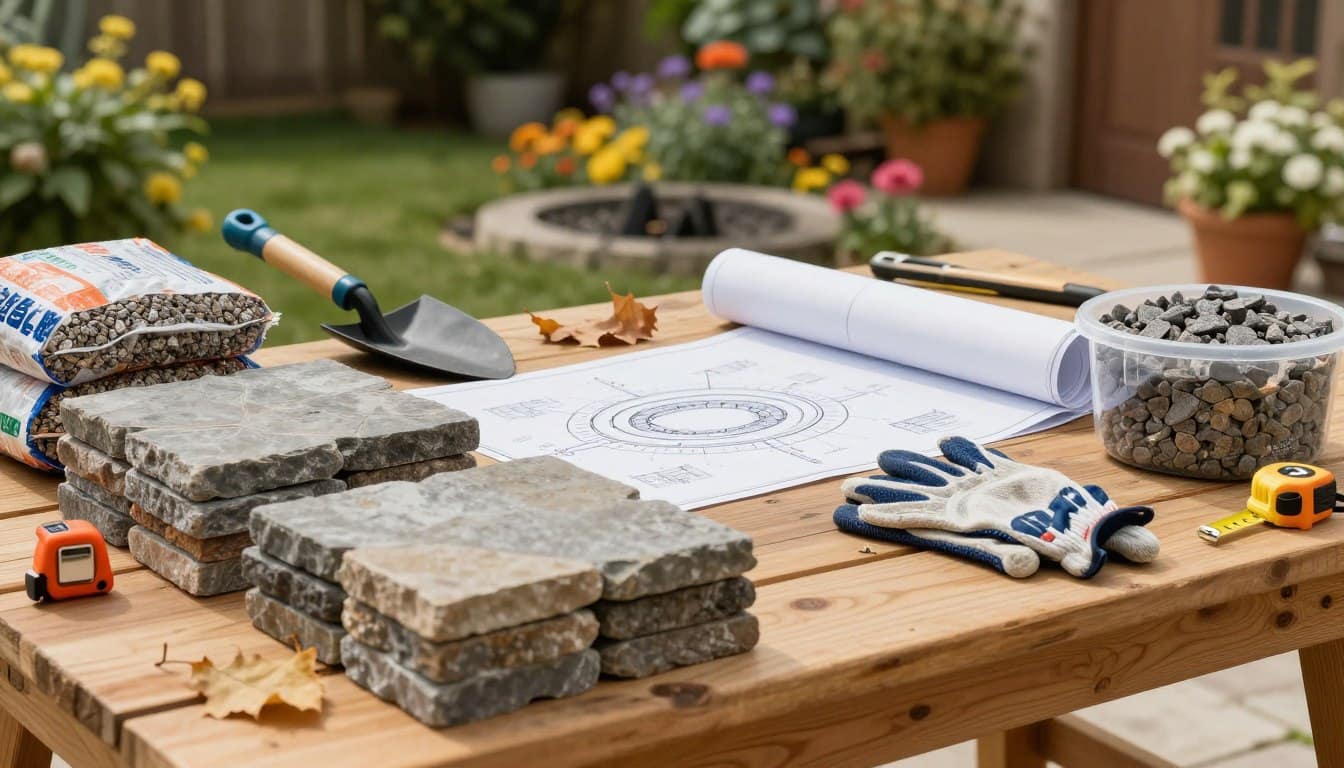
Visualize a space where affordable materials come together to form a charming fire area in your yard. Choosing the right components is essential for creating a stunning yet economical outdoor feature. Natural stone is durable but often comes with a hefty price tag. On the other hand, reclaimed bricks provide a cost-effective and eco-friendly alternative.
Metal fire pits made from steel or cast iron offer a modern aesthetic. Their prices can vary based on thickness and design. Here are some materials and tools to consider for your DIY project:
- Selecting affordable materials like reclaimed bricks or concrete blocks helps keep your project within budget.
- Concrete and wood are classic materials that bring elegance to your fire area.
- Metal fire pits, especially those made from steel, are durable and stylish options.
- When using stone, opt for local varieties to minimize transportation costs.
- Essential tools include a shovel, level, and landscaping adhesive to ensure stability.
- Always use materials rated for high heat exposure to prevent cracking.
- Gravel makes an excellent base, offering drainage and a rustic look.
- Proper material selection ensures your fire area withstands harsh weather conditions.
Planning Your Fire Pit Layout and Space
Imagine a space in your backyard that invites laughter and conversation around a warm glow. Planning your fire pit layout requires careful consideration of how people will move, sit, and gather during evening social events. A well-thought-out arrangement can make your outdoor area feel like an extension of your home.
Yardzen designs suggest that a rectangular fire pit is ideal for long and narrow seating areas to maximize social flow. This layout allows for comfortable seating, whether you choose Adirondack chairs or built-in benches. Proper spacing around your fire pit ensures guests can move freely without feeling cramped.
Additionally, consider the proximity of your fire pit to your outdoor kitchen or patio. This creates a seamless transition between different activity zones. Aligning your fire pit with existing landscape features adds to the intentionality of your design.
| Aspect | Importance | Benefits |
|---|---|---|
| Seating Arrangement | High | Encourages interaction |
| Space Around Fire Pit | Essential | Allows for movement |
| Proximity to Other Areas | Moderate | Enhances flow |
| Alignment with Landscape | High | Creates cohesion |
Incorporating Surrounding Landscape Elements
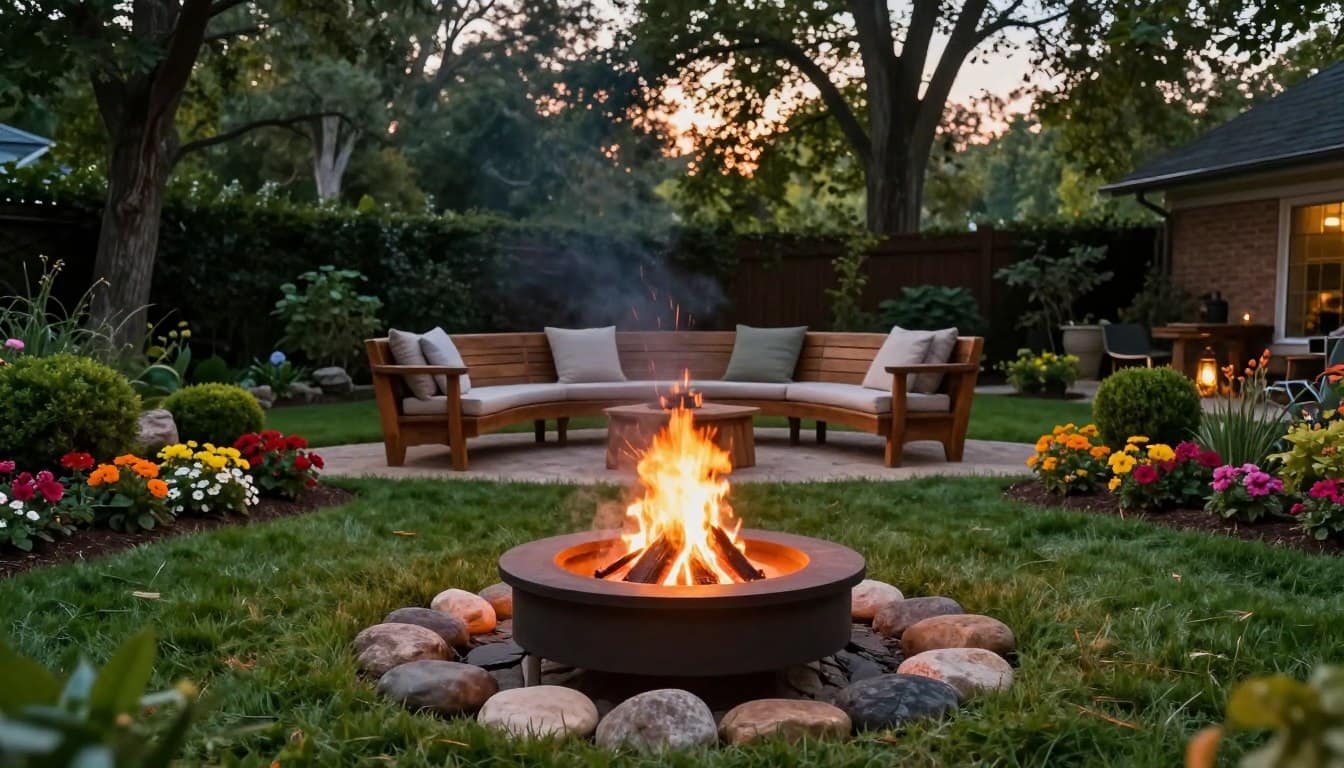
Creating a lush environment around your fire feature can enhance the overall appeal of your outdoor space. Integrating natural elements like trees and native plants softens the hardscape, making the area feel more inviting.
Yardzen designs often use dense plantings to frame the fire pit, defining the space and adding privacy. This approach helps to create a cozy atmosphere, perfect for gatherings.
- Using native species ensures your plants thrive in the Connecticut climate, making them a cost-effective choice.
- Decorative grasses add texture and movement without needing much maintenance or water.
- Flammable plants should be placed at a safe distance from the fire pit to prevent hazards.
- Mulch or pea gravel can suppress weeds and provide a clean look around your fire area.
- Integrating a focal tree can offer shade during the day and a beautiful canopy for stargazing at night.
- A well-designed landscape makes your backyard feel like a cohesive, relaxing retreat.
Quick Reference Table for Material Comparison
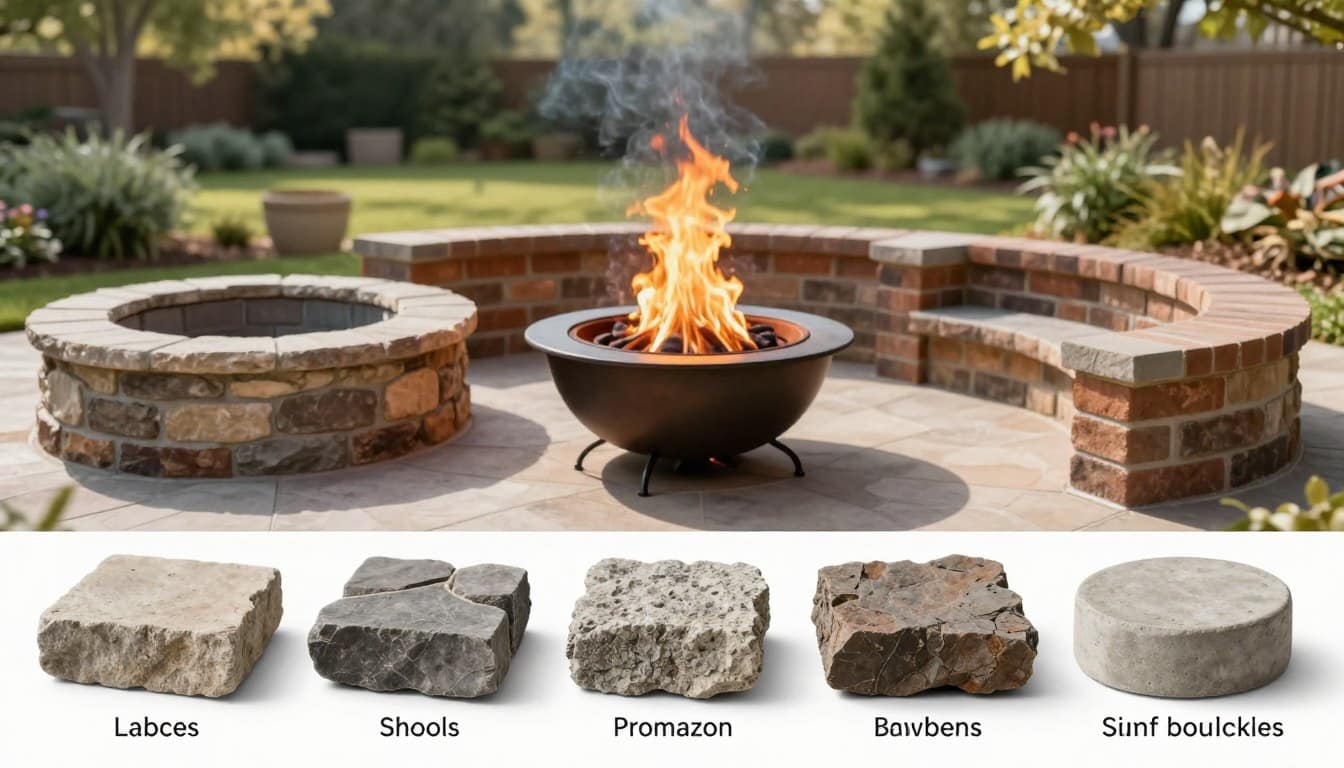
Choosing the right materials for your fire feature is essential for both functionality and aesthetics. This comparison table helps you evaluate different options based on cost, durability, and overall appeal.
Natural stone is a premium choice, offering high durability and a timeless look that fits various styles. Concrete blocks are an economical option, perfect for DIY projects if rated for high heat exposure. Metal fire pits, especially those made from corten steel, provide a modern aesthetic and are often easier to install. Reclaimed bricks add a classic touch and are budget-friendly.
When selecting materials, consider long-term maintenance to ensure your fire feature remains attractive. Always prioritize fire-rated materials for safety during use.
| Material | Cost | Durability | Aesthetic Appeal |
|---|---|---|---|
| Natural Stone | High | Very Durable | Timeless |
| Concrete Blocks | Low | Moderate | Versatile |
| Metal (Corten Steel) | Moderate | Durable | Modern |
| Reclaimed Bricks | Low | Moderate | Classic |
Step-by-Step Guide to Your DIY Fire Pit
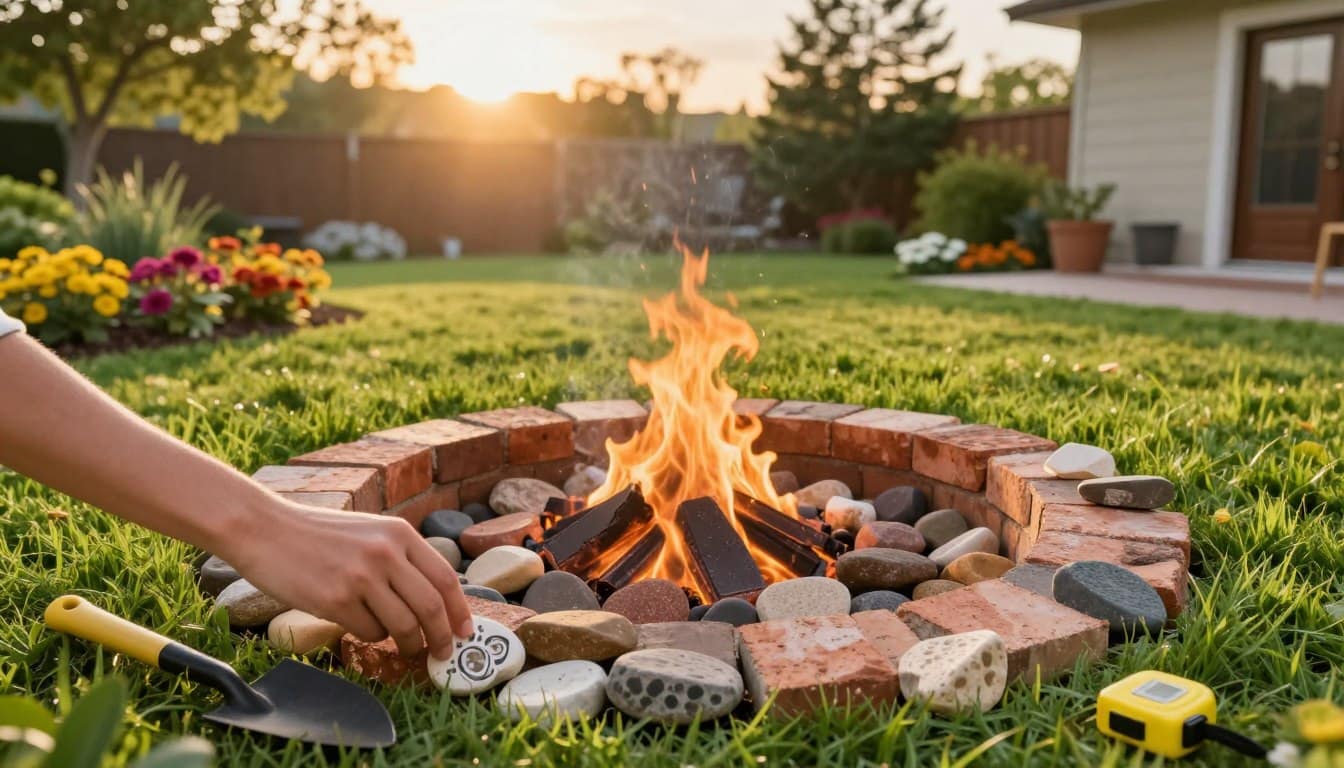
Crafting a comfortable space in your yard is easier than you might think. With the right approach, you can create a beautiful fire feature that invites warmth and connection. Here’s a straightforward guide to help you get started on your DIY project.
Bulleted Core Steps
- Select a flat, open area in your yard that meets local safety regulations.
- Dig a few inches into the ground to create a solid base. Fill it with gravel for drainage and sand for leveling.
- Arrange your chosen bricks or stones in a circular pattern. Use landscaping adhesive to ensure stability.
- Test your fire pit with a small, controlled fire before inviting guests. This ensures everything is stable and operates as expected.
- Utilize a spark screen to contain embers and prevent them from straying during gatherings.
- Keep a fire extinguisher or a bucket of water nearby for safety whenever using your fire pit.
- Regularly remove ash and debris to maintain efficiency and keep the space inviting.
- Following these steps will help you build a safe and functional fire pit for many seasons of enjoyment.
Quick Tips for Each Step
Always ensure your chosen surface is level for safety. The right layout can enhance both aesthetics and functionality. Remember to consider wind direction when placing your fire pit to keep smoke away from seating areas.
Creating a Safe and Inviting Fire Pit Area
A thoughtfully designed fire area ensures safety while providing a charming atmosphere for relaxation. Safety is paramount when planning your fire pit zone. Always place your fire pit at least 10 feet away from any structures, trees, or other combustible materials.
Using a non-flammable surface like concrete, bricks, or stone under your fire pit is crucial. This helps prevent ground fires from spreading to your lawn. Additionally, never leave a fire unattended; ensure at least one person monitors it until completely extinguished.
Regular maintenance is essential. Cover your fire pit when not in use to protect it from the elements. Gas fire pits with automatic shut-off capabilities offer enhanced convenience and safety for homeowners who prefer a cleaner flame.
- Keep a bucket of water or a fire extinguisher nearby for emergencies.
- Inspect your fire pit regularly for cracks or structural damage, especially after winter.
By following these safety and maintenance guidelines, you ensure that your fire pit remains a secure and welcoming spot for relaxation. For more ideas on enhancing your fire area, check out this resource.
Enhancing Your Fire Pit with Lighting and Ambiance
Transform your outdoor evenings into enchanting experiences with the right lighting around your fire feature. Thoughtful lighting can create a warm and inviting atmosphere that extends the usability of your space well into the night.
Consider incorporating weather-resistant options like string lights. These can create a cozy glow that enhances the overall ambiance. Yardzen designs often utilize soft landscape lighting to highlight textures, making the area feel more inviting.
Selecting Weather-Resistant Lighting
Under-cap illumination is another excellent choice. It adds both safety and style, ensuring your fire area remains a beautiful feature after sunset. Adding plush blankets and durable outdoor furniture will help create a comfortable space for relaxing on cool evenings.
Creating a Cozy Atmosphere
Be mindful of wind direction when planning your fire pit area. This will help ensure that smoke does not interfere with your cozy seating arrangement. Lighting keeps the space alive long after the fire burns low, allowing you to enjoy your backyard well past sunset hours.
By layering different types of lighting, you can create a versatile space that adapts to both intimate conversations and larger social gatherings. A well-lit fire pit area not only looks beautiful but also increases the safety and usability of your backyard during the night.
Preparing Your Backyard for the Fire Pit Project
Getting your backyard ready for a fire feature is an exciting first step in creating an inviting outdoor space. Proper preparation is essential to ensure your fire pit is safe and functional. Start by clearing the area of any debris, overhanging branches, or potential fire hazards.
Next, make sure the ground is level and stable before construction begins. This step prevents your fire pit from shifting or cracking over time. Yardzen designs emphasize that a well-prepared site is the foundation of a successful fire project that will last for many years.
Additionally, check for underground utilities before digging. This ensures your fire pit project does not interfere with any essential home systems. A solid base of gravel and sand is vital for proper drainage, protecting your fire feature from moisture.
Consider the overall layout of your backyard. Positioning the fire pit in a spot that maximizes your available space is crucial. Proper site preparation allows you to create a professional-looking fire area that enhances the value and appeal of your property.
Taking the time to prepare your backyard correctly will save you significant effort and expense during the construction of your fire pit.
| Preparation Step | Description | Importance |
|---|---|---|
| Clear Area | Remove debris and branches | Prevents fire hazards |
| Level Ground | Ensure a stable base | Prevents shifting |
| Check Utilities | Locate underground lines | Avoids damage |
| Drainage Base | Use gravel and sand | Protects from moisture |
DIY Fire Pit Ideas with Repurposed Materials
Consider how repurposing materials can add charm to your outdoor fire area. Using reclaimed bricks or stones from past projects can create a beautiful and durable fire feature for your home. Yardzen designs often highlight how simple, repurposed elements can be combined to craft a stylish fire area that feels designer-made.
Metal drums or old tractor rims can be transformed into industrial-style fire pits, as long as they are cleaned and treated for heat. By thinking outside the box, you can discover affordable materials that give your fire pit a unique look, reflecting your personal style.
Always ensure that any repurposed materials are safe for high-heat use and free from toxic coatings that could release harmful fumes. Repurposing materials is not only budget-friendly but also an environmentally conscious way to complete your fire pit project.
Your DIY fire pit can become a conversation piece when you use unique, repurposed materials that tell a story in your yard.
Cost-Saving Tips for Your Backyard Fire Pit
Saving money while creating a beautiful fire area in your backyard is entirely possible with the right strategies. There are several effective techniques to help you optimize your budget while still achieving the outdoor space of your dreams.
Here are some practical tips to consider:
- Use locally sourced materials to cut down on shipping and transportation fees.
- Plan your fire pit project during the off-season for better deals on materials and tools.
- Keep your fire pit layout simple and functional to minimize costs without sacrificing style.
- Opt for DIY installation to save on labor costs, which can be significant in professional landscaping.
- Consider using gravel instead of expensive pavers for a clean, budget-friendly look.
- Focus on essential features first, adding decorative elements like lighting over time.
- Prioritize durability and safety to avoid long-term repair costs associated with a poorly constructed fire feature.
These budget optimization techniques help you create a stunning fire pit that provides years of enjoyment without straining your financial resources.
| Tip | Description | Benefit |
|---|---|---|
| Local Materials | Reduce shipping costs | Lower overall expenses |
| Off-Season Planning | Find better deals | Maximize budget |
| DIY Installation | Save on labor | More budget for materials |
| Simple Layout | Minimize complexity | Maintain style |
Local CT Tips for Backyard Fire Pit Adaptation
Adapting your fire pit to local conditions can enhance both its functionality and longevity. Connecticut homeowners should consider the local climate, which includes freezing and thawing cycles that can impact the stability of your fire pit.
Here are some tips to keep in mind:
- Using frost-resistant materials for your fire pit ensures that your structure remains intact throughout the harsh Connecticut winter and spring seasons.
- When selecting plants for your fire pit landscape, choose native species that are well-adapted to the specific soil conditions found in Connecticut.
- Always check your local town ordinances regarding fire pit use, as some Connecticut municipalities have specific regulations on wood-burning versus gas fires.
- Proper drainage is critical in Connecticut to prevent water from pooling around your fire pit, which can lead to erosion and structural damage.
- Consider the prevailing winds in your area when positioning your fire pit to ensure that smoke is directed away from your home’s windows.
- Our team at C&T Lawn and Landscape can help you integrate your fire pit into a lawn care plan that keeps your surrounding grass healthy and vibrant.
- By adapting your fire pit project to the local Connecticut environment, you ensure a long-lasting and enjoyable outdoor feature for your home.
Integrating Hardscaped and Softscape Elements
Creating a seamless blend of hard and soft elements in your outdoor space can elevate your fire area. Harmonizing materials like stone or concrete with vibrant plants enhances the overall appeal. This balance ensures your fire pit is not just functional but also visually striking.
Yardzen designs illustrate how a consistent color palette for hardscaping and plantings ties the entire area together beautifully. Softening the edges of your fire pit patio with low-growing perennials or ornamental grasses creates a natural transition to the lawn.
Incorporating built-in seating walls made of stone can serve as both a functional element and a stunning feature for your space. Using mulch or decorative stone in planting beds provides a clean contrast against the hard surfaces of your fire area.
When selecting plants, consider seasonal changes to ensure color and texture throughout the year. A well-integrated design makes your fire pit feel like a natural part of your backyard, enhancing its charm and inviting atmosphere.
By carefully balancing hard and soft elements, you create a sophisticated outdoor space that is both functional and aesthetically pleasing to enjoy.
Expert Inspiration from Backyard Fire Pit Landscaping
Imagine how a well-placed fire feature can become the heart of your backyard gatherings. Expert inspiration from Yardzen shows that a circular fire pit can serve as a natural centerpiece for your outdoor space.
Many successful designs use a mix of seating options, such as Adirondack chairs and built-in benches, to accommodate groups of all sizes. Look for ideas that emphasize flow, ensuring that your fire pit area is easily accessible from your home or outdoor kitchen.
Incorporating vertical elements like pergolas or privacy hedges can help define your fire pit space and create a sense of intimate enclosure. Expert designers often use lighting to highlight the textures of stone and wood, making the fire area a stunning feature during the night.
Consider how different materials, such as gravel and pavers, can be combined to create distinct zones within your backyard fire pit area. By studying professional landscape designs, you can gather creative ideas to build a fire pit that perfectly suits your lifestyle and home.
Expert inspiration helps you visualize the potential of your backyard, turning an empty corner into a beautiful and functional outdoor retreat.
| Design Element | Description | Benefits |
|---|---|---|
| Circular Fire Pit | Serves as a natural centerpiece | Enhances gathering space |
| Seating Options | Mix of chairs and benches | Accommodates larger groups |
| Vertical Elements | Pergolas and hedges | Defines space and adds privacy |
| Lighting | Highlights textures | Creates ambiance at night |
Conclusion
Designing a budget-friendly fire pit area is a rewarding project that enhances your backyard. It creates a cozy space for family gatherings and memorable moments. By following these DIY tips and layout ideas, you can craft a beautiful fire feature that serves as the heart of your home.
Prioritizing safety and adhering to local regulations ensures your fire pit remains a secure and enjoyable feature for many years. Whether you opt for a simple gravel design or a more intricate stone structure, the right planning will guarantee a successful outdoor experience.
We encourage you to visit ctlawn.net for a free estimate to help you bring your backyard fire pit vision to life today. Your new fire pit will provide countless opportunities for relaxation and connection, making every evening in your backyard a memorable experience.
Start your project now and transform your outdoor space into the inviting retreat you have always wanted for your family and friends.
| Key Points | Details |
|---|---|
| Budget-Friendly | Enhances backyard experience |
| DIY Tips | Creates a beautiful fire feature |
| Safety First | Adhere to local regulations |
| Planning | Ensures successful outdoor experience |
Frequently Asked Questions
Imagine a vibrant gathering space that invites warmth and connection among family and friends. Here are some common questions regarding your fire feature:
- Q: How far should my fire pit be from my house?
A: For safety, always place your fire pit at least 10 feet away from any structures or combustible materials to prevent fire hazards. - Q: What is the best base for a DIY fire pit area?
A: A solid base of gravel and sand is recommended to provide proper drainage and a level surface, ensuring your fire pit remains stable during use. - Q: How do I maintain my fire pit?
A: Regular maintenance includes removing ash and debris after each use and covering your fire pit to protect it from the elements when it is not in use. - Q: Can I build a fire pit on a budget?
A: Yes, by using affordable materials like reclaimed bricks or concrete blocks and opting for a DIY installation, you can create a beautiful fire pit area economically.