


What if you could stop weeds before they even start? Many gardeners battle unwanted plants every season. Mulching with the right materials can be a powerful solution.
Mulch is a layer of material spread over soil. It acts as a protective blanket for your garden. This simple step blocks sunlight from reaching weed seeds.
Without light, most seeds cannot sprout. A good mulch layer also locks in moisture. This helps your desired plants thrive while choking out the competition.
Choosing the correct material is crucial for success. Not all mulches work the same way. This guide will help you select the best type for your garden beds and landscape.
You will learn about organic and inorganic types. Understanding these options leads to fewer weeds and healthier soil. Proper mulching saves you time and water.
Key Takeaways
Mulch creates a physical barrier that prevents weed seeds from germinating.
It helps soil retain moisture, reducing the need for frequent watering.
Different garden areas often require different types of mulch material.
Organic mulches improve soil health as they decompose over time.
Applying the correct depth is essential for effective weed suppression.
Choosing the right mulch can significantly reduce garden maintenance.
The Core Benefits of Mulching for Weed Control
The true value of covering your soil extends far beyond simply stopping unwanted plants from growing. A proper mulch layer acts as a dynamic, multi-purpose tool for any garden. It creates a healthier environment where your desired flowers, vegetables, and shrubs can thrive with less work from you.

How Mulch Creates a Physical Barrier
This material works first as a simple, physical block. It covers the soil surface completely. Sunlight cannot reach weed seeds waiting below.
Without light, most annual weeds cannot sprout and grow. This suppression of competing vegetation is a primary benefit. It saves you countless hours of pulling and spraying.
The barrier also protects plant stems and roots. It cushions them from damage by lawn mowers or foot traffic in planting areas. This makes overall garden maintenance much easier.
Moisture Retention and Soil Health
By shielding the ground, mulch dramatically reduces water evaporation. The soil underneath stays moist for longer periods. Your plants have consistent access to the moisture they need. This is crucial during hot, dry spells. You will not need to water as often.
Conserving soil moisture is a key advantage.
Over time, organic mulches like wood chips or straw break down. They add valuable organic material to the earth. This decomposed matter feeds microorganisms and improves soil structure.
The result is earth that holds more nutrients and air. It fosters stronger root growth. Using organic mulch is a natural way to improve soil fertility continuously.
Additional Advantages: Temperature Moderation and Erosion Control
Mulch acts like insulation for the ground. In summer, it keeps the soil cooler. In winter, it helps delay freezing and keeps roots warmer.
This temperature moderation protects plants from extreme swings. It promotes steady, healthy root development throughout the seasons.
The layer of mulch also fights erosion. It softens the impact of heavy rain. This slows runoff and allows more water to soak in.
Preventing topsoil loss is vital for long-term garden health. Mulch also keeps fruits and vegetables clean by stopping soil from splashing up during storms.
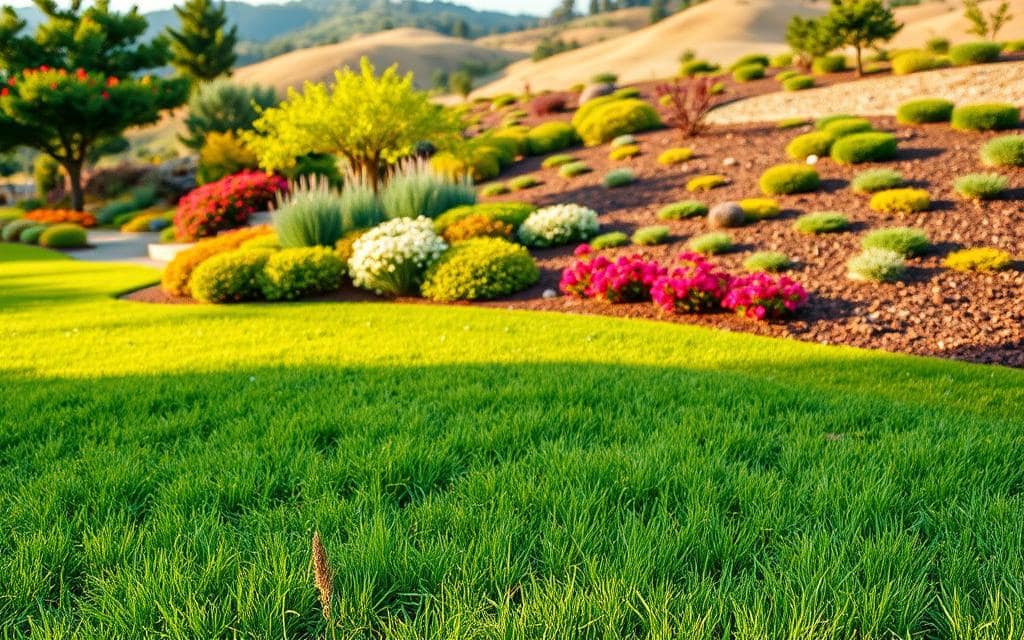
This can reduce the severity of some plant diseases. Finally, a neat bed of mulch gives your landscape a finished, attractive look. It makes your colorful plants stand out beautifully.
These combined benefits show why mulching is so powerful. It tackles several common garden problems at once. The right material supports your plants while suppressing weeds effectively.
Understanding Your Options: Types of Mulch for Gardens
Selecting the right ground cover involves comparing two main categories: organic and inorganic. Each type offers distinct advantages and limitations for your garden. Knowing their characteristics helps you match the material to your specific needs.

Organic mulches come from living sources like plants or animals. They break down over time, enriching the earth beneath them. Inorganic types are man-made or mineral-based and do not decompose.
Your choice impacts soil health, water retention, and long-term maintenance. Consider the specific area you are covering, from vegetable patches to decorative landscape paths.
Organic Mulches: Improving Soil as They Decompose
These mulches are derived from natural organic material. As they decay, they release valuable nutrients into the soil. This process feeds microorganisms and improves the earth’s structure.
The result is better moisture retention and air flow for plant roots. Using an organic mulch is a long-term strategy to improve soil fertility. However, they require replenishment as they break down.
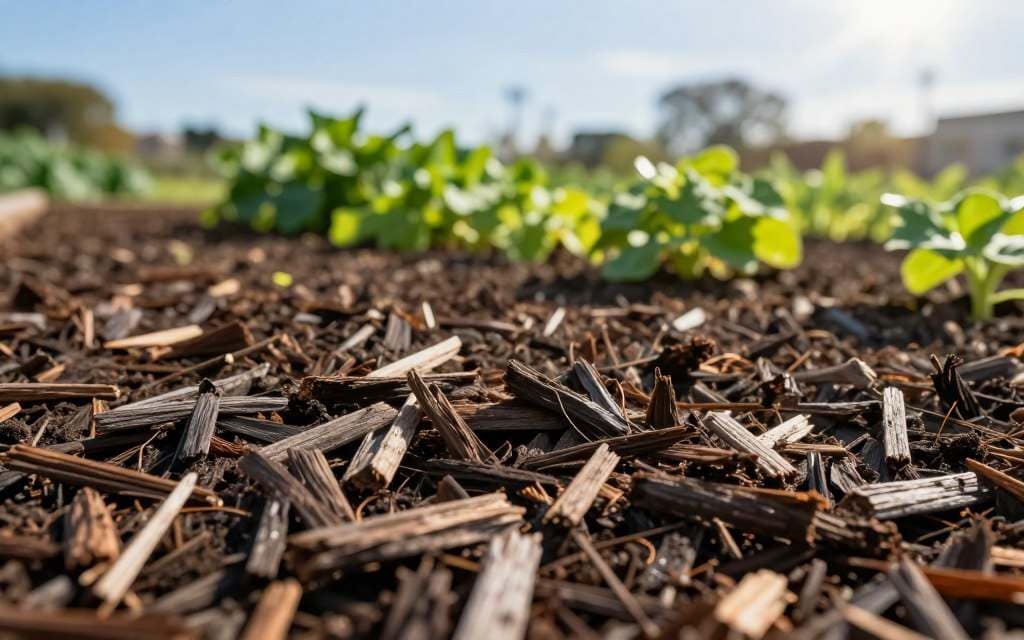
Shredded Bark and Wood Chips
Bark and wood chips are popular, attractive options. They decompose slowly, making them long-lasting. Shredded bark is ideal around trees, shrubs, and perennial beds.
Wood chips are often available from tree services. It’s best to use fresh, natural chips from untreated lumber. Avoid dyed or chemically treated products.
These materials create an excellent barrier against weeds. They also insulate the ground, protecting plants from temperature swings.
Straw, Leaves, and Grass Clippings
These are readily available, cost-effective organic mulches. Straw is excellent for vegetable gardens and provides winter protection. Ensure it is seed-free to avoid introducing new weed seeds.
Leaves should be shredded before use. Whole leaves can mat together, blocking water and air. Shredded leaf mold is a fantastic soil amendment.
Grass clippings must be dried thoroughly. Fresh grass clippings can create a slimy, smelly mat. Also, avoid clippings from lawns treated with herbicides.
Compost and Specialty Mulches (Cocoa Hulls, Pine Needles)
Finished compost is packed with nutrients. It feeds plants and improves soil structure wonderfully. However, compost alone is a poor weed suppressor.
Cocoa bean hulls have a rich color and pleasant scent. They are a decorative choice for flower beds. Be aware they can be toxic to dogs if ingested.
Pine needles, or pine straw, are slightly acidic. They decompose slowly and are perfect for acid-loving plants like blueberries. They allow good water infiltration and resist compaction.
Inorganic Mulches: Long-Lasting but Limited
These materials do not break down or add organic material to the soil. Their primary benefits are durability and low maintenance. They are often used in permanent landscape settings.
A key drawback is that they do not improve soil health. Some types can even alter soil temperature or pH negatively. Weeds can still grow on top of them over time.
Landscape Fabrics and Plastic Sheeting
These products are sold as weed barriers. They are laid directly on the soil surface before adding another mulch on top. Plastic sheeting blocks all light and moisture.
A common problem is that they can prevent proper water and air from reaching plant roots. Organic mulch placed on top often washes away. Old plastic can also disintegrate into the soil.
Gravel, Rock, and Rubber Mulch
Gravel, river rock, and crushed stone are permanent solutions. They work well for pathways, driveways, or decorative planting areas. They provide excellent drainage but can heat up in the sun.
Rubber mulch, made from recycled tires, is another long-lasting option. It does not decompose and provides cushioning. Concerns exist about chemicals leaching into the soil over time.
When using any inorganic mulch, consider the final look and the health of your garden soil. They are best where soil improvement is not a goal.
How to Choose the Best Mulch for Weed Suppression
To maximize weed suppression, the mulch must be tailored to its intended location and purpose. This involves more than picking a material you like. You need to consider the specific garden bed, the properties of the mulch, and several key safety and health factors.
A strategic choice saves effort and resources in the long run. It ensures your plants get the support they need while effectively blocking unwanted weeds. Different areas of your landscape have different needs. The right type for a vegetable patch may not suit a flower bed or a tree base. Matching the cover to the plants is the first critical step.
Matching Mulch to Your Garden Bed: Vegetables, Perennials, Trees & Shrubs
Vegetable gardens benefit from nutrient-rich, fast-acting mulches. Straw, finished compost, or well-rotted animal manure are excellent choices. They suppress weeds while feeding your crops as they break down.
Ensure any manure is aged for at least two years. Fresh manure can burn plants and tie up nitrogen in the soil. Grass clippings also work well but must be dried first to prevent matting.
For perennial beds and flower borders, shredded bark or wood chips are ideal. They decompose slowly, providing lasting weed control. Their neat appearance enhances the landscape.
Around trees and shrubs, use wood chips or pine needles. Spread the mulch evenly to the drip line. Never pile it against the trunk in a “mulch volcano,” as this causes stem rot.
Keeping the mulch away from the base allows air flow and prevents insect problems. This practice protects the health of your woody plants.
Evaluating Material: Decomposition Rate, Cost, and Availability
Organic mulches break down at different speeds. Faster materials like grass clippings or straw need replenishment each season. They add organic material to the soil quickly.
Slower options like cedar bark or large wood chips last for years. They require less frequent application but improve soil structure more gradually. Consider your willingness to reapply.
Cost and local availability are practical concerns. Bulk materials from a local arborist or yard waste center are often very economical. Bagged specialty mulches, like cocoa hulls, cost more but offer unique aesthetic appeal.
Choosing a readily available material makes maintenance easier. It ensures you can top up the layer of mulch when needed without extra hassle or expense.
Key Factors: Depth, pH Considerations, and Pet Safety
The correct depth is non-negotiable for stopping weeds. Apply mulch 2 to 4 inches deep. Use the lower end for fine materials like compost and the higher end for coarse wood chips.
This layer blocks light effectively while still allowing water and air to reach plant roots. A proper depth also helps the soil retain vital moisture.
Some mulches can affect soil pH. Pine needles and shredded oak leaves are slightly acidic. They are perfect for acid-loving plants like blueberries and azaleas.
For neutral or alkaline soils, these mulches may not be ideal. Test your soil if you are unsure about its current pH level and the needs of your plants.
Pet safety is a crucial factor often overlooked. Cocoa bean hulls contain theobromine, which is toxic to dogs if ingested. It is best to avoid this material if pets have access to the garden.
Finally, remember that inorganic types like gravel or plastic sheeting do not feed the soil. They may be suitable for permanent paths, but they can create future planting difficulties. The benefits of organic mulch for a living garden environment are usually superior.
A Step-by-Step Guide to Applying Mulch Effectively
The effectiveness of your mulch layer depends heavily on proper installation. Following a clear, methodical process ensures it performs its job well. This guide walks you through each critical stage.
From preparing the soil to timing the application, each step builds on the last. Correct technique locks in moisture, blocks weed seeds, and protects your plants. It transforms a simple material into a powerful garden tool.
Step 1: Site Preparation and Weed Removal
Begin with a clean slate. Remove all existing weeds, both annual and perennial types. Use a garden fork or hand-pull them, ensuring you get the roots.
This prevents weeds from growing through the new layer. Level the soil surface with a rake. Define the bed’s edge to create a neat area.
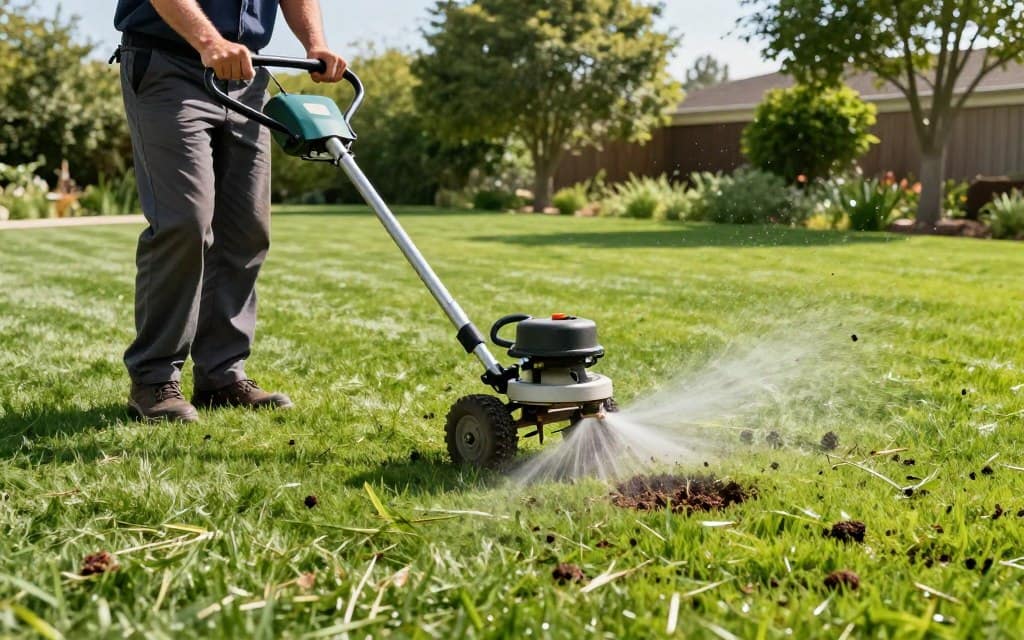
A sharp edge helps contain the mulch and stops it from spilling onto lawns. Finally, water the soil thoroughly. This preps the ground and ensures moisture is locked in once you apply the cover.
Step 2: Determining the Correct Mulch Depth
Depth is crucial for weed suppression and soil health. Apply a layer 2 to 4 inches deep. The exact amount depends on your material.
Finer mulches, like compost or grass clippings, should be about 2 inches. Coarser types, such as wood chips or shredded bark, need 3 to 4 inches.
This range blocks light effectively while allowing air and water to penetrate. Too thin a layer won’t stop weeds. Too thick can smother plant roots and cause problems.
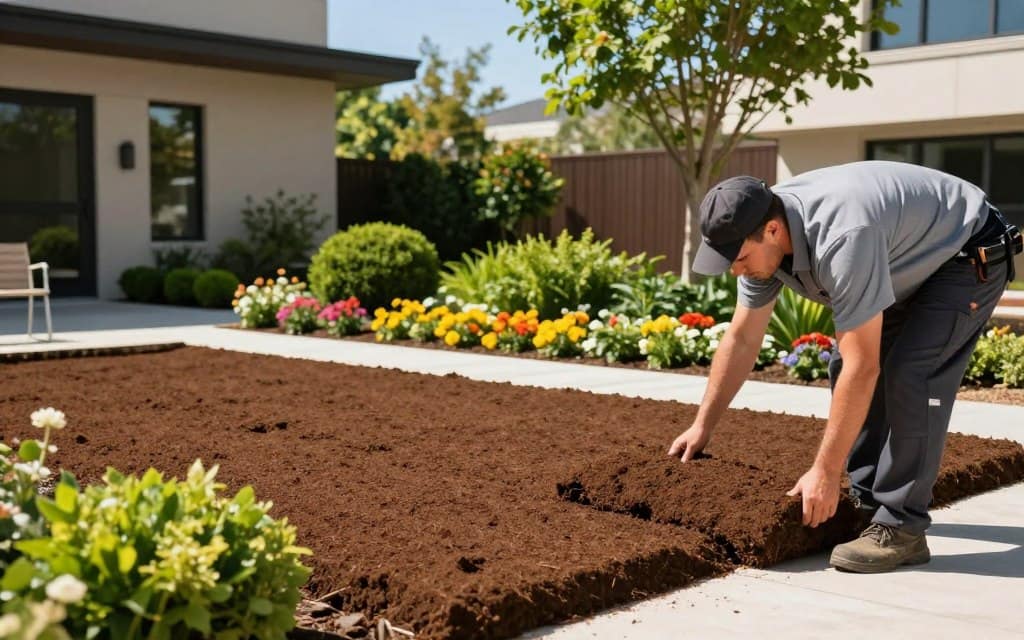
Step 3: Proper Placement Around Plants and Trees
Spread the mulch evenly across the prepared area. Keep it a few inches away from the stems of plants and the trunks of trees. This space prevents constant moisture buildup.
Excess dampness against stems can lead to rot and disease. For trees and shrubs, extend the cover to the drip line. This is the area under the outermost branches.
Covering this zone protects the majority of the root system. It conserves water and reduces competition from grass. Never create a “mulch volcano” piled against a tree trunk.
Step 4: Timing Your Mulch Application
When you apply mulch matters as much as how. The best time is early spring, after the soil has warmed and plants have emerged. This traps warmth and moisture for the growing season.
Alternatively, apply in the fall after plants have gone dormant. A fall layer insulates roots from freezing temperatures. Avoid applying too early in spring.
Putting it down too soon can insulate cold soil and delay plant growth. After spreading, lightly water the top to help it settle. This also prevents it from blowing away.
Replenish organic mulches annually as they decompose. Maintaining the proper depth ensures continued benefits for your garden environment.
Common Mulching Mistakes and How to Avoid Them
Even the best garden intentions can be undermined by a few simple errors when applying protective ground cover. Recognizing these common problems helps gardeners get the full benefits of mulch without unintended harm. This section outlines key pitfalls and provides clear solutions.
The “Mulch Volcano” and Stem Rot
Piling mulch high against tree trunks is a frequent error. This “volcano” shape keeps the bark constantly moist. It interferes with the tree’s natural gas exchange.
The damp environment encourages rot, insects, and disease. To avoid this, keep the layer of mulch no more than 4 inches deep. Always feather it away from the trunk, leaving several inches of clear area.
Using “Sour” or Fresh, Nitrogen-Depleting Mulches
“Sour” mulch results from anaerobic conditions during storage. It often has a sharp, vinegar-like smell. This material can release compounds toxic to plants.
Always smell bulk mulch before use. It should have a fresh, earthy scent. Another issue involves fresh, high-carbon types like raw wood chips or straw.
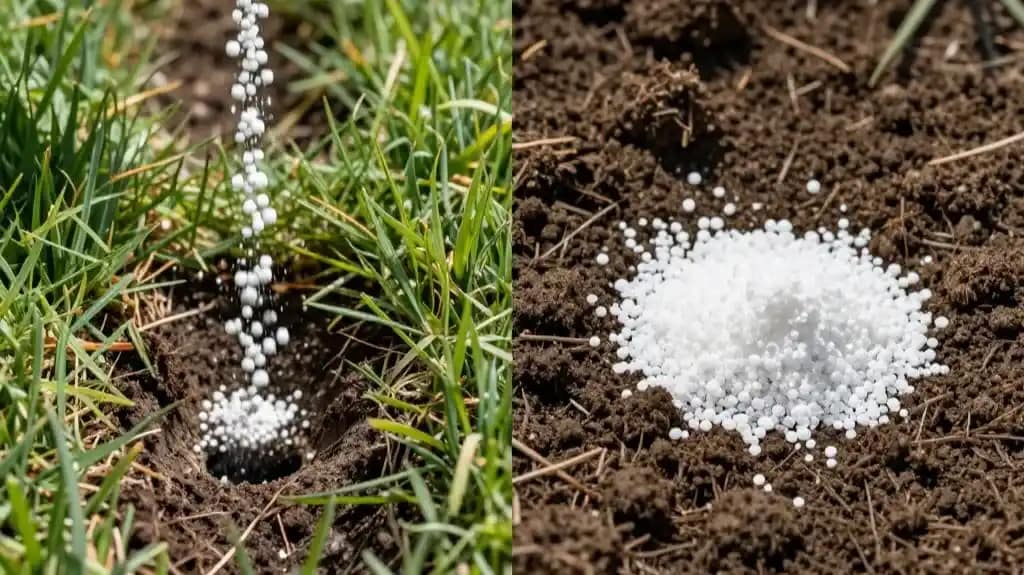
As microbes break them down, they temporarily deplete soil nitrogen. This can cause yellowing and stunted growth in nearby plants. The solution is to compost these materials first or add a nitrogen fertilizer when applying fresh mulch.
| Common Mistake | The Problem | The Solution |
|---|---|---|
|
Mulch Volcano |
Traps moisture against trunk, causing rot and disease. |
Keep mulch 2-4″ deep and pull it back 3-6″ from the trunk. |
|
Using “Sour” Mulch |
Releases toxic acids (methanol/acetic acid) that harm plants. |
Smell mulch before buying; it should be earthy, not sour or alcoholic. |
|
Fresh, High-Carbon Mulch |
Microbes tie up soil nitrogen during decomposition, causing deficiency. |
Use aged materials (composted wood chips, straw) or supplement with nitrogen fertilizer. |
|
Layer Too Thin (<2") |
Fails to block light or retain moisture effectively. |
Apply a consistent 2-4 inch layer, depending on material coarseness. |
|
Over Landscape Fabric |
Prevents organic material from mixing with soil; mulch can wash away; weeds grow on top. |
Skip the fabric for planting beds. Use a thick layer of organic mulch directly on soil. |
|
Introducing Weed Seeds |
Using contaminated grass clippings or grain straw plants new weeds. |
Source clean materials or hot-compost them to kill seeds before use. |
Applying Mulch Too Thinly or Over Landscape Fabric
A layer less than two inches thick is often ineffective. It won’t block enough light to stop weed seeds. It also fails to conserve soil moisture.
Applying organic mulches over landscape fabric creates other problems. The fabric stops the mulch from enriching the soil. It can also cause the top material to wash away more easily.
Weeds may still root into the fabric itself. For most planting beds, applying mulch directly to the soil surface is best. This allows it to naturally improve soil structure over time.
Ignoring Weed Seeds and Other Contaminants
Some mulches can introduce new weeds. Grass clippings from a weedy lawn are full of seeds. Some straw contains grain seeds that will sprout.
Always know your source. Let questionable materials compost at high heat to kill seeds. Also, be cautious with animal manure.
Fresh manure can “burn” plants and may contain harmful pathogens. It should be aged for at least two years before use in the garden.
Over-Mulching and Inorganic Material Pitfalls
More is not always better. A layer deeper than four inches can suffocate plant roots. It limits the flow of water and air into the soil.
This overly thick blanket can also harbor pests. Using plastic sheeting in planting beds is another major error. It prevents water and air from reaching roots.
As it degrades, it can leach chemicals into the soil. Inorganic mulches like rubber or some rocks may alter soil pH or temperature. They do not add organic material or nutrients.
Failing to Prepare and Consider Safety
Applying mulch over existing weeds is a lost cause. They will quickly grow through. Always clear the area thoroughly first.
Finally, consider safety. Cocoa hulls are toxic to dogs if ingested. Black walnut leaves and bark contain juglone, which harms many plants.
Choosing the right material and applying it correctly avoids these common problems. This ensures your mulch works for you, not against you.
Conclusion: Building a Weed-Resistant Garden with Mulch
A well-mulched landscape is the foundation of a beautiful, low-maintenance outdoor space. Selecting the appropriate type for your beds is crucial.
Organic mulches enrich the soil with nutrients as they decompose. Inorganic options offer long-term coverage with less upkeep.
Following the steps for proper depth and timing maximizes weed suppression. It also helps soil retain vital moisture for plant growth.
Avoiding mistakes like piling mulch against stems prevents disease. Regular replenishment keeps beds tidy and functional.
This approach supports a healthy growing environment year-round. It reduces the need for frequent watering and weeding. For best results, consult a local landscaping or lawn care professional who understands your soil conditions and climate and can apply mulching techniques tailored to your property.