


To lay patio pavers, you’ll initially excavate the area 7-9 inches deep, add 4-6 inches of compacted gravel, and level with an inch of sand. Next, secure plastic or metal edge restraints along the perimeter with 10-inch spikes every 12 inches, then add a 1-inch layer of ASTM C33 bedding sand. Ultimately, lay your pavers with 1/8-inch gaps, sweep fine sand into joints, and use a plate compactor to lock them in place. These key steps guarantee a professional-grade patio installation.
Preparing the Ground and Creating a Solid Base
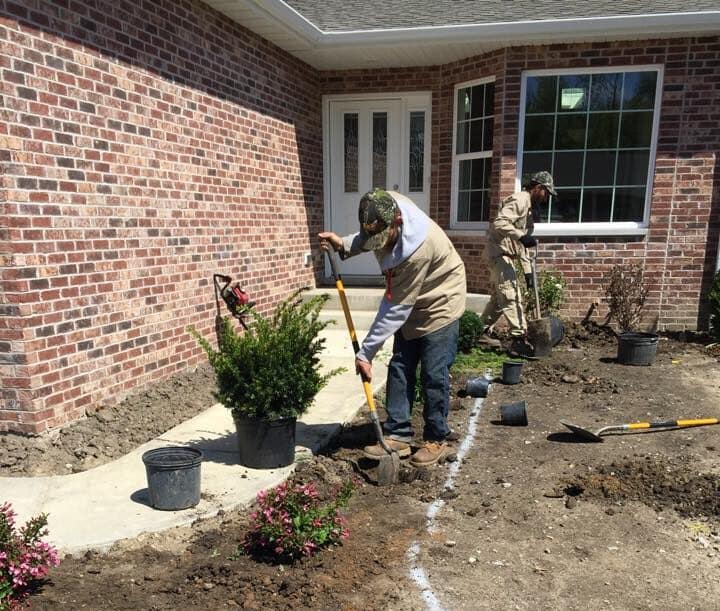
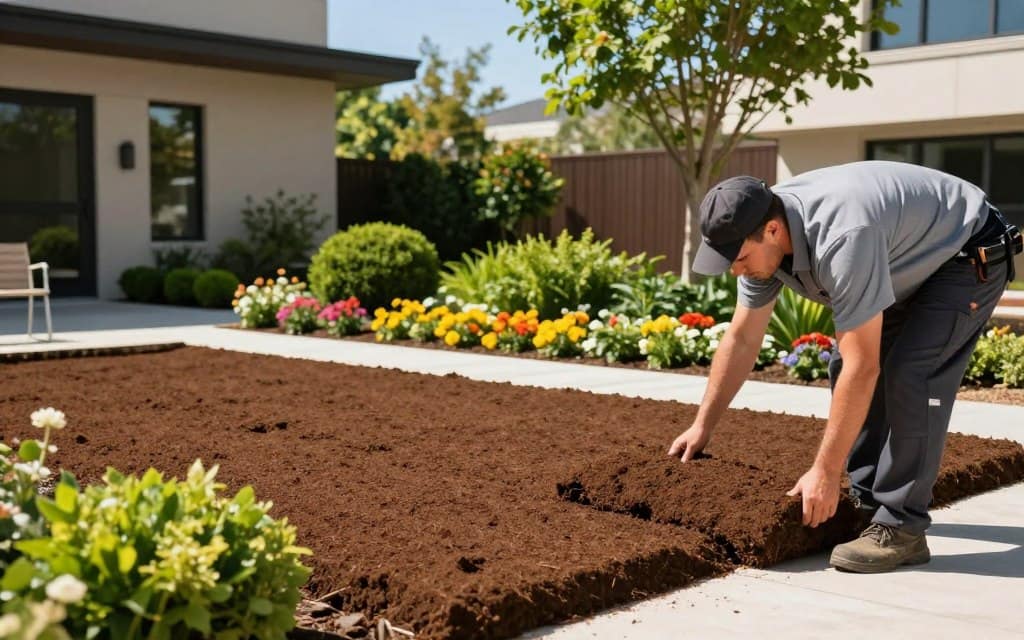
Before beginning your paver installation, proper ground preparation and base construction are essential for a long-lasting, level patio. Start by marking your patio’s perimeter and excavating the area to a depth of 7-9 inches, accounting for the combined thickness of pavers, sand, and gravel base. Confirm proper ground leveling by removing all vegetation, roots, and organic matter.
Consider drainage considerations during excavation – the ground should slope away from your house at a rate of 1 inch per 8 feet. Install a compacted gravel base of 4-6 inches, using a plate compactor in multiple passes. Add a 1-inch layer of leveling sand over the compacted gravel, then screed it smooth using a straight piece of lumber. Don’t skip these essential preparation steps, as they’ll determine your patio’s stability and longevity.
Installing Edge Restraints and Adding Bedding Sand
Two critical steps precede laying your pavers: installing edge restraints and adding the bedding sand layer. You’ll need to secure plastic or metal edge restraint materials along your patio’s perimeter to prevent pavers from shifting over time. These restraints should be anchored with 10-inch spikes every 12 inches for ideal stability.
Edge restraints are essential – secure them with 10-inch spikes every foot to keep your pavers perfectly aligned for years to come.
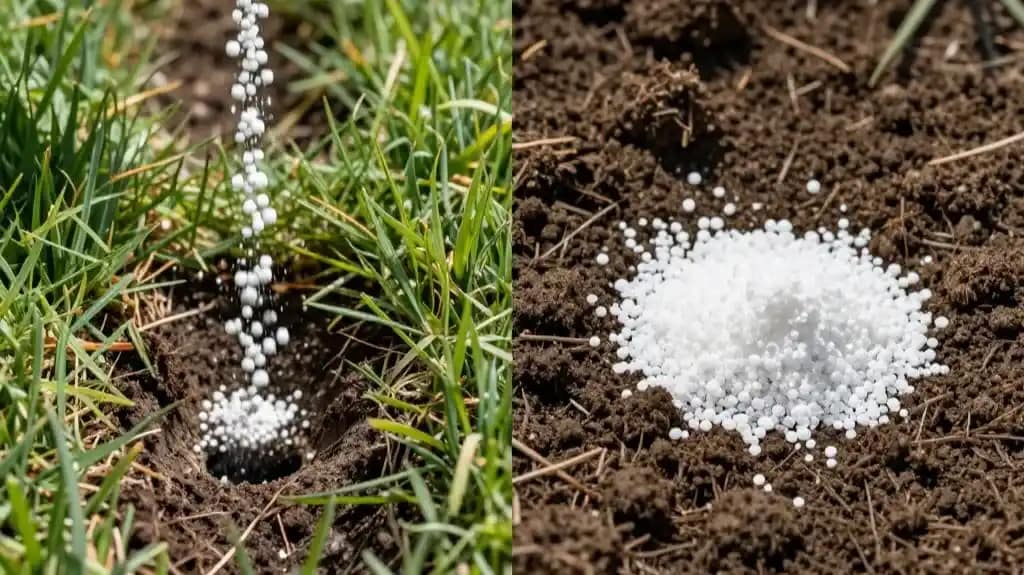
For the bedding sand, you’ll need to maintain a consistent thickness of 1 inch across the entire base:
- Use coarse concrete sand that meets ASTM C33 specifications
- Screed the sand using two 1-inch pipes as guides and a straight piece of lumber
- Don’t walk on or disturb the screeded sand surface
- Screed only the area you can cover with pavers in one day
Once you’ve completed these steps properly, you’re ready to begin laying your pavers.
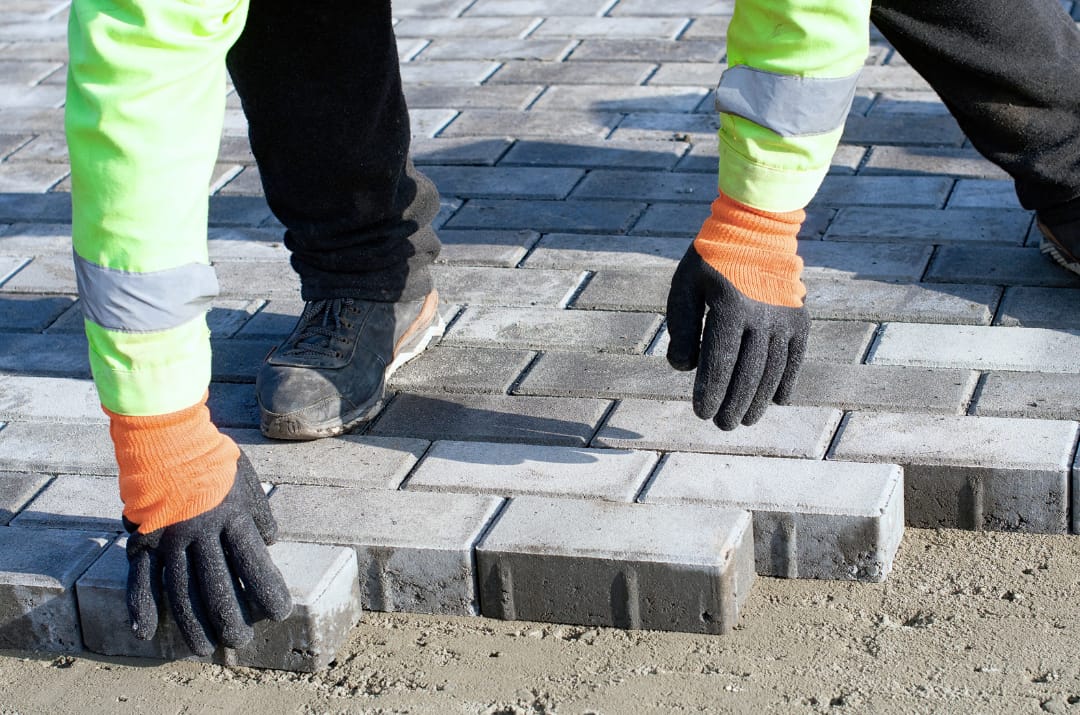
Setting and Securing Your Patio Pavers
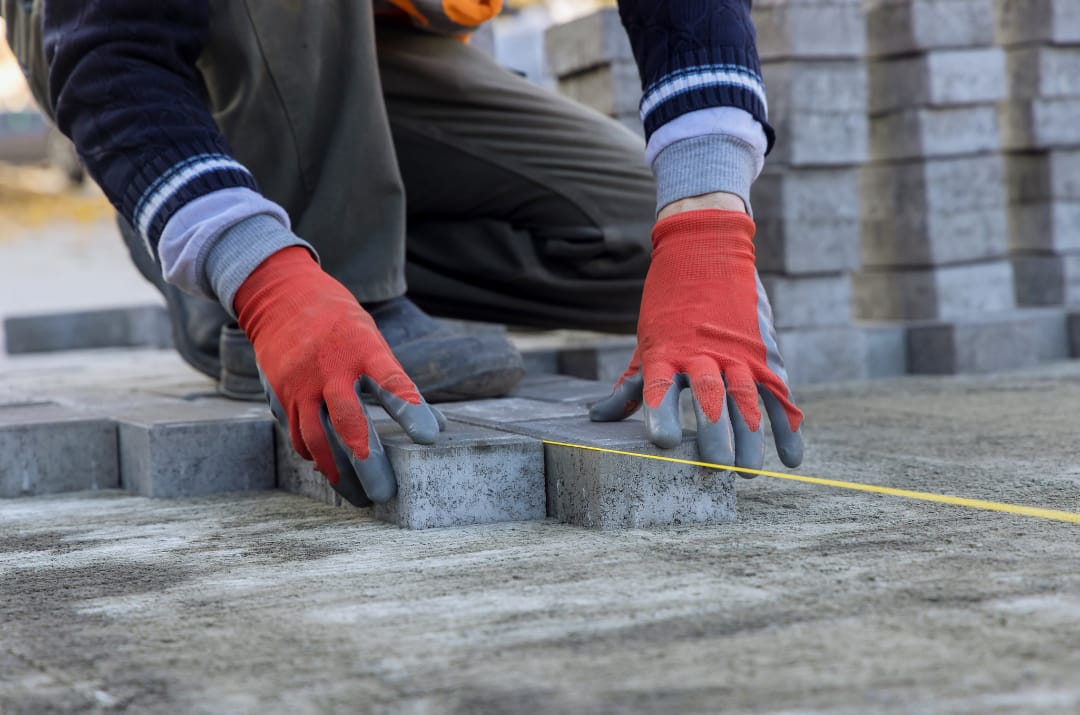
With your base preparation complete, the methodical process of laying pavers begins at one corner of your patio area. Start by placing each paver firmly into the bedding sand, ensuring consistent spacing between units. Check paver alignment frequently using string lines and maintain a 1/8-inch gap between pieces for proper joint filling.
Work in small sections, regularly verifying the surface remains level using a straightedge. Once you’ve laid all pavers, sweep fine sand across the surface to fill joints between units. Use a plate compactor to vibrate the sand deeper into the gaps, making multiple passes until the joints are completely filled. Add more sand as needed, ensuring it reaches slightly below the paver surface. This joint-filling process locks the pavers together, creating a stable, unified surface that’ll resist shifting and settling.
Frequently Asked Questions
What Is the Best Season or Weather Conditions for Installing Patio Pavers?
You’ll achieve the best results installing pavers during spring or fall when temperatures are mild (50-75°F) and rainfall is moderate. These ideal conditions guarantee proper concrete curing and soil compaction. Don’t install during winter’s freeze-thaw cycles or summer’s intense heat, as these affect material stability. For seasonal considerations, you’ll want to avoid periods of heavy rain or drought, as moisture levels considerably impact the base material’s compaction and general installation success.
How Long Should I Wait Before Using My Newly Installed Paver Patio?
You should wait at least 24 hours after installation before walking on your newly laid paver patio. However, for ideal paver curing and stability, it’s best to wait 48-72 hours before placing heavy furniture or high-traffic usage. If you’ve used polymeric sand between pavers, extend the waiting period to 24 hours after installation in dry conditions, or up to 72 hours if conditions are humid, to guarantee proper joint hardening.
Can I Install Patio Pavers Over an Existing Concrete Slab?
Yes, you can install pavers over an existing concrete slab, but proper paver installation techniques are essential. You’ll need to verify the concrete slab is in good condition, has adequate drainage, and slopes away from your house. Before laying pavers, install a thin sand bed for leveling and use edge restraints to prevent shifting. Consider concrete slab considerations like cracks or damage, as these issues must be addressed before overlaying to prevent future problems.
What’s the Average Lifespan of Properly Installed Patio Pavers?
You can expect properly installed patio pavers to last 25-50 years, with many installations exceeding this range when maintained correctly. To enhance paver longevity, you’ll need proper base preparation, adequate drainage, and quality joint sand. High-end concrete pavers often outlast basic varieties, and you’ll find that regular sealing every 3-5 years helps prevent deterioration. Installation tips like using edge restraints and following precise compaction guidelines will greatly extend your pavers’ lifespan.
How Do I Remove Stains and Maintain the Color of My Patio Pavers?
For effective stain removal on your pavers, you’ll need to initially identify the stain type. Use a pH-neutral cleaner for organic stains, while rust and oil require specialized solutions. For color preservation, apply a penetrating sealer every 3-5 years to protect against UV damage and fading. You can also maintain vibrancy by regularly cleaning with a pressure washer at low settings and sweeping debris weekly to prevent surface abrasion.