


To eliminate clover from your lawn, you’ll need to address both the immediate problem and underlying soil conditions. Start by applying selective broadleaf herbicides containing dicamba, MCPP, or 2,4-D during active growth periods when temperatures range between 60-85°F. Alternatively, use natural methods like corn gluten meal or vinegar solutions. Improve soil health by maintaining proper pH (6.0-7.0) and nitrogen levels through regular fertilization. Proper lawn maintenance and soil testing will reveal the full scope of effective control strategies.
Understanding Why Clover Grows in Your Lawn
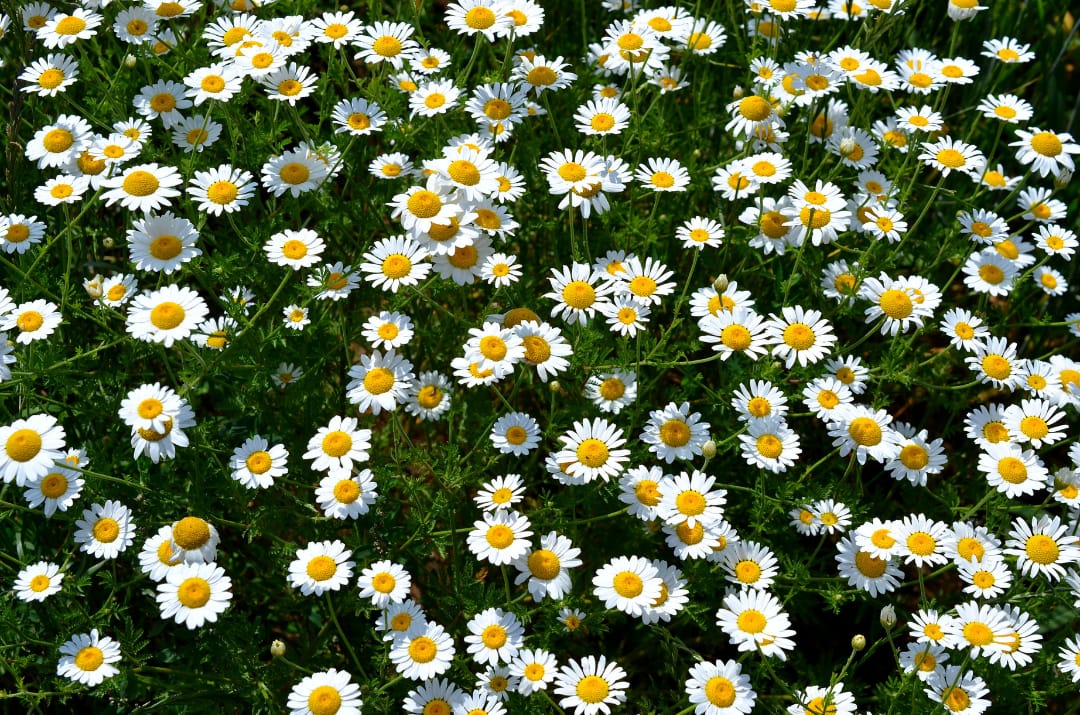
Clover (Trifolium spp.) thrives in lawns with low nitrogen levels and compacted soil conditions. As a legume, it can fix atmospheric nitrogen through symbiotic bacteria in its root nodules, making it well-adapted to nutrient-poor environments.
Nature’s adaptable survivor, clover transforms poor soil conditions into thriving habitat through its remarkable nitrogen-fixing abilities.
You’ll often find clover establishing itself when your grass is struggling.
Despite being considered a weed by many homeowners, clover characteristics include drought tolerance, deep root systems, and the ability to grow in different soil pH levels. These traits give it a competitive advantage over turfgrass.
The clover benefits it provides include natural nitrogen fertilization, honeybee forage, and soil improvement through organic matter contribution. Understanding these ecological functions explains why clover readily colonizes your lawn, particularly when soil fertility isn’t ideal for grass growth or when mowing heights are set too low.
Natural Methods for Removing Clover
When seeking natural alternatives to chemical herbicides, several organic methods can effectively suppress clover populations in your lawn.
You’ll find that corn gluten meal acts as a pre-emergent natural herbicide, preventing different clover varieties from germinating in early spring.
Boost your soil’s nitrogen levels by applying organic fertilizers like blood meal or composted manure, which will reduce clover’s competitive advantage.
You can also manually remove clover patches by hand-pulling them after rainfall when the soil is moist.
For larger infestations, smother clover with a mixture of vinegar and water, applying it directly to the leaves on a sunny day.
Overseeding bare spots with grass immediately after clover removal prevents reinfestation and strengthens your lawn’s resistance to future clover invasion.
Chemical Solutions and Herbicides

While natural methods can be effective, selective broadleaf herbicides containing dicamba, MCPP, or 2,4-D offer targeted control for established clover infestations.
Apply these herbicides during active growth periods when temperatures range between 60-85°F for ideal absorption and translocation throughout the plant system.
You’ll need to evaluate herbicide types carefully, as some clover species have developed resistance to certain chemical formulations.
Post-emergent herbicides work best on mature plants, while pre-emergent options prevent clover seed germination.
Timing matters with herbicides – target established clover with post-emergent solutions and block new growth using pre-emergent treatments.
When applying, verify your lawn grass has been established for at least six months and hasn’t been recently mowed.
Mix and apply the herbicide according to manufacturer specifications, typically during spring or early fall when clover actively grows.
Always wear appropriate protective equipment and avoid application before rain or in windy conditions.
Improving Soil Health to Prevent Clover Growth
Since healthy soil composition directly impacts weed resistance, maintaining ideal soil conditions serves as a long-term deterrent against clover invasion.
You’ll need to guarantee proper soil nutrients by conducting regular soil tests to monitor pH levels and nitrogen content. Clover thrives in nitrogen-deficient soils, so maintaining adequate nitrogen levels through proper fertilization will discourage its growth.
Implement regular lawn aeration to reduce soil compaction and improve root development of your grass. This process creates small holes in the soil, allowing better water infiltration, oxygen flow, and nutrient absorption.
You can improve soil structure by adding organic matter through topdressing with compost. Focus on achieving a soil pH between 6.0 and 7.0, as this range optimizes nutrient availability for grass while making conditions less favorable for clover establishment.
Best Time of Year to Tackle Clover Problems
Timing your clover control efforts strategically throughout the growing season improves their effectiveness. You’ll achieve ideal results by targeting clover during its active growth phases when the plant proves most vulnerable to control methods.
| Season | Plant Status | Control Action |
|---|---|---|
| Early Spring | Active Growth | Apply pre-emergent |
| Late Spring | Peak Growth | Spot treat patches |
| Summer | Heat Stress | Monitor regrowth |
| Early Fall | Active Growth | Apply herbicides |
| Late Fall | Dormancy | Prevention steps |
Spring treatments should focus on emerging clover when plants begin vigorous growth. Target these young plants with selective herbicides while they’re actively developing but haven’t established deep root systems. For fall prevention, apply nitrogen-rich fertilizers and overseed with grass varieties that’ll outcompete clover. This dual-season approach creates a thorough control strategy that addresses both immediate removal and long-term prevention.
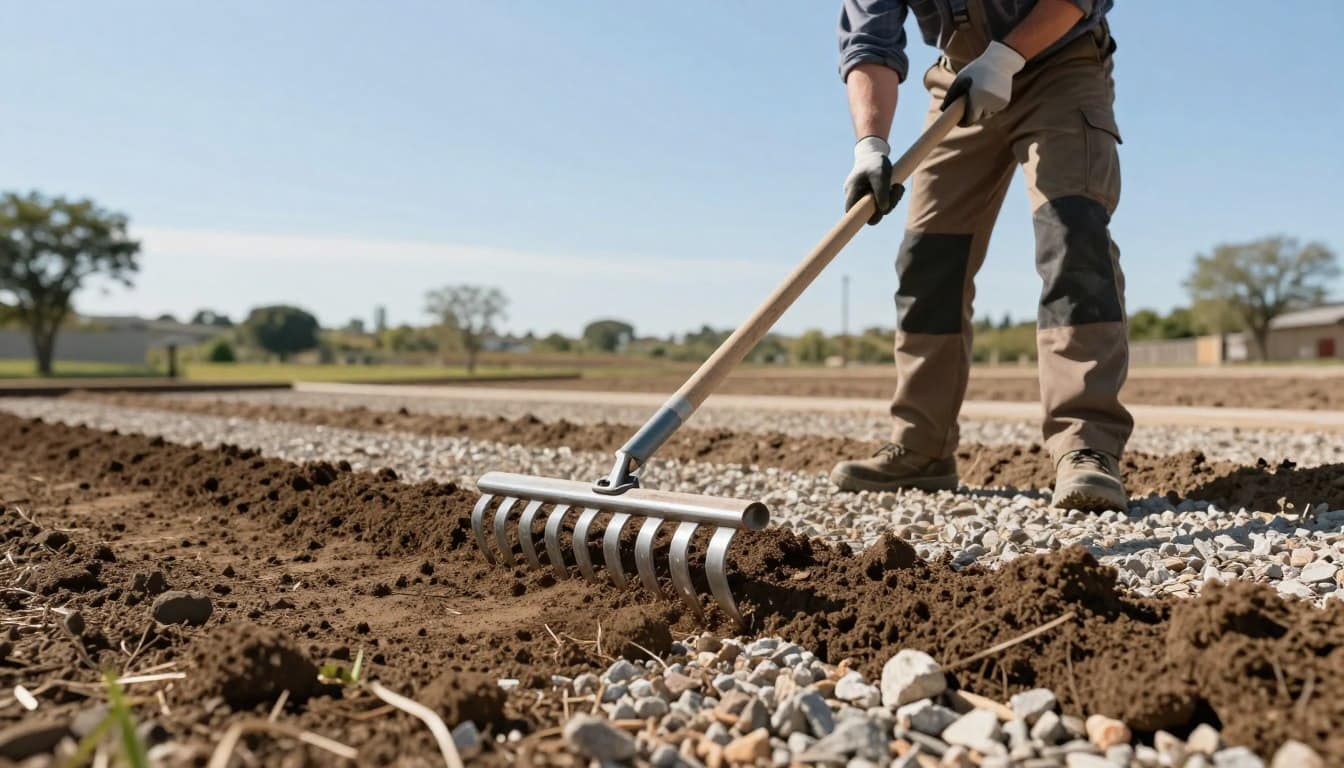
Tools and Equipment Needed for Clover Control
For effective clover control, you’ll need essential hand tools including a garden fork, weeding knife, and hand trowel for manual removal of individual plants and their root systems.
When opting for chemical treatments, you’ll require a calibrated sprayer, measuring cups, and mixing containers to guarantee precise herbicide application rates.
Safety equipment including chemical-resistant gloves, protective eyewear, closed-toe shoes, and appropriate clothing is mandatory when handling any herbicidal products.
Basic Hand Tools Needed
Several basic hand tools prove essential for effective manual clover control in residential lawns. A long-handled weeding fork with narrow tines enables you to extract clover roots while minimizing soil disruption.
For hand weeding, you’ll need a specialized dandelion removal tool, which features a forked tip that grasps clover stems and removes the entire root system. A sharp soil knife or hori-hori allows you to sever deep taproots when complete extraction isn’t possible.
Include a pair of pruning shears for cutting persistent runners before they spread. A lawn maintenance collection bag or tarp helps contain removed clover and prevents seed dispersal.
You’ll also need knee pads and gardening gloves to protect yourself during extended periods of manual removal work.
Chemical Application Equipment
While manual tools work effectively for isolated clover patches, chemical control methods require specific application equipment to guarantee precise herbicide distribution. You’ll need to select the appropriate applicator based on your lawn’s size and the herbicide formulation you’re using.
| Equipment Type | Best Use Case | Key Features |
|---|---|---|
| Pump Sprayer | Small Areas | Adjustable Nozzle |
| Backpack Sprayer | Medium Areas | Multiple Spray Patterns |
| Tank Sprayer | Large Areas | Wide Coverage |
| Hose-End Sprayer | General Use | Auto-Dilution System |
For spot treatments, a handheld pump sprayer with a flat-fan nozzle provides excellent control. If you’re treating larger areas, consider a backpack sprayer equipped with adjustable pressure settings and interchangeable nozzle types. Tank sprayers mounted on lawn tractors offer the most efficient coverage for extensive clover infestations, featuring precision boom systems and multiple spray nozzle configurations.
Protective Safety Gear
Essential protective equipment must be worn when handling herbicides or implementing any clover control methods.
Chemical exposure risks necessitate thorough personal protection to guarantee your safety during application procedures. You’ll need to follow strict safety protocols and use proper gear when working with herbicidal compounds.
- Safety goggles with side shields to protect your eyes from chemical splashes, drift, and particulate matter during mixing and spraying operations.
- Chemical-resistant protective gloves made of nitrile or neoprene material, extending past your wrists to prevent skin contact with herbicidal agents.
- Long-sleeved shirts, long pants, closed-toe footwear, and respiratory protection when working with concentrated solutions or during extended application periods.
Remember to inspect all safety equipment for damage before use and replace worn items immediately to maintain ideal protection during clover control activities.
Long-Term Strategies for Clover Prevention
Successfully preventing clover from returning requires a systematic approach focused on optimizing soil and turfgrass conditions. Different clover types thrive in specific soil pH ranges, typically between 6.0 to 7.0, so maintaining proper pH levels through regular testing is essential.
| Prevention Strategy | Implementation Method |
|---|---|
| Soil Testing | Bi-annual pH testing |
| Fertilization | High-nitrogen program |
| Mowing Height | Maintain at 3-4 inches |
| Competition | Overseed with grass |
You’ll need to implement a thorough nitrogen fertilization program since clover thrives in nitrogen-deficient soils. Maintain your grass at proper heights to create shade that inhibits clover growth. Regular overseeding with competitive grass varieties will establish a dense turf that naturally suppresses clover establishment. These cultural practices, combined with consistent monitoring, create conditions that discourage clover colonization.
Common Mistakes When Treating Clover
Two critical mistakes can derail your clover treatment efforts: applying herbicides incorrectly and maintaining improper moisture levels post-treatment.
You’ll compromise herbicide effectiveness if you don’t follow label-specified application rates or spray during windy conditions when drift can damage desirable plants.
Excessive watering within 24 hours of herbicide application will dilute the chemical’s potency and wash away the active ingredients before they can penetrate the clover’s waxy leaf surface.
Wrong Herbicide Application Methods
While applying herbicides may seem straightforward, improper application techniques can reduce their effectiveness against clover and potentially damage your lawn. Incorrect herbicide application can lead to herbicide resistance and compromise your clover control strategy.
- You’re spraying in unfavorable weather conditions – applying herbicides during high winds, extreme temperatures, or before rainfall decreases absorption and increases drift potential.
- You’re not following application timing guidelines – treating clover during its dormant phase or peak growth periods reduces herbicide efficacy and wastes product.
- You’re using improper spray patterns – overlapping spray zones or leaving untreated gaps creates inconsistent coverage, leading to patchy clover control and potential recolonization of treated areas.
Always calibrate your sprayer, maintain consistent pressure, and follow manufacturer’s instructions for ideal herbicide performance.
Overwatering After Treatment
Excessive irrigation following herbicide applications can considerably reduce the treatment’s effectiveness against clover infestations.
When you overwater your lawn after applying herbicides, you’ll dilute the chemicals before they’ve had sufficient time to penetrate the clover’s waxy leaf surface and translocate to the root system.
The overwatering effects can be particularly detrimental if you irrigate within 24 hours of treatment timing.
You’ll want to maintain proper soil moisture levels without oversaturating the turf.
Wait at least 24-48 hours post-application before resuming your regular watering schedule.
If rain is forecasted within this critical window, it’s best to postpone your clover treatment.
This patience guarantees ideal herbicide absorption and enhances the likelihood of successful clover elimination from your lawn.
Lawn Care Tips After Clover Removal
After successfully eliminating clover from your lawn, proper maintenance becomes crucial for preventing its resurgence and promoting healthy grass growth.
Post removal maintenance requires specific attention to soil chemistry and grass health to establish dominance over potential clover reinfestation.
Maintaining proper soil chemistry and grass vitality is essential to prevent clover from returning and reclaiming your lawn.
1. Apply nitrogen-rich fertilizer with an NPK ratio of 30-0-4 to encourage vigorous grass development, as clover thrives in nitrogen-deficient soils.
You’ll need approximately 1 pound of nitrogen per 1,000 square feet.
2. Maintain your grass height at 3-4 inches and implement a consistent mowing schedule every 5-7 days during peak growing season to shade the soil and prevent clover seedling establishment.
3. Monitor soil pH levels regularly, aiming for 6.0-7.0, and adjust using appropriate amendments to create ideal conditions for turfgrass while discouraging clover growth.
Alternative Ground Covers to Replace Clover
Some homeowners may prefer to replace clover patches with alternative ground covers rather than converting the area back to traditional turfgrass.
You’ll find several low maintenance options that can thrive in areas where clover once dominated.
Consider native plants like creeping thyme (Thymus serpyllum), which forms a dense mat and tolerates foot traffic while releasing a pleasant aroma.
Wild ginger (Asarum canadense) excels in shaded areas, while meadow anemone (Anemone canadensis) adapts well to sunny spots.
For slopes, try Pennsylvania sedge (Carex pensylvanica), which prevents erosion and requires minimal mowing.
Other sustainable choices include moss phlox (Phlox subulata), which produces vibrant spring blooms, and barren strawberry (Waldsteinia fragarioides), offering year-round ground coverage with yellow flowers in spring.
These alternatives support local ecosystems while maintaining surroundings aesthetics.
Frequently Asked Questions
Can Clover Attract Unwanted Wildlife or Pests to My Yard?
Yes, you’ll notice increased wildlife attraction, as clover’s nectar draws beneficial pollinators but also attracts deer, rabbits, and groundhogs. Pest behavior includes insects like aphids gathering on clover’s nitrogen-rich foliage.
Is Clover Harmful to Pets if They Eat It?
Light as a feather, clover isn’t typically toxic to your pets. However, your furry friends’ pet behavior around red clover might cause mild digestive upset. White clover can trigger drooling in some cases.
How Fast Does Clover Spread Once It Appears in Lawns?
You’ll notice clover growth can be quite aggressive, spreading 4-6 inches per month through both stolons and seeds. Without proper clover management, it’ll establish extensive colonies across your lawn within a single growing season.
Will Clover Removal Methods Harm Beneficial Insects Like Bees?
You’ll need to carefully time herbicide applications when bees aren’t active, as chemical controls can harm bee populations. Consider manual removal methods to preserve insect biodiversity and protect beneficial pollinators in your surroundings.
Does Clover Indicate Specific Problems With My Irrigation System?
Like nature’s warning light, clover growth isn’t necessarily signaling irrigation issues. However, if you’re seeing patchy clover clusters, they often thrive in areas where your lawn health suffers from inconsistent watering patterns.