

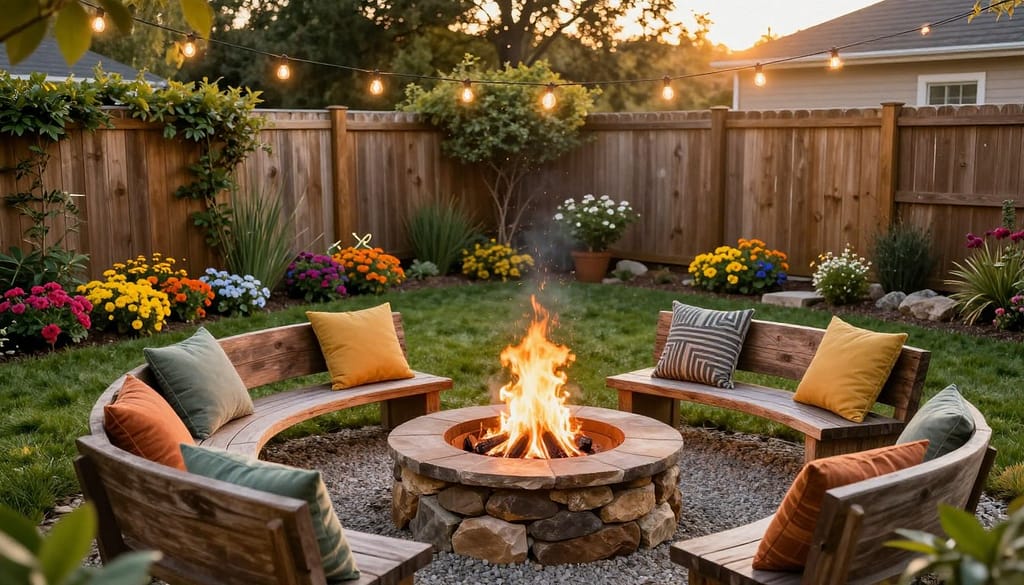
A low cost fire pit landscape design can turn an underused backyard corner into a practical gathering area without requiring a major renovation. The total cost depends on the fire pit type, selected materials, site preparation, seating, permits, and whether you handle the work yourself or hire a professional. With a clear plan, even a small yard can support a safe, comfortable fire feature.
This guide explains how to choose a suitable pit location, compare gravel, stone, pavers, and other materials, and create a functional layout for your outdoor space. You will also find DIY ideas for controlling the budget, improving the landscape, planning seating, and preparing the ground. If you need help with grading or planting, consider Connecticut backyard landscaping services.
Before starting a backyard fire project, check local regulations and confirm the required clearances for your fuel type. The right design should support safe movement, comfortable seating, proper drainage, and an enjoyable outdoor experience rather than promise a particular season of use.
Key Takeaways
- A well-planned fire pit can become the focal point of a welcoming outdoor space.
- Local gravel, stone, and reclaimed materials may reduce landscape and delivery costs.
- DIY installation can lower labor expenses, but safety and code requirements come first.
- Proper site selection, spacing, and seating improve the function of the pit area.
- A thoughtful fire feature can make backyard gatherings more comfortable and memorable.
Understanding Budget Fire Pit Landscaping
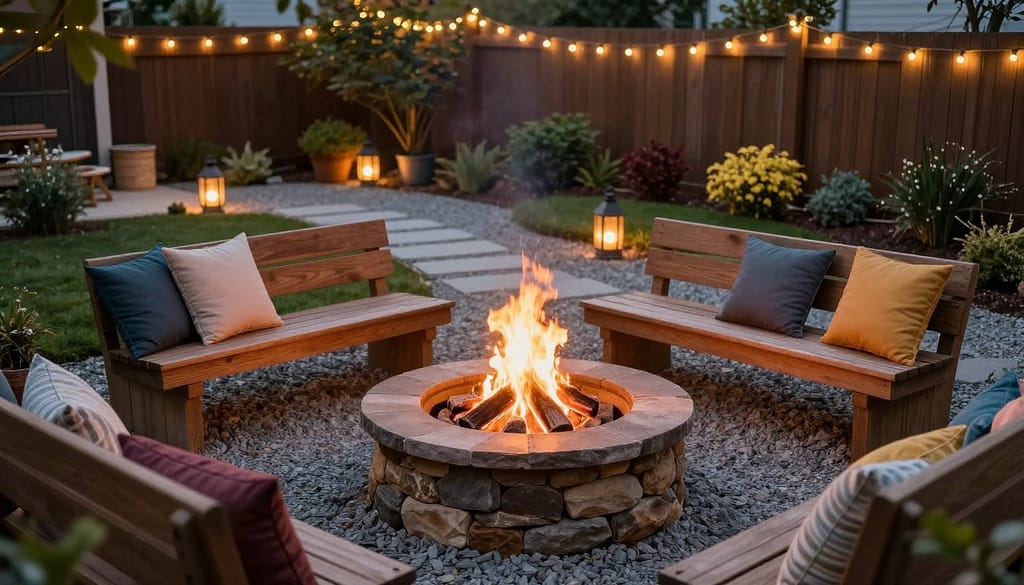
Budget fire pit landscaping creates a useful gathering area by combining a suitable pit with affordable improvements to your yard. The total budget may include the fire feature, foundation, gravel or other hardscape, seating, lighting, drainage, permits, fuel connections, tools, delivery, and labor. A simple design can cost less than a built-in installation, but DIY work is not automatically cheaper after materials, equipment, and potential corrections are included.
A fire pit can become the focal point of an outdoor space, but its size and fuel type should match the available area and local requirements. Wood-burning models may need a noncombustible base and spark protection, while a gas fire feature may require professional utility work. Before beginning a DIY project, check regulations, locate underground services, and confirm that every material is approved for its intended use.
DIY is usually appropriate for homeowners who can safely prepare level ground, install a basic gravel base, and assemble a manufactured pit according to its instructions. Choose professional landscaping when the project involves grading, retaining structures, electrical or gas connections, complex drainage, or uncertain site conditions. This approach gives you control over the final look while protecting your budget, safety, and long-term experience.
| AspectDIY ApproachProfessional Installation | ||
| Cost | Lower | Higher |
| Customization | High | Limited |
| Skill Development | Yes | No |
| Time Investment | Variable | Less |
low cost fire pit landscape design Essentials
Start by evaluating the proposed fire pit area before buying materials. Choose a level, stable spot with clear access and enough open space for seating, movement, and emergency response. Check the required clearance from your house, fences, trees, utilities, and other combustible materials with your town or municipality; the correct distance depends on local code and whether the pit burns wood or uses gas.
Use a practical site-selection checklist: observe prevailing wind and likely smoke direction, confirm that emergency equipment can reach the area, test drainage after rain, and avoid steep slopes or low ground where water collects. A wood-burning fire pit produces smoke and flying embers, so it needs appropriate spark protection and careful separation from plants. A gas fire feature generally produces less smoke, but its fuel line, shut-off system, and installation may require qualified professionals.
Connect the pit to existing patios and walkways without blocking access. Gravel or approved stone can provide a durable, budget-friendly surface, while clear sightlines help guests communicate and allow the fire to remain visible. Coordinate the layout with the surrounding landscape so the feature feels intentional rather than isolated. Always verify local safety regulations before construction; these essentials help create a functional fire pit that complements your yard for years.
| AspectDIY ApproachProfessional Installation | ||
| Cost | Lower | Higher |
| Customization | High | Limited |
| Skill Development | Yes | No |
| Time Investment | Variable | Less |
Materials and Tools for a Budget-Friendly Design
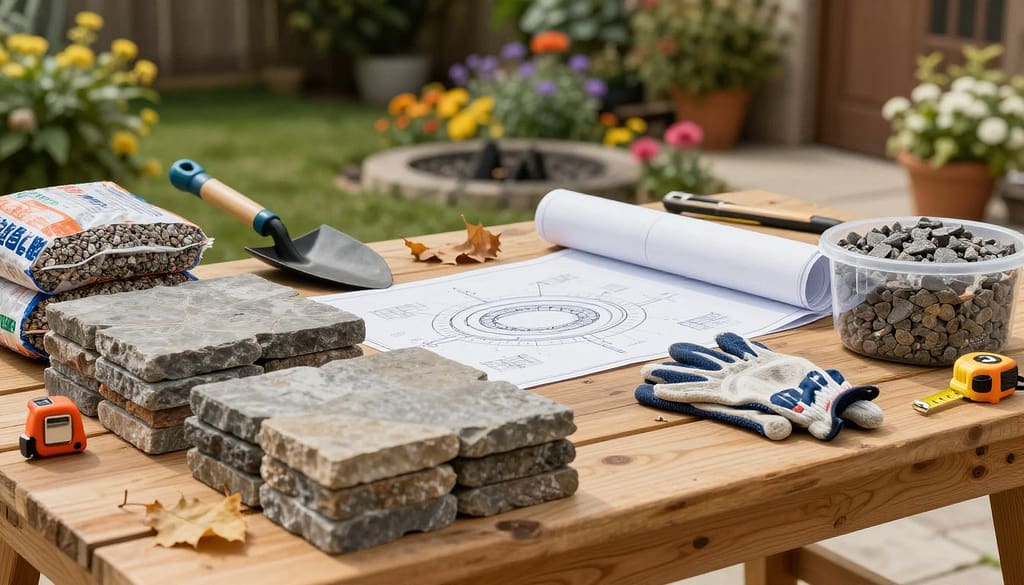
Choose materials by separating the fire-contact components from the surrounding hardscape. A manufactured fire pit should include the liner or burner specified by its instructions, while the base and seating area can use suitable gravel, stone, concrete, or pavers. Natural stone can provide a durable, attractive finish, but local varieties may lower delivery costs. Reclaimed bricks can also reduce expenses, provided they are clean, structurally sound, and free from unknown coatings or contamination.
Metal fire pits made from steel or cast iron offer different looks and heat performance. Steel can develop corrosion if it remains wet, while cast iron is heavy and may require protection from moisture. Select a metal pit designed for outdoor fire use rather than an unverified container. Wood can be used for benches or decorative elements, but it should never form the inside of the fire pit or sit where direct heat and sparks can ignite it. The right materials support a practical design without compromising safety.
- Use a listed fire pit, fire ring, or fire-rated liner for the combustion chamber.
- Choose reclaimed bricks, approved concrete blocks, or local stone only when the manufacturer or supplier confirms they are suitable for heat exposure.
- Use gravel as a drainage base, then compact it before adding a decorative surface layer.
- Keep decorative gravel separate from the compacted foundation; loose stone alone may shift under the pit.
- Select metal made for outdoor fire use and inspect it regularly for rust, warping, or cracks.
- Budget for the pit, liner, base materials, seating, protective screen, and any required gas components.
- Essential tools include a shovel, level, tape measure, gloves, tamper, and wheelbarrow; rent specialty tools when practical.
- Use landscaping adhesive only where the product is approved for the application, and never substitute it for fire-rated construction materials.
Planning Your Fire Pit Layout and Space
Plan the fire pit layout around movement, conversation, and safe access. Mark the proposed area with stakes or a hose before purchasing materials, then check that chairs can be pulled out without blocking walkways. Leave enough space around the fire pit for people to move comfortably, keep emergency equipment accessible, and direct smoke away from the house and seating when possible.
A circular fire pit works well when chairs or benches can be arranged evenly around the flame. A rectangular pit suits a long, narrow yard because it can align with built-in benches and create a clear social flow. For a compact project, place a manufactured pit on a level gravel pad with movable chairs; this layout is easier to install and can be adjusted as your needs change. Keep the pit’s shape, size, and seating capacity proportional to the available space.
Position the fire pit near a patio or outdoor kitchen for convenient access, but do not place it so close that guests cross through the cooking or walking zones. Aligning the feature with existing paths, walls, or planting beds can make the design feel intentional. These layout ideas can help you create a functional area without overcrowding the yard.
| AspectImportanceBenefits | ||
| Seating Arrangement | High | Encourages interaction |
| Space Around Fire Pit | Essential | Allows for movement |
| Proximity to Other Areas | Moderate | Enhances flow |
| Alignment with Landscape | High | Creates cohesion |
Incorporating Surrounding Landscape Elements
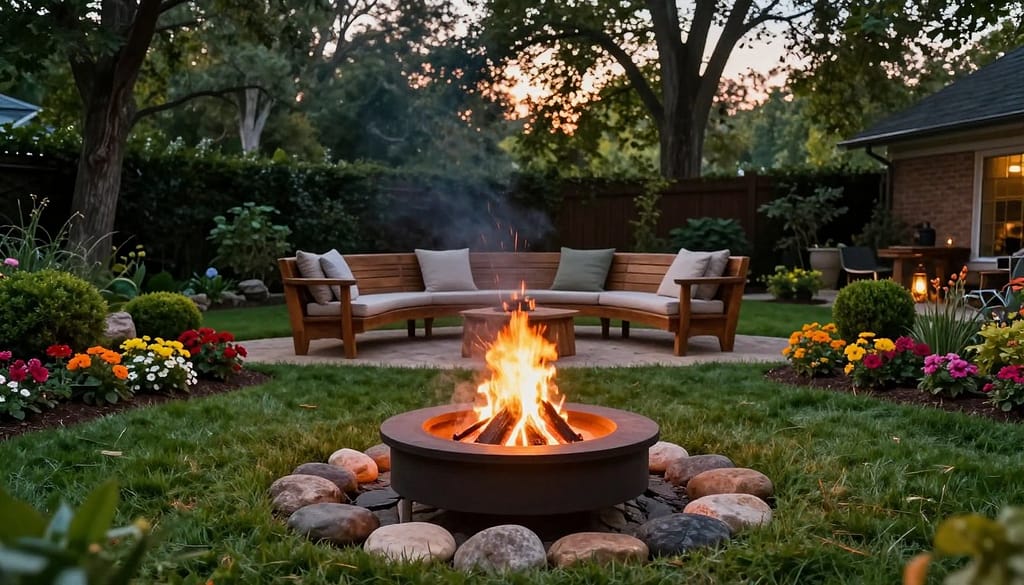
Plants, stone, and other landscape elements can soften the hardscape and define the area around the fire pit. Use low-maintenance plants only after checking their mature size, heat tolerance, root behavior, and local growing conditions. Native plants may thrive in the yard, but native does not automatically mean fire-safe.
Place dense plantings, privacy screens, trees, and decorative grasses well away from the fire pit and account for windblown embers. Nonflammable gravel or stone is often a safer treatment immediately around fire features than dry mulch or dense vegetation. Select plants through a credible local extension or plant database, and maintain clear access around fire pit seating throughout the year.
- Choose plants suited to the Connecticut climate, but verify their flammability and maintenance needs.
- Use decorative grasses and shrubs only where their mature height will not obstruct visibility or access.
- Keep plants, mulch, fences, and tree branches outside the clearance required by local regulations.
- Use pea gravel or stone to suppress weeds and create a clean, stable transition around fire pit seating.
- Inspect the area around the fire regularly and remove dry leaves, branches, and other combustible debris.
- A balanced landscape can provide privacy and texture while keeping the fire feature visible and accessible.
Quick Reference Table for Material Comparison
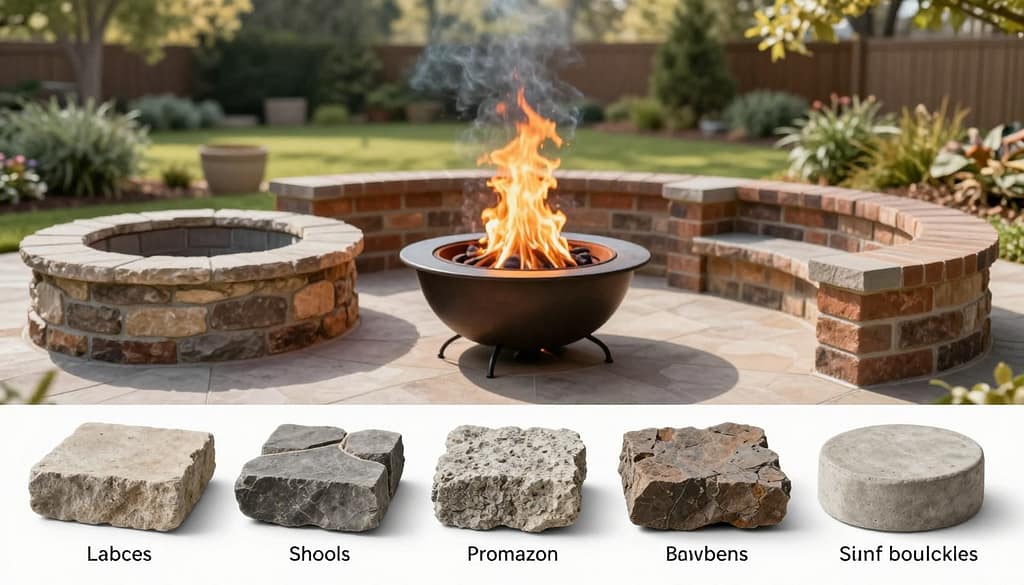
Use this comparison as a starting point when selecting materials for a fire pit area. Actual prices vary by supplier, region, delivery distance, quantity, and installation requirements, so the cost ratings are relative rather than guaranteed. Consider the material’s intended use, appearance, maintenance needs, and compatibility with the rest of your landscape design.
Natural stone offers a durable, timeless finish but may cost more to source and install. Concrete blocks can be economical for the surrounding structure, but use them in the fire-contact area only when they are specifically rated for high heat. A metal fire pit, including a suitable Corten steel model, can provide a modern look and straightforward installation; inspect it for corrosion, warping, and drainage issues. Reclaimed bricks may suit a traditional design, but check every piece for cracks, hazardous coatings, and unknown contamination. Gravel and pavers are generally better evaluated as base or surrounding-surface materials unless approved for direct heat exposure.
For safety, all fire-contact materials, liners, burners, and assembly components should be manufacturer-approved or fire-rated. The table does not replace the product instructions or local code. Regular maintenance, including cleaning ash, checking joints, and protecting metal from moisture, can extend the useful life of the pit.
| MaterialCostDurabilityAesthetic Appeal | |||
| Natural Stone | High | Very Durable | Timeless |
| Concrete Blocks | Low | Moderate | Versatile |
| Metal (Corten Steel) | Moderate | Durable | Modern |
| Reclaimed Bricks | Low | Moderate | Classic |
Step-by-Step Guide to Your DIY Fire Pit
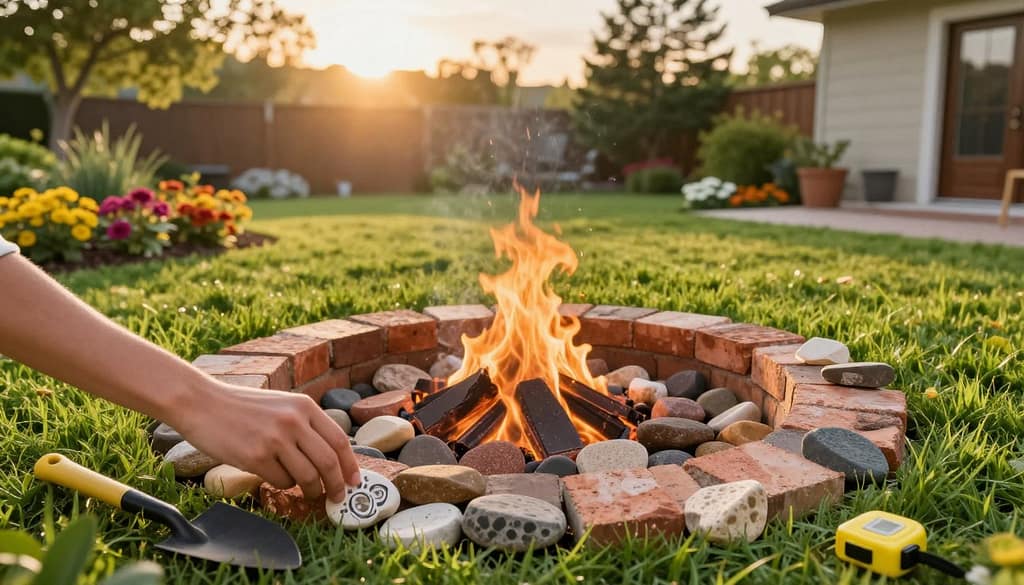
A DIY fire pit project is manageable when the design, materials, and site are planned before construction begins. Use these stages for a basic wood-burning pit or manufactured fire feature, and follow the product instructions and local requirements at every step. A gas fire pit is not a fuel-line DIY project: have a licensed professional install or modify gas lines, regulators, valves, and connections.
Bulleted Core Steps
- 1. Measure and mark the proposed fire pit area with stakes, paint, or a hose. Confirm required clearances, access, wind direction, and the location of seating before you dig.
- 2. Call the appropriate utility-location service before excavating. Never assume that a clear-looking yard is free of buried electrical, gas, water, or communications lines.
- 3. Excavate only to the depth specified by the selected pit or liner instructions. Remove roots and loose soil, then create a level, stable ground surface; the required depth depends on drainage, frost conditions, and the design.
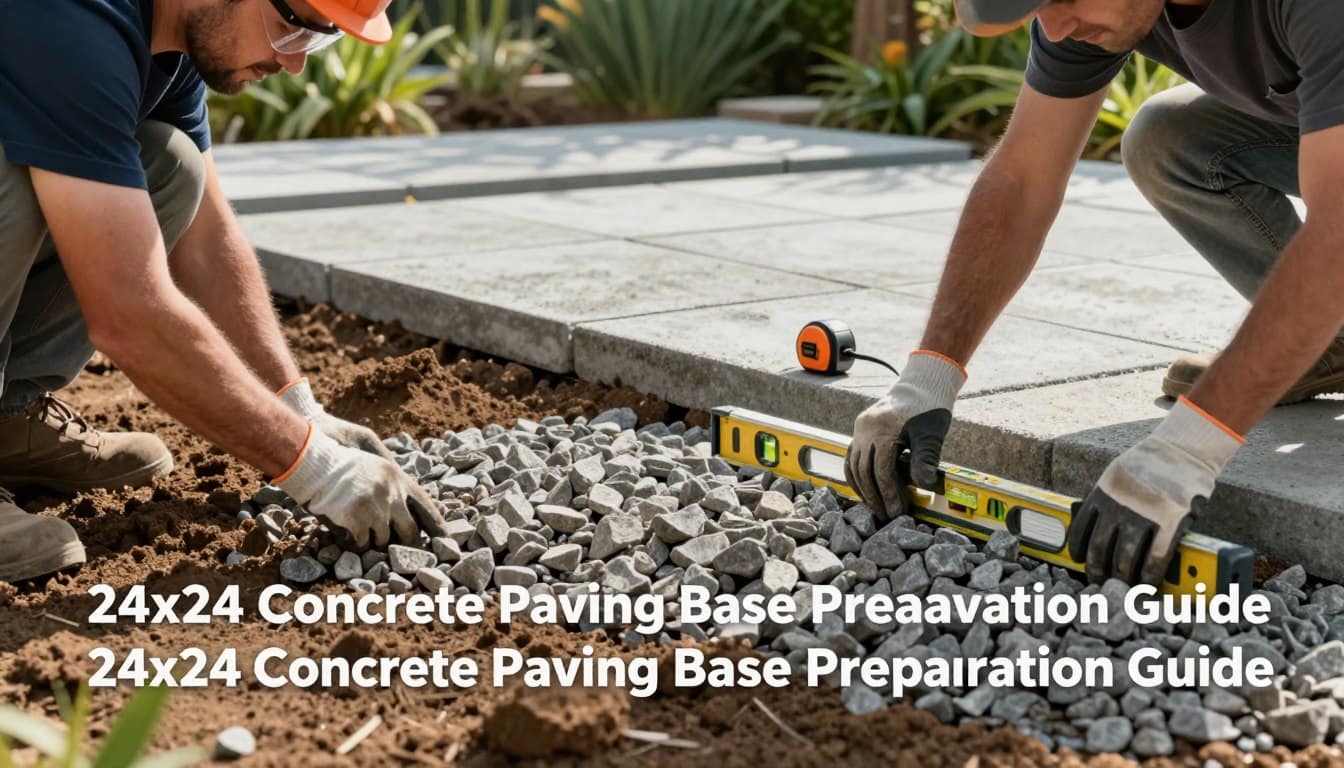
- 4. Install a compacted base of suitable gravel for drainage. Add leveling sand only when recommended for the system, and check the surface in several directions with a level.
- 5. Place the approved fire ring, liner, bricks, or stone according to the manufacturer’s instructions. Use heat-rated components in the combustion area and landscaping adhesive only where the product is approved for that application.
- 6. Inspect the completed pit for a level surface, stable joints, proper drainage, and safe clearance. Remove combustible debris and make sure the fire area does not obstruct walkways or emergency access.
- 7. Complete a controlled test only after the construction has passed inspection and local rules permit use. Begin with the smallest appropriate fire, monitor smoke and heat, and stop immediately if materials shift, crack, or overheat.
- 8. Use a spark screen for a wood-burning fire pit and keep a charged fire extinguisher or bucket of water nearby. Allow the fire to go out completely, then remove ash and debris after it cools.
Quick Tips for Each Step
Keep the surface level throughout the build, and do not improvise with unapproved materials. A practical layout leaves clear space between the fire pit and seating, while prevailing wind should carry smoke away from the house and guests. If the site slopes, drainage is poor, or the project involves gas, electrical work, retaining structures, or uncertain materials, choose professional help for safety.
Creating a Safe and Inviting Fire Pit Area
A thoughtfully planned fire pit area should balance comfort, appearance, and safety. Before using the pit, confirm the clearance required by your local fire code rather than relying on a universal distance such as 10 feet. Requirements can vary by municipality, fuel type, pit design, and nearby structures. Keep the fire pit away from buildings, fences, trees, overhead branches, dry plants, and other combustible materials, and leave a clear route for emergency access.
Place a wood-burning fire pit on a stable, noncombustible surface such as approved concrete, brick, stone, or a properly prepared gravel base. Keep sparks contained with a fitted screen, and never leave a fire unattended. Monitor children and pets, keep chairs and other seating outside the required clearance, and have a charged fire extinguisher or bucket of water within reach. Allow coals and ash to cool completely before disposal, and avoid using the pit during strong winds or unsuitable wet-weather conditions.
Regular maintenance protects the fire pit and the surrounding space. Remove ash and debris, inspect masonry and metal for cracks, warping, or corrosion, and cover the pit when it is not in use. A gas fire pit may offer a cleaner flame, but the gas line, burner, shut-off valve, and connections should be installed and inspected by a qualified professional. If you notice a gas odor, turn off the supply if it is safe to do so, leave the area, and contact the appropriate professional.
- Keep water or a fire extinguisher nearby whenever the fire is burning.
- Inspect the fire pit, screen, base, and surrounding area before each use.
For additional fire pit landscaping ideas, review this resource. For help planning a safe outdoor space, you can also find our location.
Enhancing Your Fire Pit with Lighting and Ambiance
Thoughtful lighting makes the area around fire pit seating easier to navigate after sunset and adds warmth without competing with the flame. Use weather-rated string lights, lanterns, path lights, or low-voltage landscape fixtures, keeping electrical components and cords away from heat, sparks, water, and hot metal.
Layer soft lighting around the yard rather than aiming bright lights directly at the fire. Under-cap illumination may work along seating walls or steps when fixtures are rated for outdoor use and installed at a safe distance. Comfortable chairs, weather-resistant cushions, and blankets can make the space more inviting on cool evenings.
Selecting Weather-Resistant Lighting
Choose fixtures rated for the intended outdoor location and protect connections from moisture. Keep lighting, plants, and decorations outside the clearance zone specified for your fire pit.
Creating a Cozy Atmosphere
Consider wind direction so smoke does not drift toward seating. Layered lighting improves visibility and safety at night, helping the fire pit area support both quiet conversations and larger gatherings.
Preparing Your Backyard for the Fire Pit Project
Prepare your backyard before bringing in materials or beginning construction. Use a pre-build checklist to clear the fire pit area of dry leaves, debris, overhanging branches, roots, and other fire hazards. Then mark the proposed pit footprint with stakes, landscape paint, or a garden hose. Walk around the marked space to confirm required clearances, access for emergency equipment, room for seating, and a practical route from the house.
Check that the ground is stable and reasonably level before excavation. Remove loose soil and correct drainage problems rather than building over standing water or a steep slope. Locate underground utilities through the appropriate local service before digging, and confirm permits and fire regulations with your municipality. A compacted gravel base can improve drainage, but the required surface and foundation depend on the fire pit design, liner, soil, frost conditions, and manufacturer’s instructions. If grading, drainage, or hardscape work is beyond your experience, consider professional hardscaping and site-preparation services.
Review the overall layout before finalizing the spot. Position the fire pit where it uses the available space efficiently without narrowing walkways or placing smoke near windows. Careful preparation can reduce rework, protect the surrounding landscape, and help the finished area look intentional.
Taking time to prepare the site correctly can save effort and expense during the fire pit project.
| Preparation StepDescriptionImportance | ||
| Clear Area | Remove debris and branches | Prevents fire hazards |
| Level Ground | Ensure a stable base | Prevents shifting |
| Check Utilities | Locate underground lines | Avoids damage |
| Drainage Base | Use gravel and sand | Protects from moisture |
DIY Fire Pit Ideas with Repurposed Materials
Repurposed materials can give a DIY fire pit character, but appearance must never replace safety. Reclaimed brick or stone may work around a fire feature only when each piece is clean, sound, and suitable for the intended heat exposure. Materials with unknown coatings, chemical contamination, cracks, or water damage should not be used in the combustion area.
Metal drums and old tractor rims are sometimes used for industrial-style fire pits, but inspect them carefully for paint, oil residue, galvanizing, rust, warping, structural damage, and unknown treatments. Do not burn off coatings to “clean” metal, because fumes can be hazardous. When the history or heat rating of a component cannot be verified, choose a commercial fire ring or liner instead.
These ideas can lower waste and add a personal look to your yard, but verify every material and follow local regulations before use. The linked inspiration may show creative designs, but it should not be treated as technical guidance for building a safe fire pit.
For more inspiration on upcycled fire pits, check out this resource.
Cost-Saving Tips for Your Backyard Fire Pit
A thoughtful budget can make a backyard fire pit project more manageable without sacrificing safety or function. Plan for the pit or burner first, then estimate the cost of site preparation, foundation materials, surface, seating, permits, fuel connections, labor, and delivery. Prices vary by location and supplier, so compare complete project estimates rather than the cost of the fire feature alone.
Here are practical ways to control expenses:
- Use locally sourced materials to reduce delivery and transportation costs.
- Schedule the project during the off-season when suppliers may offer discounts on tools and materials.
- Choose a simple, compact layout before adding decorative walls or custom structures.
- Handle suitable DIY tasks, but hire professionals for gas work, electrical work, utility checks, grading, or permits when required.
- Compare gravel, paver, concrete, and stone surfaces based on installation, drainage, maintenance, and long-term durability—not just the initial price.
- Install essential safety features first, then add lighting, upgraded chairs, or decorative plants later.
- Prioritize a durable fire-rated system to avoid repair costs caused by cracked materials or an unstable base.
Phasing the work lets you create a useful fire pit area now and improve the landscape over time. A smaller project with reliable materials can provide a better experience than an oversized design that exceeds the budget.
| TipDescriptionBenefit | ||
| Local Materials | Reduce shipping costs | Lower overall expenses |
| Off-Season Planning | Find better deals | Maximize budget |
| DIY Installation | Save on labor | More budget for materials |
| Simple Layout | Minimize complexity | Maintain style |
Local CT Tips for Backyard Fire Pit Adaptation
Connecticut homeowners should account for seasonal freezing and thawing, wet weather, soil conditions, and local fire regulations when planning a fire pit. Confirm municipal requirements for wood-burning and gas installations before ordering materials. Frost-resistant products and a well-drained foundation can help limit movement, but the correct construction depends on the site and manufacturer’s instructions.
Here are some tips to keep in mind:
- Choose materials rated for outdoor conditions and inspect the structure after winter for movement, cracks, or loose joints.
- Select plants suited to the Connecticut climate, while remembering that native plants are not automatically fire-safe.
- Check town ordinances, permit requirements, fuel restrictions, and clearance rules before using the fire pit.
- Provide drainage around the pit to reduce pooling, erosion, and freeze-thaw damage.
- Account for prevailing winds so smoke moves away from windows, doors, seating, and neighboring properties.
- Contact ctlawn.net for help coordinating lawn care and landscape work around the fire feature.
- Use professional assistance for gas connections, complex grading, retaining structures, or uncertain soil conditions.
Integrating Hardscaped and Softscape Elements
Combine noncombustible hardscape with carefully selected plants to make the fire pit feel connected to the backyard. Stone, concrete, gravel, and pavers can define the surface, while low-growing plants soften the edges without blocking access. Keep mulch, dry vegetation, branches, and seating outside the clearance required by local rules.
Use a consistent color palette to connect the fire area with nearby patios and paths. Built-in seating walls can provide a durable boundary, but they should not create an enclosed structure that traps smoke or restricts emergency access. Choose plants for mature size, heat tolerance, maintenance needs, and seasonal appearance.
A phased landscape design can begin with the fire pit, safe surface, and seating, then add privacy planting or decorative lighting later. This approach keeps the project within budget while creating a cohesive outdoor space.
By balancing hardscape and softscape, you can create a practical feature that complements the yard without overstating its effect on property value.
Expert Inspiration from Backyard Fire Pit Landscaping
Professional landscape examples can help you compare circular, rectangular, and compact fire pit layouts before starting construction. A circular fire pit often supports conversation, while a rectangular design can suit a narrow backyard or align with built-in seating.
Use a mix of seating options, such as Adirondack chairs and benches, only when the available space allows clear movement and safe access. Pergolas, privacy hedges, and other vertical elements may define the area, but they must remain outside required fire clearances and should not obstruct ventilation.
Lighting can highlight stone, wood, and planting textures at night, while gravel and pavers can separate the fire zone from other backyard activities. Study professional ideas for inspiration, then adapt the materials, scale, and layout to your site, budget, and safety requirements.
Expert guidance can help turn an unused corner into a comfortable outdoor retreat without making unsupported claims about guaranteed value or performance.
| Design ElementDescriptionBenefits | ||
| Circular Fire Pit | Serves as a natural centerpiece | Enhances gathering space |
| Seating Options | Mix of chairs and benches | Accommodates larger groups |
| Vertical Elements | Pergolas and hedges | Defines space and adds privacy |
| Lighting | Highlights textures | Creates ambiance at night |
Conclusion
A budget-friendly fire pit project can add a useful gathering area to your backyard when you plan the site, layout, materials, and seating before construction. Choose a suitable design for your space, compare gravel and stone surfaces, and select a fire-rated pit or liner that matches your fuel type.
Before lighting the fire, confirm local regulations and required clearances, prepare a stable base, and keep combustible plants and materials away from the pit. Regular inspections, ash removal, spark control, and proper storage help maintain a safe outdoor feature. DIY work may suit a simple installation, while gas connections, grading, drainage, and complex structures may require qualified help.
For help with your backyard fire pit, site preparation, or surrounding landscape, contact ctlawn.net to ask about available services and estimates. You can also find our location before planning a consultation.
Use these fire pit ideas as a starting point, then adapt the project to your yard, budget, local rules, and intended experience.
| Key PointsDetails | |
| Budget-Friendly | Enhances backyard experience |
| DIY Tips | Creates a beautiful fire feature |
| Safety First | Adhere to local regulations |
| Planning | Ensures successful outdoor experience |
Frequently Asked Questions
A well-planned fire pit can make a backyard space more comfortable, but the correct design depends on local rules, fuel type, materials, and site conditions. These answers cover common questions about safety, construction, maintenance, and use.
- Q: How far should my fire pit be from my house?
- A: Check your local fire code for the required clearance because distances vary by municipality and by wood-burning or gas fire pit. Keep the pit away from structures, trees, fences, dry plants, and other combustible materials.
- Q: What is the best base for a DIY fire pit area?
- A: A compacted base of suitable gravel can provide drainage and stability. Add a noncombustible surface such as approved stone or concrete when required, and follow the fire pit manufacturer’s instructions.
- Q: How do I maintain my fire pit?
- A: After the fire and ash have cooled completely, remove debris, inspect the pit for cracks or damage, and cover it when not in use. Have qualified professionals inspect gas components and connections.
- Q: Can I build a fire pit on a budget?
- A: Yes. A simple DIY layout, local materials, gravel, and a manufactured pit can reduce costs, but do not compromise safety or use unapproved materials.