

This guide will take you through the essential steps for installing synthetic grass, ensuring your yard transforms into an eco-friendly oasis. By contacting experts at 844-WSI-TURF, you can learn how to manage your project while ensuring that the materials used are safe and recyclable.
Understanding the benefits of today’s turf technology allows you to make informed choices about your landscaping. With the right approach, you can achieve a lush, realistic lawn that meets safety standards for your family and pets.
Key Takeaways
- Modern synthetic grass is eco-friendly and recyclable.
- Low-maintenance options keep your yard looking great year-round.
- Expert guidance ensures a safe and efficient project.
- Proper preparation is key for a durable surface.
- Understanding turf technology helps in making informed decisions.
Understanding the Advantages of PFAS-Free and Recyclable Grass
Opting for sustainable grass options can enhance both your yard’s beauty and the planet’s health. Modern advancements in turf technology offer eco-friendly materials that provide numerous benefits for homeowners.
Choosing PFAS-free options ensures safety for your family and pets, protecting them from harmful chemicals. One major advantage of installing high-quality turf is the significant reduction in water usage compared to traditional grass. This means lower utility bills and a more sustainable approach to landscaping.
Moreover, synthetic grass eliminates the need for mowing, saving you both time and money on maintenance. Many products are designed to be recyclable, contributing to a circular economy and reducing landfill waste. Investing in durable, eco-friendly grass can lead to long-term savings that offset initial installation costs.
Preparing Your Site for Artificial Turf Installation
Getting your yard ready for new grass is an essential step in the process. Proper preparation ensures a smooth and long-lasting result. Begin by clearing the area where you plan to install your new lawn. This involves removing existing soil and any weeds to create a clean foundation.
Excavate 3 to 4 inches of soil to achieve the necessary depth for your base materials. It’s also important to create a 2% grade in the dirt. This will help with proper drainage, directing water away from your home.
Consider these important steps:
- Remove 3 – 4 inches of soil and weeds for a stable foundation.
- Establish a 2% grade for effective drainage.
- If gophers are present, install gopher wire to prevent damage.
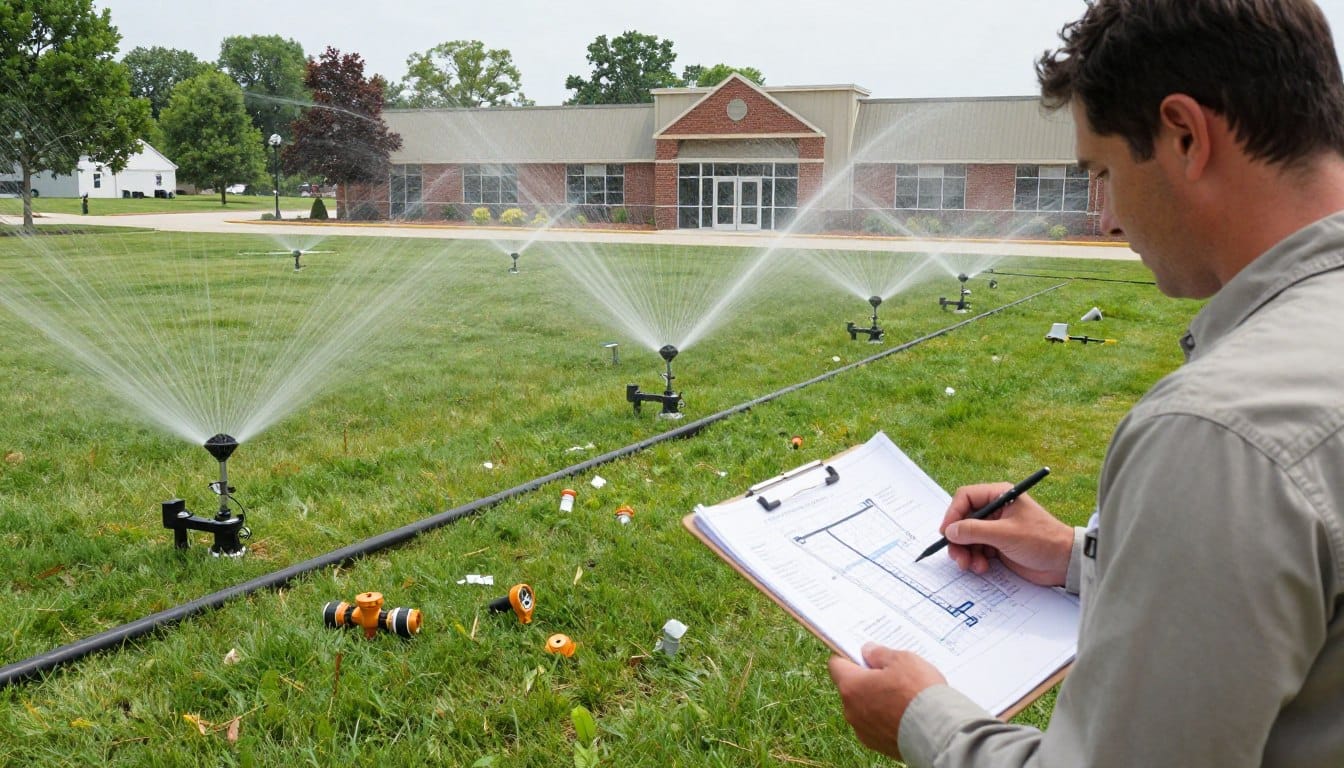
- Cap or remove existing sprinkler systems to avoid leaks.
- Clear the area thoroughly to prevent future weed growth.
- Level the ground after excavation for a smooth surface.
| Preparation Step | Description | Importance |
|---|---|---|
| Soil Removal | Excavate 3-4 inches of soil | Creates a stable base |
| Grade Establishment | Set a 2% downward slope | Ensures proper drainage |
| Weed Control | Clear existing weeds | Prevents future growth |
| Gopher Prevention | Install gopher wire | Protects the lawn from damage |
Essential Materials and Tools for a Successful Turf Project
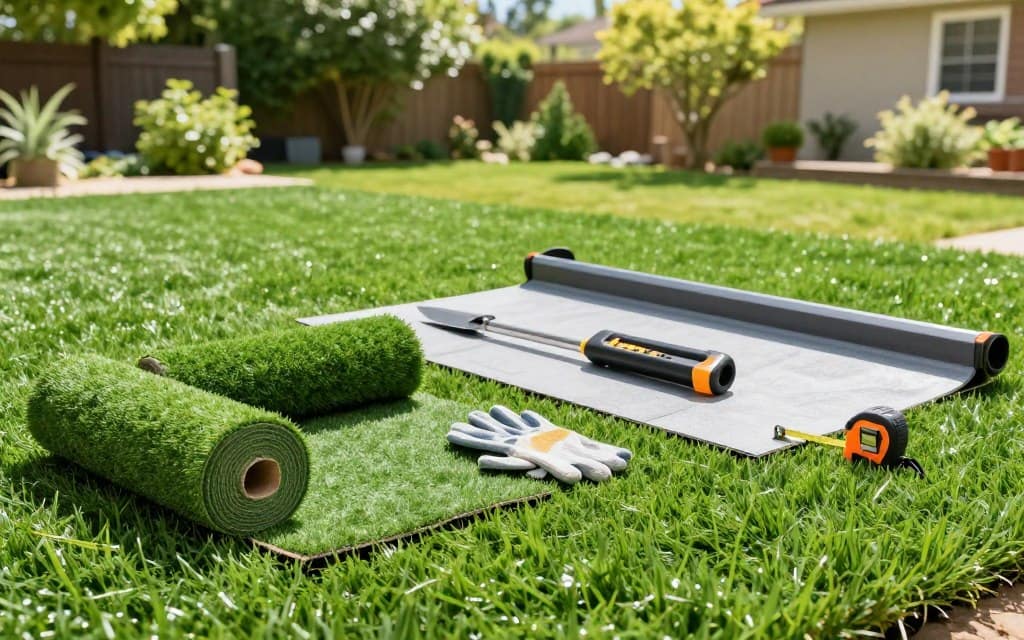
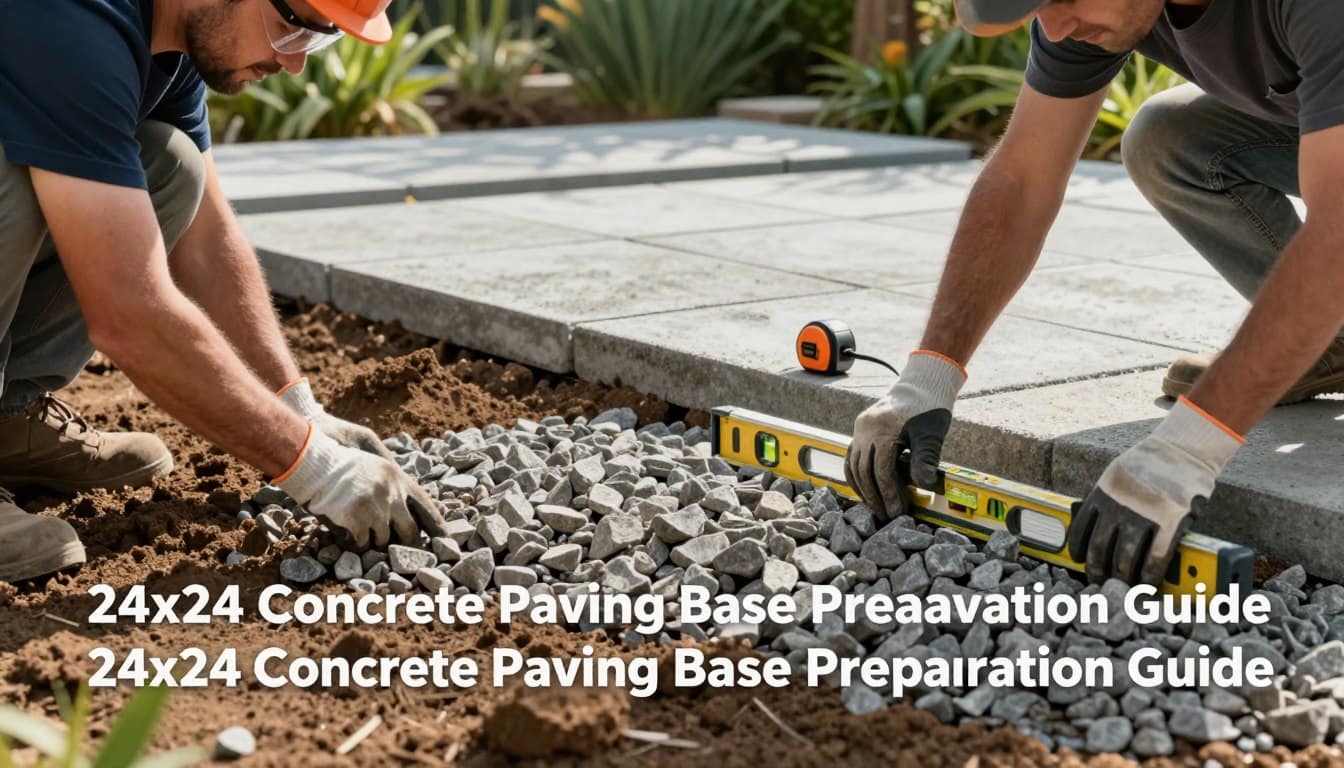
Creating a stunning lawn requires the right materials and tools for a successful project. The foundation of your new grass area is critical. Start by laying 2 ½ to 3 inches of ¾” base rock. This will provide a solid base for your installation.
Next, add 1 to 1 ½ inches of decomposed granite on top of the base rock. Using a weed fabric between these layers is optional but highly recommended. This fabric helps prevent unwanted growth and keeps your lawn looking pristine.
Watersavers Turf offers 15’ wide rolls of high-quality synthetic grass. You can cut these to the specific length needed for your project. To ensure stability, compact your base rock and granite to 90% density using a vibrating plate compactor.
Essential tools for your project include:
- A turf knife for precise cutting.
- A push broom for leveling the surface.
- A drop spreader for even application of infill materials.
Always select manufacturer-recommended infill to ensure the longevity and performance of your grass. Regular sand is not suitable for this purpose. For more information on combining irrigation with synthetic grass, check out this helpful resource.
artificial Turf Installation: Step-by-Step Guide
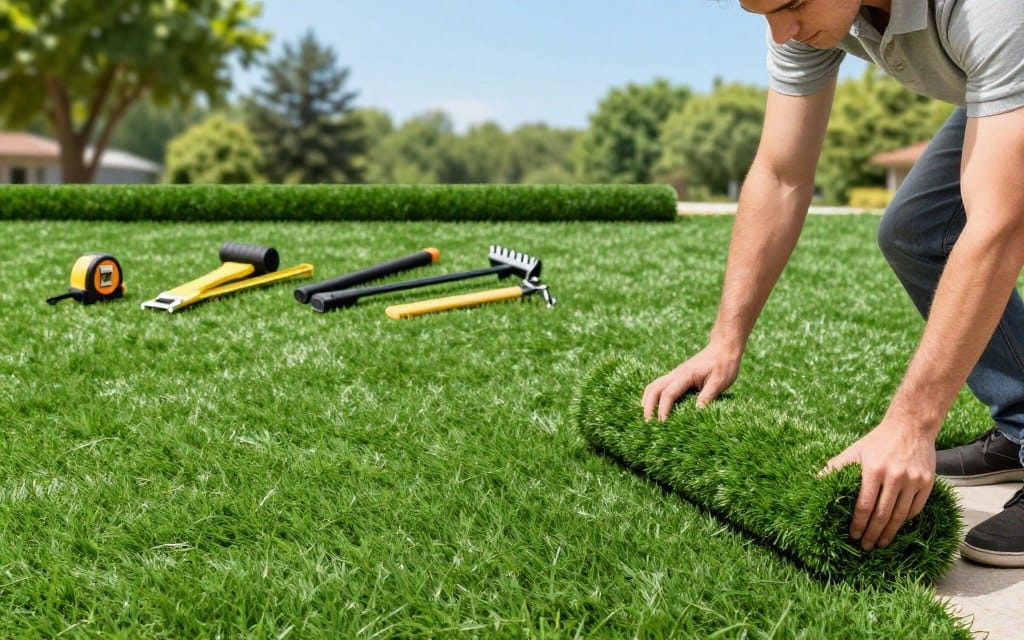
Transforming your outdoor space requires careful planning and execution. Following a structured approach can lead to a successful project. This section outlines the key steps to ensure a seamless installation.
Laying the Base, Securing Perimeter, and Applying Infill
Begin by rolling out your grass and allowing it to settle for 1 to 2 hours, blades facing down. This will make handling easier. When securing the perimeter, use 5-inch or 6-inch nails spaced 3 to 4 inches apart. Be cautious not to drive them too deep to avoid dimples in the surface.
Next, apply 1.5 to 2 lbs of infill per square foot. This helps keep the blades upright and adds weight to the grass. A carpet kicker can stretch the turf across the area, removing wrinkles and ensuring a tight fit against the edges.
Seaming, Trimming, and Aligning the Turf
When joining two pieces of turf, leave a 1/8-inch gap and use seaming tape with a thin layer of glue to secure the seam. After securing the turf, use a power broom to help the blades stand up before applying the infill evenly across the surface.
Finally, trim any excess turf along the perimeter with a sharp utility knife. This creates a clean, finished look that blends perfectly with your landscape.
Installation Techniques for Various Landscapes

Understanding how to adapt your installation methods to various landscapes is crucial for achieving the best results. Each type of surface presents unique challenges and requires specific techniques for successful application.
Turf Installation Over Natural Grass
When replacing natural grass, start by removing the top 3 to 4 inches of soil. This creates a stable foundation for the new base. Clearing all existing vegetation is essential to prevent future growth from compromising your new lawn.
Installing Turf Over Concrete and Other Hard Surfaces
To install turf over concrete, first clean the surface thoroughly. Then, glue down a shock-absorbing performance pad for added comfort and drainage. Ensure the concrete is level and free of debris before applying the adhesive.
Always check that your turf has a porous backing, allowing water to drain effectively through the surface. When working on a landscape with existing hardscape, use a wonder bar to tuck the edges of the turf for a clean finish.
Proper alignment of the turf grain is essential, especially when transitioning between different areas of your yard. This ensures a uniform, natural appearance that enhances your landscape.
Advanced Tips for a Flawless Turf Installation
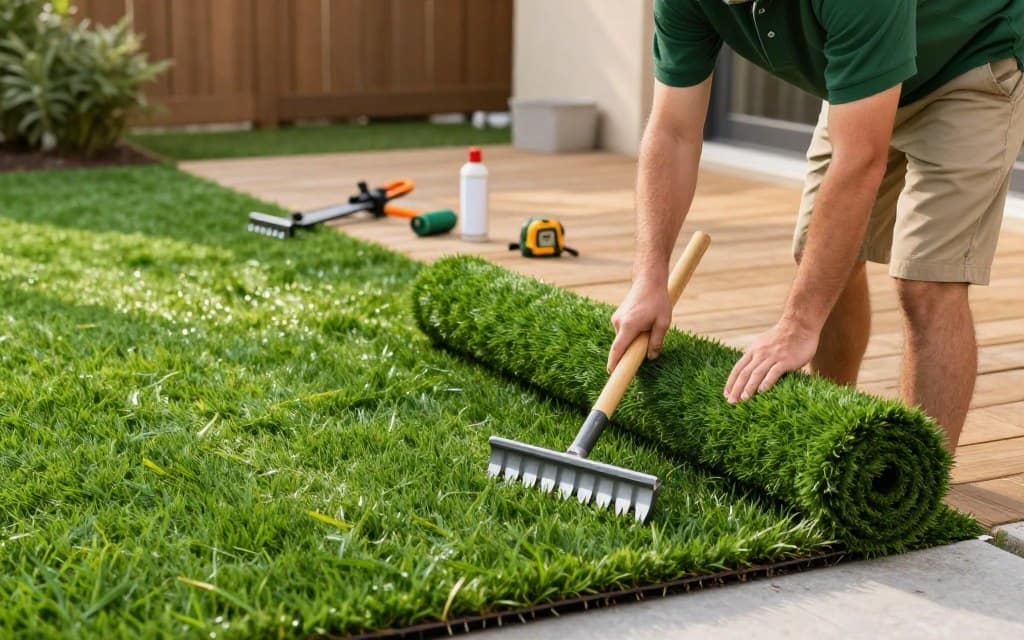
Achieving a flawless lawn requires attention to detail and careful execution. Focus on optimizing drainage and preventing weed growth for a vibrant and healthy surface. Always check the drainage grade after compacting the base. This ensures water flows away from your home and toward the designated drainage area.
When preparing the area, drive nails 3/4 of the way into the ground. This prevents pulling the grass down and creating visible dimples on the surface. For a seamless look, separate the blades at the base before securing the nails.
Optimizing Drainage and Preventing Weed Growth
To keep your lawn looking pristine, use a weed barrier fabric beneath the grass. This helps block unwanted growth while allowing water to drain effectively. Regularly inspect your perimeter nails to ensure they are not driven too deeply, as this can cause unevenness.
Securing Edges and Managing Seams Effectively
When seaming pieces together, consider using an S-shape cut. This technique prevents the illusion of discoloration where two pieces meet. For commercial applications, place nails 3 to 5 inches on center and ½ inch away from the edge for maximum security.
DIY Considerations Versus Hiring Professional Contractors
Considering whether to take on your turf project yourself or hire a professional can significantly impact your results. While many homeowners can successfully complete their projects, it’s essential to evaluate your skills and the complexity of the task.
Professional contractors in the SF Bay Area can provide free estimates and ensure that your turf project meets local safety and quality standards. If you decide to tackle the project yourself, ensure you have the right tools, such as a power broom and plate compactor.
Here are some important factors to consider:
- Assess the scope of your project before committing to the labor.
- Putting greens require specialized techniques, which may be better suited for professionals.
- Consider your physical ability to handle heavy materials like base rock and large rolls of turf.
- Contacting a professional can save you time and prevent costly mistakes.
| Factor | DIY | Professional |
|---|---|---|
| Skill Level | Requires basic knowledge | Expertise in complex layouts |
| Time Commitment | May take longer | Faster completion |
| Tools Needed | Basic tools required | Access to specialized equipment |
| Cost | Potentially lower | May include labor fees |
Maintenance and Long-Term Care of Your Artificial Turf
Maintaining your lawn is crucial for preserving its beauty and longevity. Regular upkeep can help your synthetic grass last up to 15 years, ensuring it remains vibrant and inviting. Proper care involves a few simple steps that can make a big difference.
Weekly maintenance includes rinsing your yard with a hose to eliminate dust, dirt, and pet waste. This keeps the surface clean and fresh. Monthly, use a power broom to sweep against the natural grain of the grass. This technique helps the blades stand upright and enhances the overall appearance.
If you have pets, clean up after them promptly. Applying a turf neutralizer can also help maintain a pleasant environment. Additionally, check your infill levels regularly and add more if necessary. This material is vital for keeping the blades straight and looking natural.
Before using a broom, always remove large debris like leaves with a rake. This prevents damage to the turf backing and ensures effective cleaning.
| Maintenance Step | Frequency | Description |
|---|---|---|
| Rinsing | Weekly | Remove dust and pet waste |
| Brushing | Monthly | Upright blades with a power broom |
| Pet Care | As needed | Clean up waste and use neutralizer |
| Infill Check | Regularly | Add infill to maintain appearance |
Conclusion
Transforming your outdoor space with synthetic grass is a fulfilling endeavor that brings lasting beauty and ease to your yard. Following the steps outlined in this guide ensures a professional-quality finish that is safe and eco-friendly. Remember, proper base preparation and using high-quality infill are essential for achieving a long-lasting and realistic lawn.
Whether you decide to tackle the project yourself or enlist the help of professionals, the advantages of a PFAS-free, recyclable surface make it a worthwhile investment. To get started, explore the diverse range of materials and tools available at Watersavers Turf. Enjoy your stunning new lawn, and relish the extra time you’ll have now that mowing and watering are no longer necessary!
For more insights on the benefits of installing synthetic grass, you can contact your local turf installation provider.