


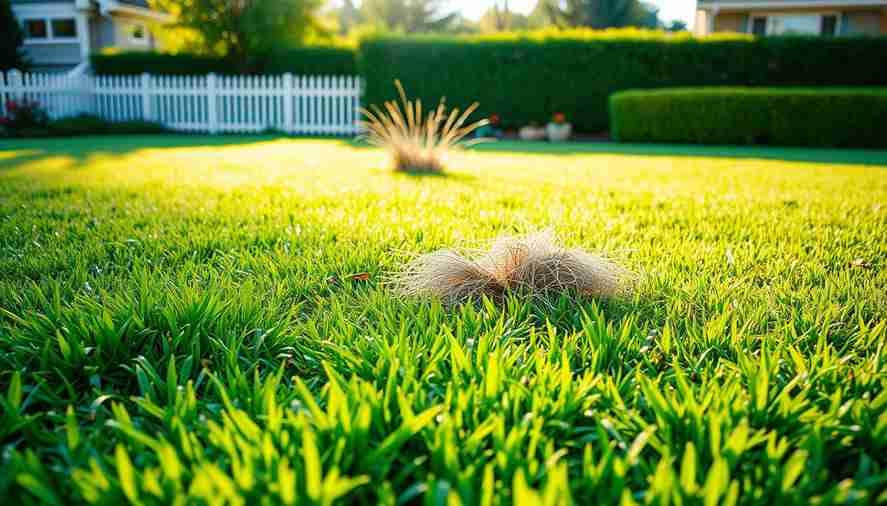
We’ve all experienced that moment of disappointment. After spending weekends mowing, watering, and fertilizing our outdoor space, we look out the window to see our green carpet looking thin and patchy. Despite our best efforts, something just isn’t right beneath the surface. Often, the problem is that your lawn needs dethatching to remove the buildup of dead grass and debris, allowing healthy roots to thrive.
This frustrating scenario often points to an invisible barrier preventing our turf dethathicng from thriving. A dense layer of organic material can build up between soil and grass blades, choking out healthy growth. When this layer becomes too thick, it creates serious problems for our yard.
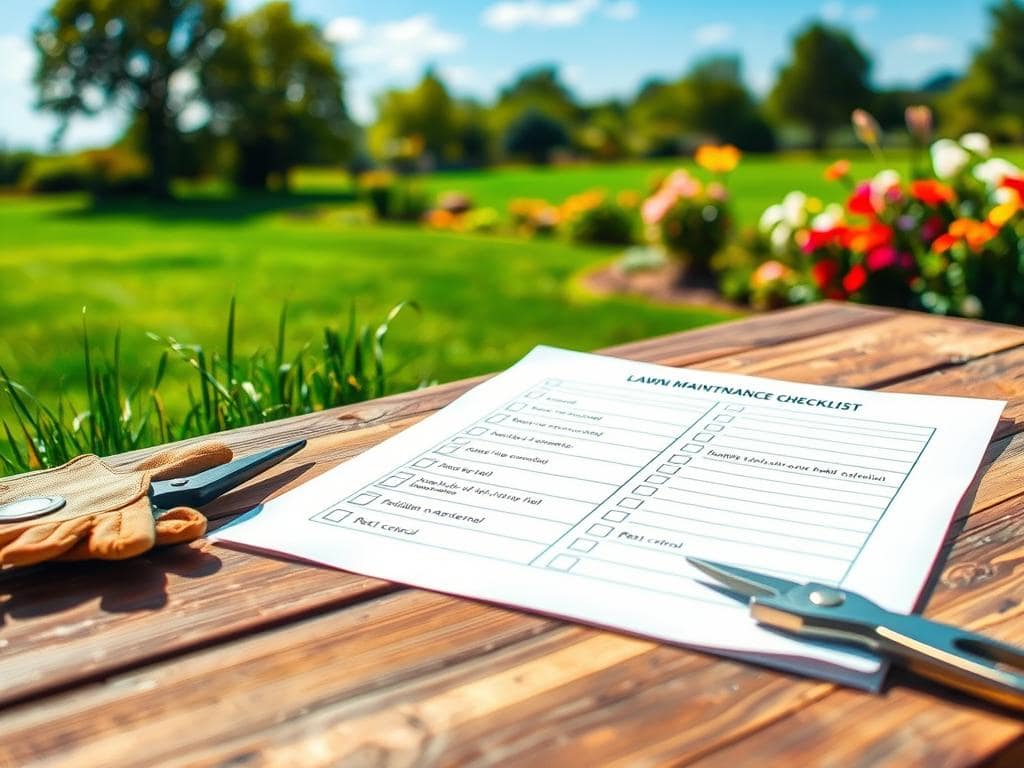
Recognizing the warning signs early is crucial for maintaining vibrant turf. In this guide, we’ll walk through nine clear indicators that signal intervention is necessary. We’ll help you diagnose issues before they cause permanent damage to your green space.
Understanding what constitutes excessive buildup and why it becomes problematic empowers us to take appropriate action. Our goal is to equip you with knowledge for restoring optimal growing conditions. We’ll cover proper techniques and timing considerations for achieving a resilient outdoor area.
Understanding Dethatching: What It Is and Why It Matters
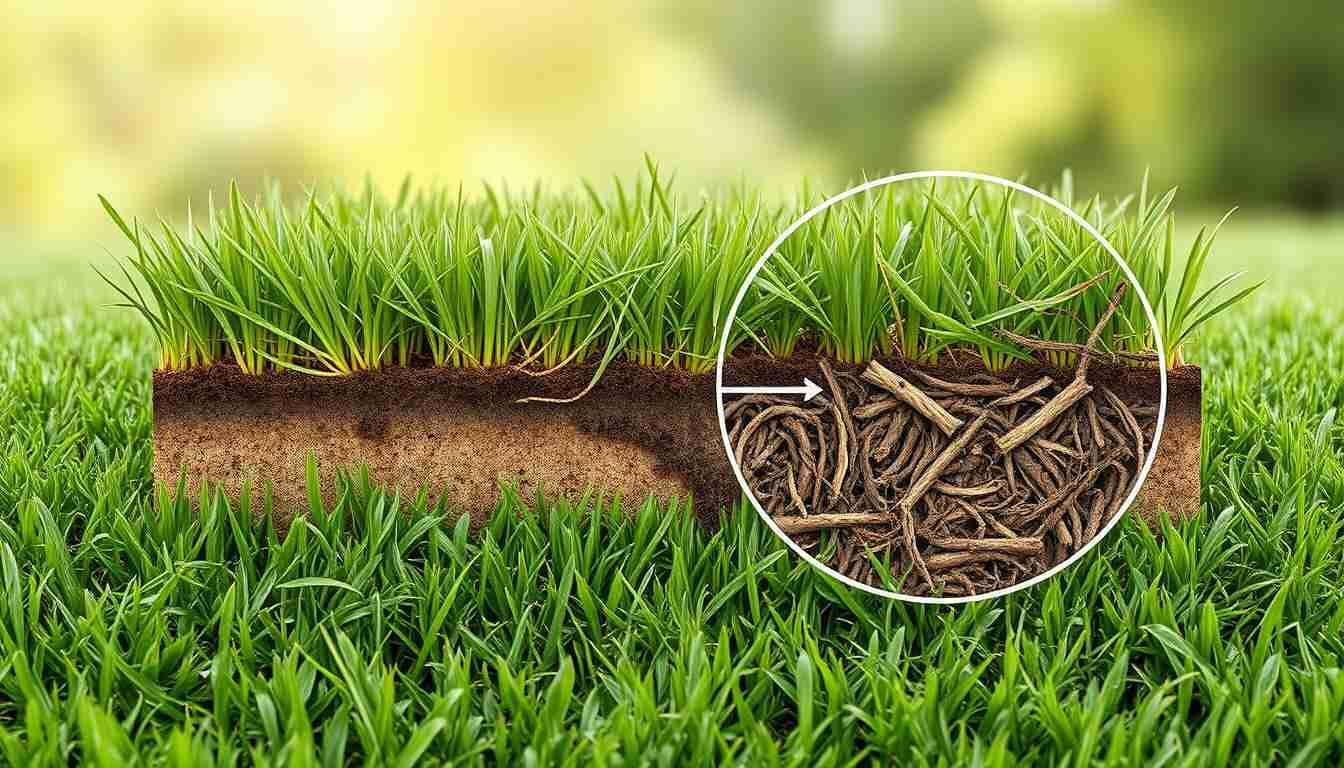
A detailed cross-section diagram showcasing the thatch layer in a healthy lawn. A lush, verdant grass carpet covers the foreground, with a magnified view of the subsurface thatch layer revealed in the middle ground. The thatch is depicted as a dense, intertwined mat of organic matter, including dead grass, roots, and other plant debris, nestled between the soil and the living grass. The background features a soft, natural bokeh effect, emphasizing the technical focus on the thatch layer. The lighting is natural and evenly distributed, allowing the textures and structures of the thatch to be clearly visible. The overall scene conveys a sense of educational clarity, inviting the viewer to better understand this crucial component of lawn health.
Many homeowners overlook the natural layer developing beneath their green turf. This organic material forms where grass stems meet roots at the soil line. It contains both living and dead plant matter that accumulates over time.
Definition of Thatch and Its Role in Lawn Health
Thatch consists primarily of grass stems, roots, and other debris. This layer of organic matter sits between soil and green blades. A thin covering provides important benefits for plant health.
Proper decomposition maintains balance in this ecosystem. Some materials break down quickly while others persist longer. The composition determines whether it helps or harms your grass.
Benefits of a Thin Thatch Layer vs. Risks of Buildup
A thin thatch layer measuring under half-inch acts as natural mulch. It conserves soil moisture and protects roots from temperature extremes. This cushioning effect supports healthy grass growth.
Water and nutrients penetrate effectively through optimal thickness. Grass roots access essential resources in the soil below. However, problems emerge when accumulation exceeds beneficial levels.
Thickness | Impact on Grass | Water/Nutrient Access | Root Health |
Less than 1/2 inch | Beneficial insulation | Full penetration | Protected roots |
1/2 to 3/4 inch | Moderate barrier | Reduced access | Stress begins |
Over 1 inch | Harmful blockage | Severely limited | Trapped roots |
Excessive thatch creates serious problems for grasses. Thick layers block moisture and fertilizer from reaching soil. Roots become trapped and vulnerable to environmental stress.
Certain grass varieties accumulate this material faster than others. Vigorous spreading types require more attention to prevent harmful buildup. Understanding these differences helps maintain proper balance.
How to Tell if Your Lawn That Needs Dethatching

A person’s hand carefully measuring the thickness of thatch on a well-manicured lawn, using a ruler. The lawn is in the foreground, with lush, green grass and a slight golden hue from the afternoon sunlight. The middle ground features the person’s hand and the ruler, with a sharp focus on the measurement. The background is blurred, suggesting a tranquil, suburban setting. The lighting is warm and natural, casting subtle shadows that add depth and dimensionality to the scene. The overall mood is one of focus and attention to detail, capturing the important step of assessing thatch levels to determine if dethatching is necessary.
Several unmistakable indicators help us determine when organic material has accumulated to harmful levels. Our green space provides clear signals through both appearance and physical characteristics.
Visual Signs and Physical Indicators
We notice visual clues first. Our turf may show brown patches or thinning areas despite regular care. The color appears faded, and growth seems weak.
Physical tests reveal more evidence. Walking across the yard feels spongy underfoot. This bounce indicates too much thatch beneath the surface.
Try pushing your finger through to reach soil. Difficulty penetrating suggests thick thatch buildup. Grass roots struggle to access essential resources.
Tools and Techniques to Measure Thatch Thickness
Accurate measurement confirms our suspicions. Use a garden trowel to remove a small wedge from the turf. Include both green blades and soil in your sample.
Examine the cross-section carefully. You’ll see a dark brown mat between grass and earth. This spongy material represents the thatch layer.
Measure its thickness with a ruler. Concern arises when it reaches 1 inch thick or more. At this point, intervention becomes necessary for healthy growth.
Also check for compacted soil using a screwdriver test. If insertion proves difficult, both issues may affect your green space. This helps determine the right corrective approach.
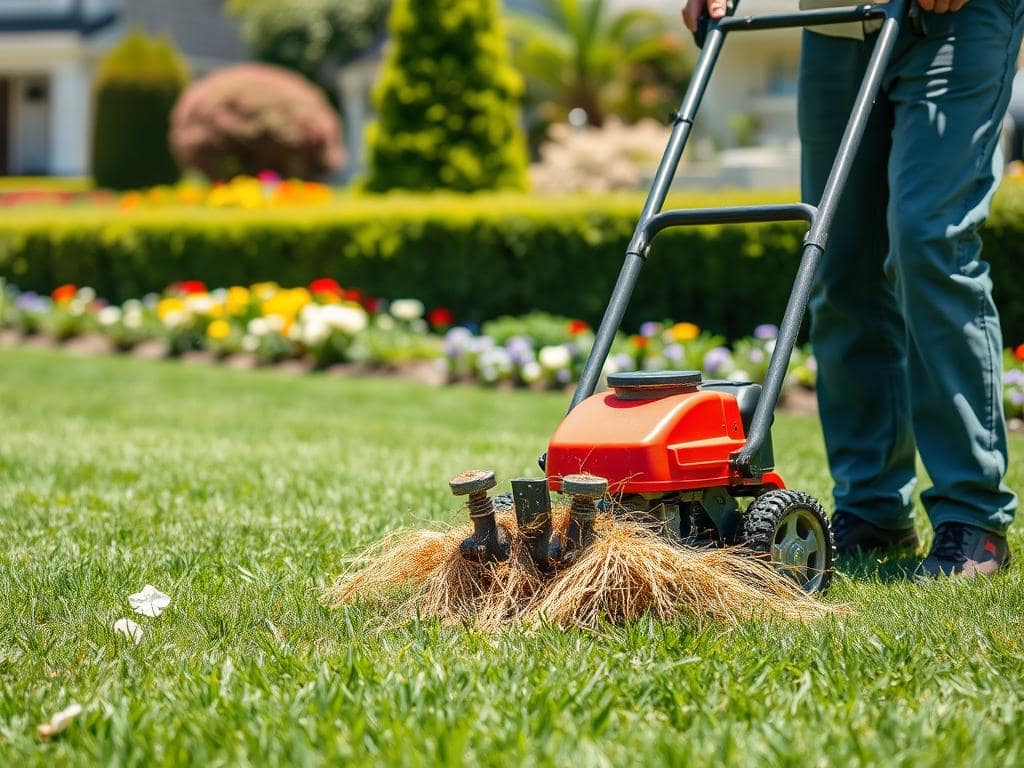
Dethatching Techniques and Tools
Choosing the right equipment makes our dethatching project successful. We have several effective options, from simple hand tools to powerful machines.
Our selection depends on the size of our yard and the thickness of the thatch layer. Matching the tool to the task prevents stress on our grass.
Manual Methods: Dethatching Rake and Its Use
A manual dethatching rake works well for small areas with light buildup. This heavy tool has short, curved tines designed to dig in and pull up material.
We use it like a standard rake, pulling it across the surface. The sharp tines separate the thatch from the soil beneath effectively.
Power Rakes and Verticutters: When to Rent or Buy
For larger properties, power tools save time and effort. A power rake uses rotating tines to pull up moderate thatch layers.
Vertical mowers, or verticutters, are more aggressive. Their blades slice into the soil to remove thick buildup. We can adjust the cutting depth to protect grass roots.
These machines are typically available for rent at garden stores.
Comparing DIY Options and Professional Services
We must assess our situation honestly before starting. Severe problems may require expert help.
Method | Best For | Considerations |
Manual Rake | Small yards, light care | Affordable, good for maintenance |
Power Rake | Medium yards, moderate thatch | Rental needed, less physical work |
Verticutter | Large areas, thick buildup | Professional use recommended for severe cases |
If the layer exceeds two inches, hiring a professional prevents damage. Removing too much at once can harm the root system of our grasses.
Timing and Best Practices for Lawn Dethatching
Proper scheduling separates successful yard revitalization from potentially damaging interventions. We must coordinate our efforts with nature’s calendar for optimal results.
Seasonal Guidelines for Cool-Season and Warm-Season Grasses
Different grass types require specific timing. Cool-season varieties thrive in late summer or early fall. Early spring also works well for these grasses.
Warm-season grasses prefer late spring through early summer. Wait until after the second mowing for best results. Active growth periods ensure quick recovery.
Grass Type | Best Time | Alternative Time | Key Consideration |
Cool-season grasses | Late summer/early fall | Early spring | Peak growth period |
Warm-season grasses | Late spring/early summer | After second mowing | Post-green-up phase |
Do’s and Don’ts When Dethatching Your Lawn
Always mow your turf to half its normal height beforehand. Ensure soil is moderately moist but not soggy. Mark irrigation lines to avoid equipment damage.
Never perform this procedure during dormancy or stress. Avoid fertilizing immediately before the process. Thorough cleanup and deep watering follow completion.
Post-Dethatching Maintenance and Lawn Revitalization
The real transformation begins once we’ve cleared away the excess organic material. Our follow-up care determines how well our turf recovers and thrives.
This maintenance phase establishes healthy growing conditions for the long term. We implement strategies that support vigorous growth while preventing future problems.
Watering, Fertilizing, and Overseeding Strategies
Immediate hydration is crucial after removing the barrier. We water deeply to help grass roots recover from the process.
Continue providing moisture every 2-3 days during the following weeks. This consistent care supports the turf’s healing and regrowth.
Fertilization becomes highly effective now that nutrients can reach the soil. Apply quality fertilizer to fuel vigorous recovery.
Overseeding fills bare spots with excellent seed-to-soil contact. The exposed earth promotes strong germination and improved density.
Integrating Aeration and Other Lawn Care Practices
Aeration complements our efforts by addressing compacted soil beneath the surface. This process creates channels for water, air, and nutrients to penetrate.
Annual turf aeration helps maintain loose soil structure that encourages deep root development. Consider soil amendments like gypsum for challenging conditions.
Smart mowing practices prevent future accumulation. Never remove more than one-third of grass blade height in a single cutting.
Small grass clippings decompose quickly and return valuable nutrients. Remove excessive clippings that could contribute to buildup.
Regular soil testing every 3-4 years maintains optimal pH levels. This supports microorganisms that break down organic matter naturally.
Conclusion
The knowledge we’ve gathered empowers us to maintain vibrant outdoor spaces effectively. We now recognize the critical signs of excessive organic buildup. Our understanding helps prevent future turf problems. A thin layer provides valuable benefits like moisture retention and temperature protection. Excessive accumulation blocks essential resources from reaching grass roots. Regular monitoring ensures we maintain this delicate balance.
Proper timing and techniques support quick recovery for our grasses. Post-care strategies establish long-term health for our yard. Preventive measures reduce pest risks and soil issues for years. Armed with these insights, we can create resilient green spaces. Our commitment to regular care ensures lasting beauty and vitality.
If you’re looking for expert lawn care or dethatching services near you, applying these insights with a trusted local professional can ensure your yard stays lush, resilient, and beautiful. Take the first step toward a thriving lawn today—your neighborhood’s best green space is just a call away!