
Did you know the average American lawn consumes over 10,000 gallons of water each summer? Turf dethatching and proper lawn care are essential steps for homeowners seeking a permanent, low-maintenance alternative.
This step-by-step guide will show you how to install artificial turf properly while addressing essential preparation steps like turf dethatching and maintenance. With the right approach, you can enjoy a lush, green, and easy-to-maintain lawn all year round.

Understanding Turf Dethatching and Its Benefits
Beneath the green surface of a healthy lawn lies an organic layer that plays a crucial role in its overall condition. This natural buildup consists of dead grass, stems, and other plant debris that accumulates between soil and living grass blades.

Turf dethatching removes this layer to restore lawn health and create a stable surface for new installations. You can identify thick thatch if your lawn feels spongy underfoot or water pools after rain.
Before installing artificial grass, dethatching ensures proper drainage and eliminates uneven areas. Without this step, your new turf might develop bumps or poor drainage over time.
| Thin Thatch Layer (Up to ½ inch) | Thick Thatch Problem (Over ¾ inch) |
| Moderates soil temperature swings | Blocks water and air from roots |
| Preserves soil moisture | Creates breeding grounds for disease |
| Maintains optimal pH around 6.5 | Reduces the effectiveness of lawn treatments |
| Provides nutrients as it breaks down | Leads to poor drainage and pest issues |
When this layer becomes too thick, exceeding three-quarters of an inch, problems begin. Excessive buildup prevents water, air, and nutrients from reaching grass roots. This can make lawns more susceptible to disease and reduce treatment effectiveness.
You can identify thick thatch by its spongy feel underfoot. Measuring involves digging a small section to check the woody material between soil and grass blades.
Understanding this natural process helps when preparing for artificial turf installation. Addressing existing thatch problems ensures proper drainage and a stable base for your new surface.
Preparation: Assessing Your Lawn and Tools Needed
Proper groundwork evaluation is the foundation that determines your artificial turf’s longevity and performance. We guide you through each critical inspection step to ensure a stable base.

Inspecting Existing Thatch Layers and Soil Conditions
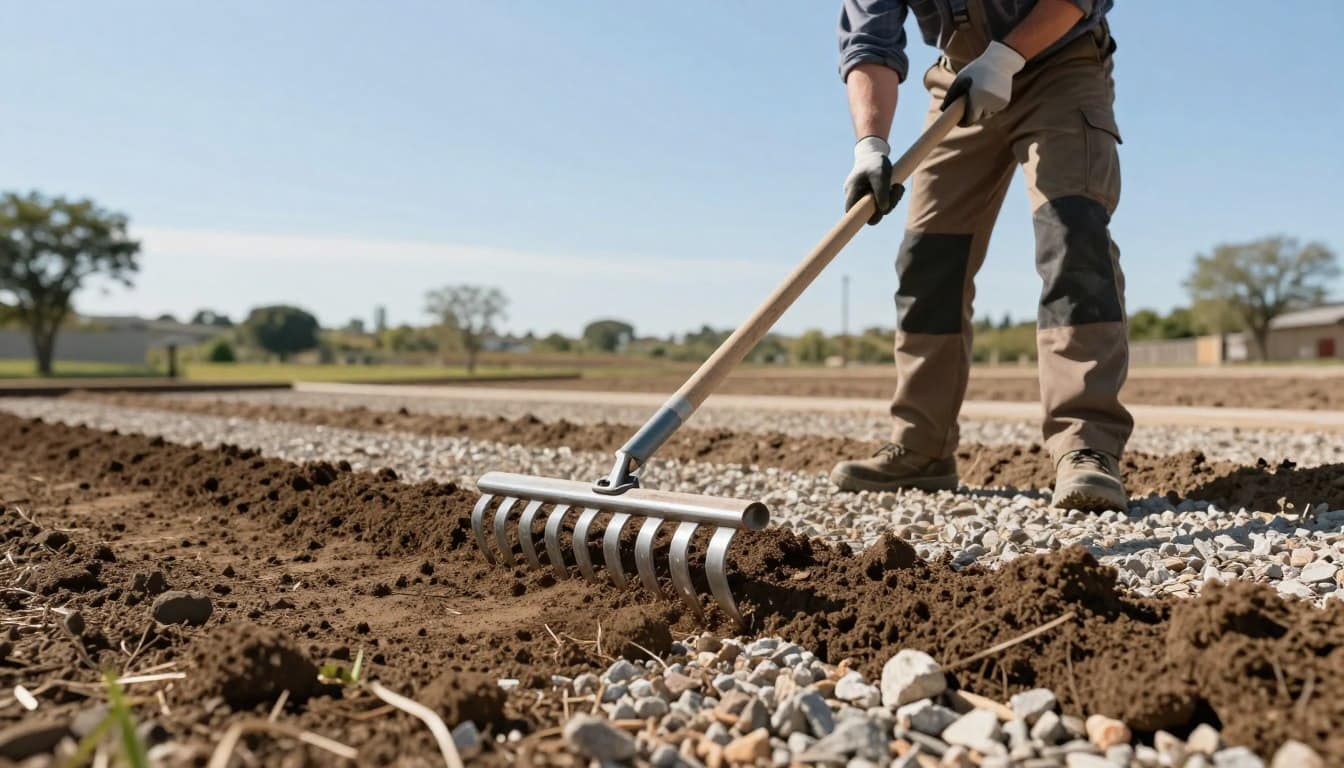
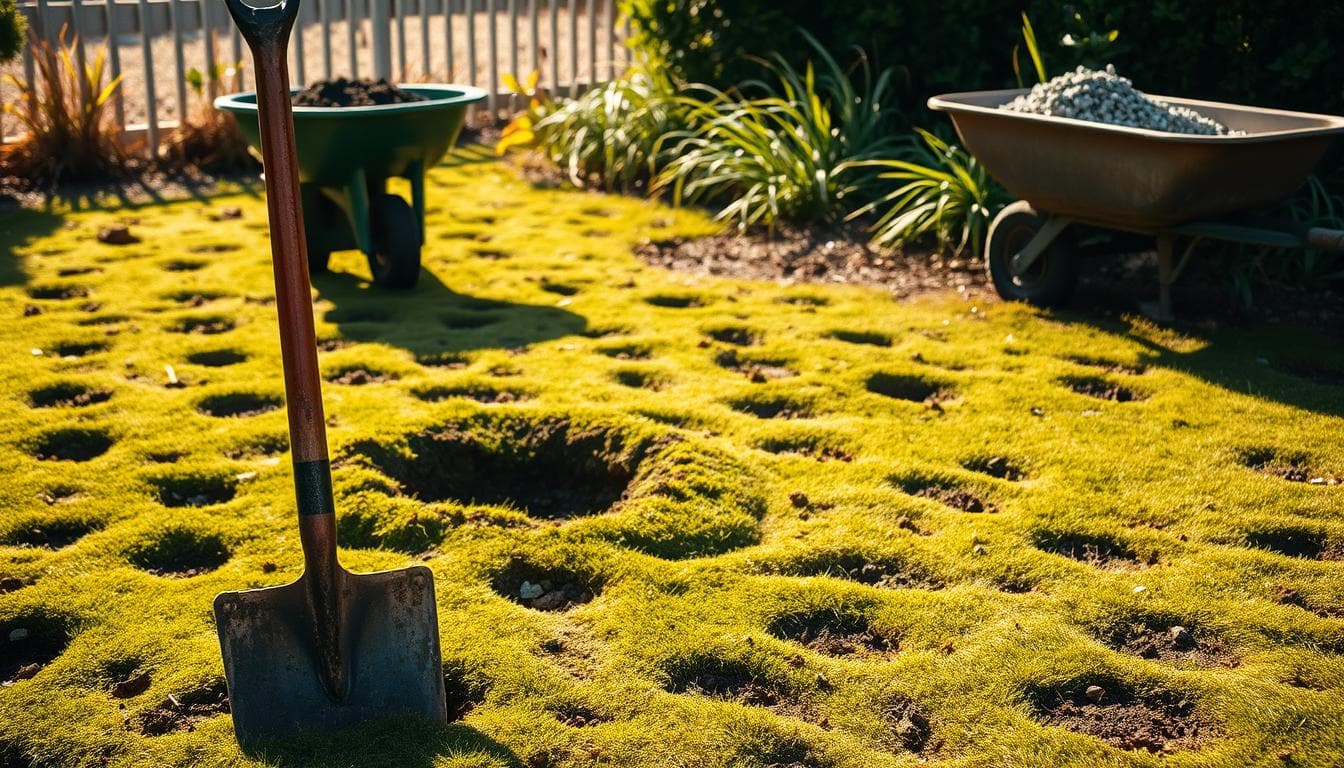
Start by inserting a screwdriver into the soil — if it’s difficult, the ground is too compacted. Then, dig a small section to inspect the thatch layer. If it’s thick, use a dethatching rake or rent a power rake to remove it completely.
Dethatching improves soil aeration, allowing water to drain properly once your new turf is installed.
Selecting the Right Tools and Materials
Severe problems may require a power rake, available for rental. Always mark sprinkler heads and utility lines before starting work.
Gather these installation essentials:
- Measuring tape and utility knife
- Landscape fabric and infill material
- Turf adhesive or seaming tape
- Landscape staples and a stiff brush
Proper spring preparation prevents future drainage issues. This careful approach creates the ideal foundation.
Step-by-Step Installation Process for Artificial Turf
Once your ground is properly prepared, follow this simple process to install your synthetic grass efficiently.

Following these steps in order creates the stable foundation needed for optimal performance. Each phase builds upon the previous one.
Step 1: Remove the Old Lawn and Level the Ground
Clear the area of natural grass, rocks, and roots. Address uneven spots by filling low areas with crushed stone or decomposed granite. Compact the base with a roller or plate compactor to ensure a smooth surface.
Step 2: Install a Weed Barrier
Lay down landscape fabric to prevent weed growth. This layer also promotes proper drainage beneath your turf.
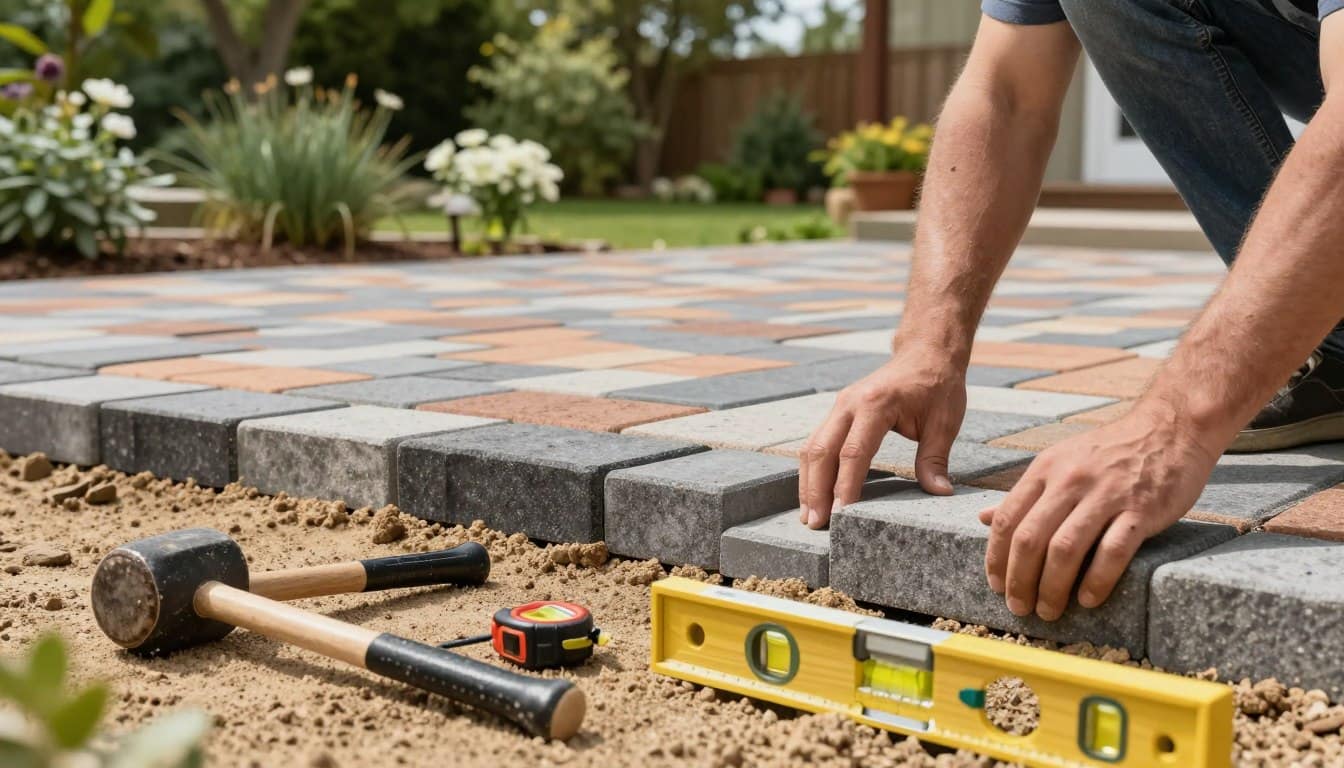
Step 3: Lay and Align the Turf
Roll out your turf with all grass blades facing the same direction for a consistent look. Trim edges carefully with a utility knife to fit the space precisely. Allow the turf to settle for a few hours before securing it.
Step 4: Secure the Turf
Use landscape staples every 4–6 inches along the edges. When joining multiple sections, apply seam tape and adhesive for invisible seams.
Once secured, brush the grass fibers upright using a stiff broom.
Step 5: Add Infill and Brush
Spread infill material (silica sand or rubber granules) evenly across the turf. This helps blades stand upright and improves cushioning. Brush the turf in multiple directions to distribute infill and achieve a natural appearance.
By following these steps, you’ll master how to install artificial turf like a pro.
Tips for Achieving a Lush, Even Lawn with Artificial Turf
Achieving a professional-looking artificial lawn requires attention to several key details. These finishing techniques separate average installations from exceptional ones. We focus on methods that create natural-looking results.

Expert Recommendations for Optimal Results
Selecting high-quality synthetic grass makes a significant difference. Look for varied blade heights and multiple shades of green. This mimics the natural appearance of real grass.
Proper infill application effectively supports the grass blades. The right amount helps them stand upright naturally. It also provides cushioning and temperature regulation.
Drainage planning prevents water pooling issues. A slight grade ensures proper water flow away from structures. This approach works better than natural lawn drainage systems.
Seam techniques create invisible transitions between sections. Careful alignment and specialized joining methods maintain continuity. Your lawn will appear as one continuous surface.
| Installation Technique | Standard Approach | Expert Method |
| Infill Application | Even spreading | Brushing in layers |
| Blade Maintenance | Occasional brushing | Regular cross-brushing |
| Edge Finishing | Basic trimming | Border integration |
| Drainage Planning | Flat base | 1% slope grade |
Regular brushing keeps your grass blades upright and vibrant. Use a stiff broom or power broom for best results. This prevents matting over time and maintains the lush appearance.
Edge finishing creates clean transitions to other landscape features. Proper securing and optional border materials enhance the overall look. These details contribute to long-term aesthetic benefits.
The right infill depth provides optimal blade support without adding nutrients. This eliminates the maintenance time associated with natural grass. Your lawn stays beautiful year-round.
Maintenance and Lawn Care Post-Installation
Unlike natural grass that demands constant attention, your synthetic surface offers remarkable freedom from chores. The maintenance routine becomes straightforward and time-efficient. You eliminate the seasonal intensive procedures that natural lawns require.
Your lawn care shifts from constant labor to simple preservation. This approach saves countless hours over the years.
Routine Cleaning and Brushing Techniques
Basic upkeep involves removing debris with a leaf blower or gentle rake. Occasional rinsing with water clears dust and maintains freshness. Address spills promptly using mild soap for stubborn stains.
Monthly brushing with a stiff broom keeps fibers upright. This redistributes infill material and prevents matting. Your surface maintains its lush appearance with minimal effort.
Seasonal Checks and Minor Repairs
Perform quick inspections several times per year. Check seam integrity and edge security. Ensure proper drainage function and infill levels.
Minor repairs involve re-securing edges or reapplying adhesive. Small damaged sections can be replaced easily. These quick fixes maintain your investment’s longevity.
| Maintenance Task | Natural Lawn | Artificial Surface |
| Weekly Time Commitment | 2-3 hours | 15-30 minutes |
| Seasonal Procedures | Core aeration, dethatching | Visual inspection |
| Water Usage | Regular watering needed | Occasional rinsing only |
| Long-Term Care | Annual treatments required | Brushing and debris removal |
The time savings accumulate significantly compared to natural grass care. You avoid core aeration and other intensive procedures entirely. Your beautiful space requires minimal upkeep for many years.
Common Challenges and How to Overcome Them
Every landscape project encounters specific hurdles that require strategic solutions. We address the most frequent issues homeowners face when converting their outdoor spaces.
Overcoming Thatch Build-Up and Uneven Surfaces
Existing lawn conditions must be resolved during preparation. A thick layer of organic material can create uneven surfaces and drainage problems.
Modern approaches favor core aeration over aggressive methods. This technique loosens compacted soil without damaging grass roots. It improves water penetration and allows organic matter to break down naturally.
For severely uneven areas, strategic soil leveling creates the flat base essential for installation. Remove high spots and fill low areas with appropriate material. A leveling rake helps achieve uniform results.
Managing Water Drainage and Debris
Proper base preparation eliminates drainage issues that plague natural lawns. Crushed stone foundation with adequate grading prevents water pooling.
Debris management becomes remarkably simple after installation. Leaves and twigs rest on the surface rather than penetrating deep layers. Regular light brushing keeps your space clean and attractive.
Preventive measures address problems before they occur. Install proper edging to contain soil and mulch. Ensure adequate slope for water runoff.
These solutions create lasting results without recurring maintenance. Your transformed space remains beautiful through all seasons.
Conclusion
Completing your own artificial grass project brings lasting rewards that extend far beyond the initial installation. We’ve shown you how proper preparation creates the foundation for decades of beautiful performance.
Addressing existing thatch issues during ground work ensures optimal drainage and stability. This attention to detail prevents the recurring problems that plague natural lawns.
Your new landscape eliminates the need for intensive lawn care procedures like core aeration. The time savings accumulate significantly over the years, giving you back precious weekends.
Following our step-by-step process ensures professional results that enhance property value. Your investment pays dividends through water conservation and chemical-free maintenance.
Enjoy your beautiful, evergreen lawn knowing you’ve created a functional space that serves your family well. The satisfaction of this DIY achievement lasts for many years to come.
Ready to transform your lawn? Schedule your turf dethatching and artificial turf installation today for a lush, low-maintenance yard all year round!