


Creating eye-catching DIY lawn signs is easier than you’d think with some basic materials. You’ll need sturdy cardboard, a utility knife, paint in contrasting colors, and weather-resistant sealant. Start by sketching your design on paper, then transfer it to flattened cardboard and carefully cut out your letters or graphics. Add a pop of color with exterior-grade paint, and secure your sign to yard stakes using hot glue and tape. The real magic happens when you uncover clever customization tricks to make your sign truly stand out.
Essential Materials and Tools for Your DIY Lawn Sign

When you’re ready to create your own eye-catching lawn sign, gathering the right materials and tools is your pivotal initial step. For your personalized yard sign project, you’ll need a few basic supplies that won’t break the bank.
Start with sturdy cardboard boxes that’ll serve as the foundation for your custom yard signs. Grab a reliable Sharpie marker for sketching your design, and don’t forget a sharp utility knife for precise cutting. A ruler is essential for creating clean, straight lines in your outdoor advertising masterpiece. Ultimately, pick up some paint in colors that’ll make your message pop against the cardboard backdrop. These simple tools are all you need to transform ordinary cardboard into an attention-grabbing display that reflects your creative vision and personal style.
Planning Your Sign Design and Layout
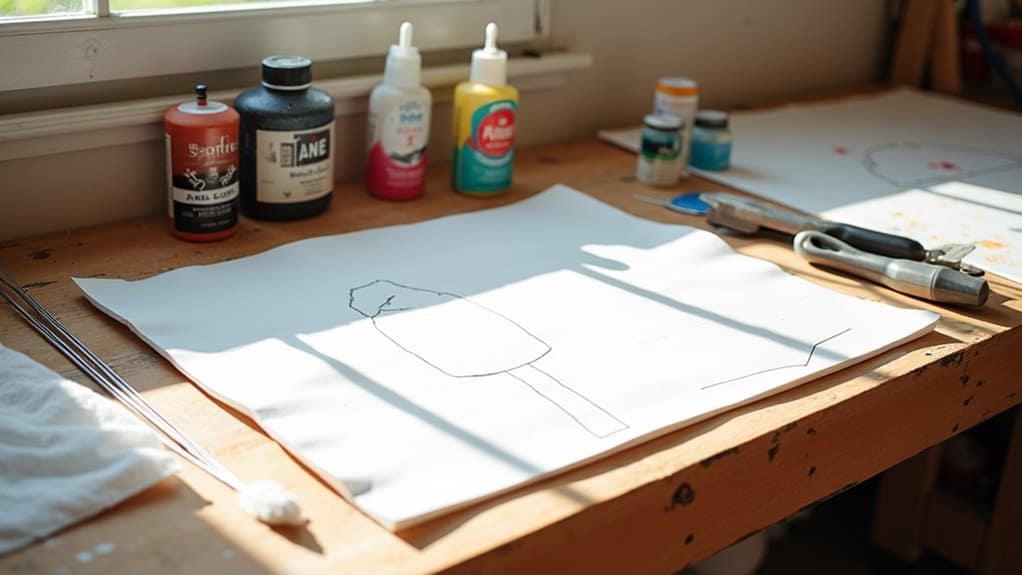
Now that you’ve gathered your materials, let’s focus on creating a design that’ll make your lawn sign truly stand out. Start by defining your sign’s main message – whether it’s advertising real estate, promoting an event, or sharing community information.
Sketch your yard sign design on paper first, placing the most crucial text in the center and making it large enough to read from a distance. Choose contrasting colors that’ll pop against your background – like dark text on a light surface or vice versa. If you’re creating a two-sided sign, guarantee any directional arrows or information flows correctly on both sides.
Test your design’s readability by viewing it from different angles and distances. Remember, simpler designs often work better for yard signs since people typically view them while passing by.
Step-by-Step Assembly Instructions
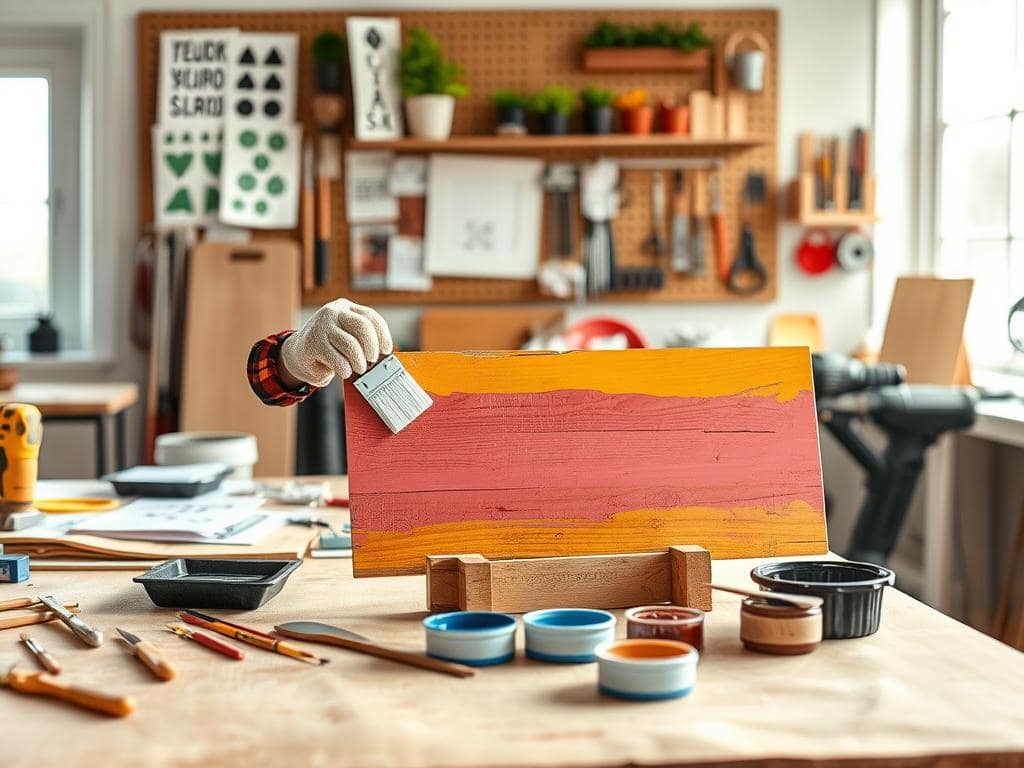
Following the proper assembly steps will guarantee your DIY lawn sign turns out exactly as planned. Start by gathering your cardboard boxes, Sharpie, utility knife, ruler, and paint – all essential tools for creating eye-catching lawn signs without waiting for prints delivered from a shop.
Once you’ve got your materials ready, make sure to flatten the cardboard and sketch your design. You’ll want to carefully cut out your letters or graphics using the utility knife, then add a splash of color with paint. Don’t forget to put yard stakes in place by attaching wooden skewer sticks to the back of each element with hot glue. For extra stability, reinforce with tape. Ultimately, arrange your pieces on the lawn, adjusting until you’ve achieved the perfect layout for your custom creation.
Weather-Proofing Tips for Outdoor Display
Your beautifully crafted lawn sign deserves to stand strong against Mother Nature’s challenges. To ensure it withstands the elements, start by applying exterior-grade paints or sealants that’ll protect your sign’s material from fading and wear. Don’t skip the vital step of adding a weather-resistant coating through lamination – this creates a shield against rain, UV rays, and wind damage.
Mount your sign on a sturdy stake or frame, securing it firmly to prevent it from becoming an unintended frisbee during gusty weather. You’ll want to periodically inspect your sign for any wear and tear, making repairs as needed to keep it looking fresh and visible. When your sign’s not brightening up your lawn, store it indoors – this simple habit will considerably extend its lifespan and protect it from harsh outdoor conditions.
Creative Design Ideas and Customization Options
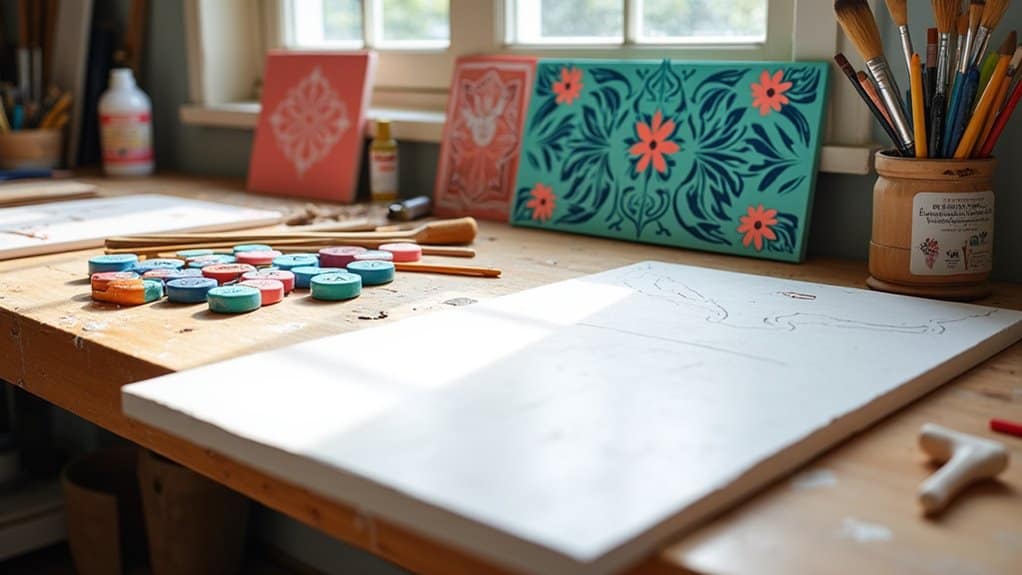
When inspiration strikes for your lawn sign design, the possibilities are truly endless! Whether you’re creating eye-catching displays for a yard sale or celebrating life’s special moments, you’ll find endless ways to customize your signs. Start with basic Yard Sign Templates, then add your personal touch using Sharpie markers, paint, and handmade artwork.
A good idea is to mix and match materials for unique effects. Try painting a vibrant background color, then layer on scrapbook paper designs secured with Outdoor Mod Podge. You can add names, dates, or heartfelt messages using different fonts and colors. Don’t forget to incorporate fun elements like hand-drawn pictures, family photos, or decorative borders. The best part? Your DIY signs can be stored and reused for future celebrations, making them both eco-friendly and budget-conscious.
Frequently Asked Questions
How to Make a Lawn Sign?
You’ll need simple materials like plywood or corrugated plastic, weatherproof paint, and sturdy posts to create your lawn sign. Start by sketching your design layout on paper, keeping text bold and easily readable. When you’re ready, transfer your design and paint it carefully. Attach your sign securely using U-posts or wooden stakes. Don’t forget to store it in a dry place and touch up paint when needed for lasting impact.
What Equipment Do I Need to Make Yard Signs?
You’ll need some basic, inexpensive materials to create eye-catching yard signs: cardboard or plywood for your base, Sharpies or paint markers, a utility knife, ruler, and outdoor paint. Don’t forget sign mounting options like wooden stakes or skewer sticks, plus a hot glue gun to attach them. For customization ideas, grab some decorative supplies like stickers or stencils. Ultimately, protect your work with weather-resistant sealant and consider storage solutions to keep signs safe between uses.
How to Make a Waterproof Yard Sign?
You’ll want to start with waterproof materials like corrugated plastic or marine-grade plywood for excellent sign durability. Add your design, then seal the deal with two coats of clear acrylic sealant or outdoor polyurethane on both sides for superior weather resistance. For extra outdoor signage protection, you can laminate the whole thing or cover it with a clear plastic sheet. Don’t forget to mount it on a sturdy stake using weatherproof screws!
Is It Legal to Put Yard Signs on Public Property?
No, you generally can’t place yard signs on public property. Local regulations and municipal guidelines typically prohibit unauthorized signs on streets, sidewalks, and other public spaces. You’ll need to check your area’s specific zoning ordinances and permit requirements before displaying any signs. Instead, you’re welcome to express yourself by placing signs on private property with the owner’s permission. Don’t risk those pesky fines – keep your signs where they’re legally allowed!