

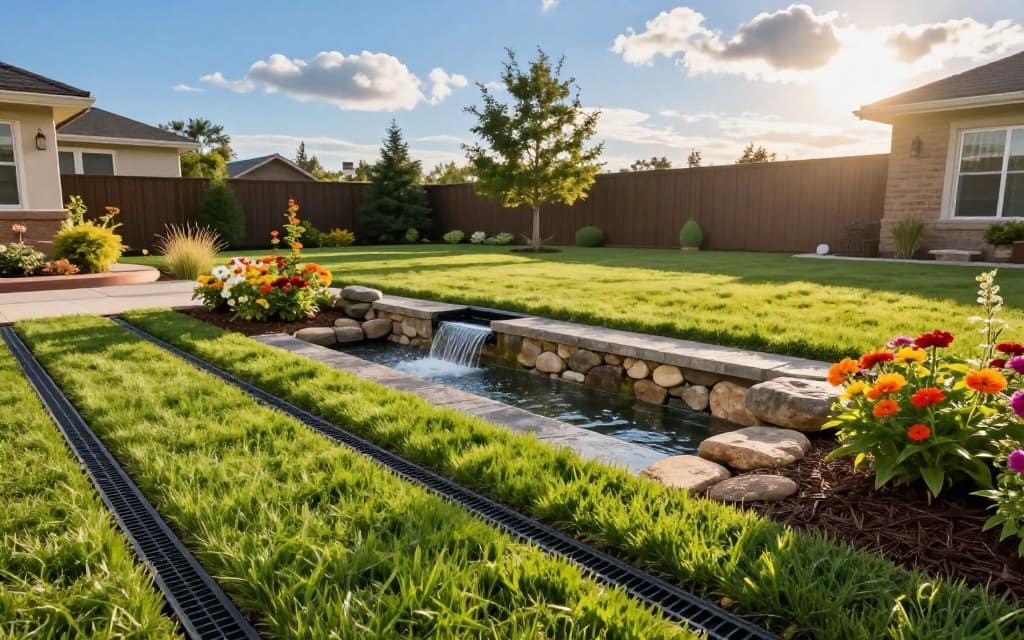
This solution directly tackles two major headaches: drought conditions and pet wear-and-tear. Traditional lawns often turn brown and require constant care.
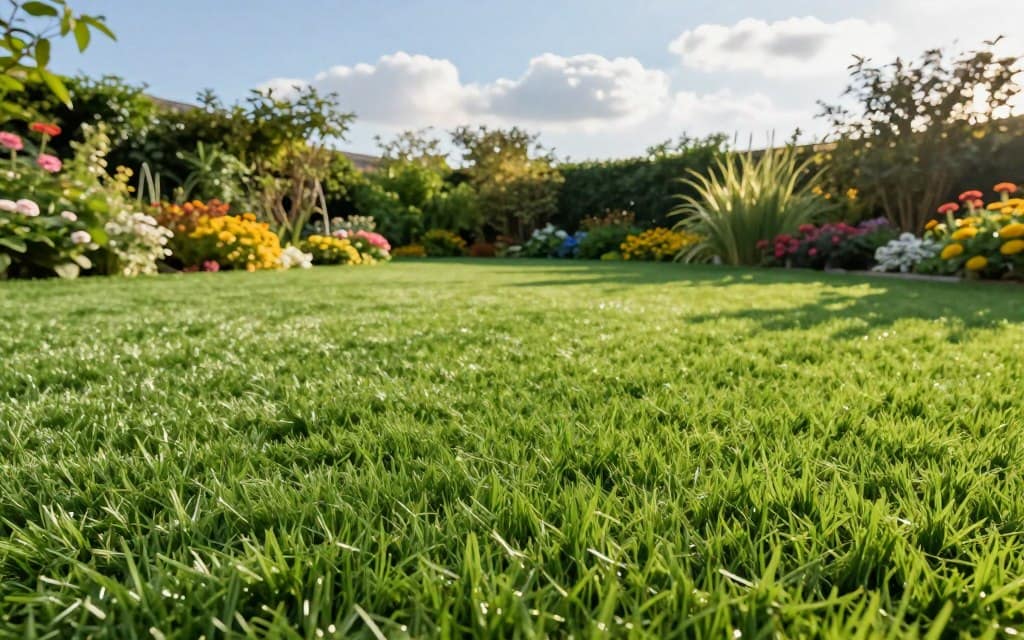
Synthetic turf requires no watering, mowing, or fertilizing. It stays pristine and vibrant regardless of the season. This makes it perfect for high-traffic areas and pet-friendly zones.
The material is long-lasting and durable. You gain a beautiful, low-maintenance yard solution that adds curb appeal with minimal effort.
You can lay it on flat ground or concrete. This gives you great flexibility when renovating your property. It’s a long-term investment that pays off over the years.
Key Takeaways
- Eliminates watering, mowing, and fertilizing chores.
- Stays vibrant green even in drought conditions.
- Withstands heavy use from pets and family activities.
- Provides a durable, mud-free surface for play areas.
- Saves money on water bills and lawn care over time.
- Enhances curb appeal with minimal effort.
- Can be installed on soil, flat ground, or concrete.
Understanding the Benefits of Artificial Turf Installation
Investing in a synthetic lawn brings together environmental, financial, and lifestyle benefits. This choice creates a versatile outdoor space that serves your needs for many years.
You will conserve a significant amount of water. Your weekly mowing routine and its associated carbon emissions are eliminated. The initial project cost is balanced by ending bills for irrigation, fertilizers, and lawn care services.
Your yard stays a vibrant green in every season. It won’t develop brown spots or bare patches. This surface is also highly durable where kids play and pets run.
For allergy sufferers, this grass solution is a relief. It produces no pollen and needs no chemical treatments. You’ll reclaim countless hours each month from yard work.
Preparing Your Yard for a Synthetic Makeover

Before the first roll of grass arrives, your yard needs a complete transformation from the ground up. This groundwork is vital for a stable and lasting landscape.
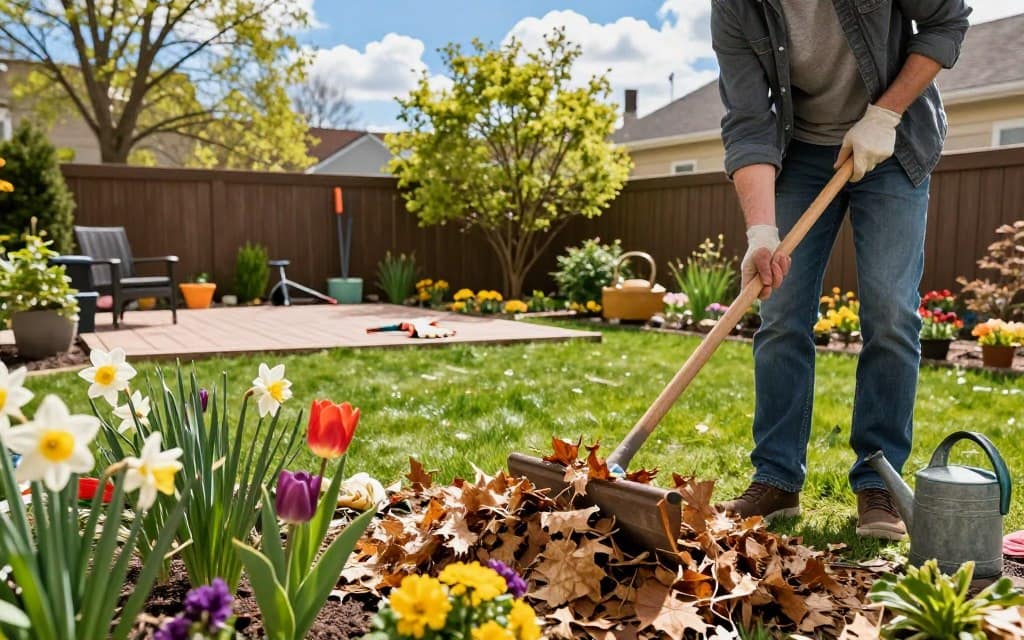
Clearing the Area: Removing Natural Grass and Debris
Start by surveying your work area. Locate and remove old sprinkler heads. Relocate any wires or cables at least one foot from the perimeter.
Next, clear the space. Use a shovel for small patches or rent a sod cutter for larger yards. You must remove about 3 to 4 inches of soil.
This process eliminates all natural grass, roots, and weeds. A clean base prevents future settling and problems.
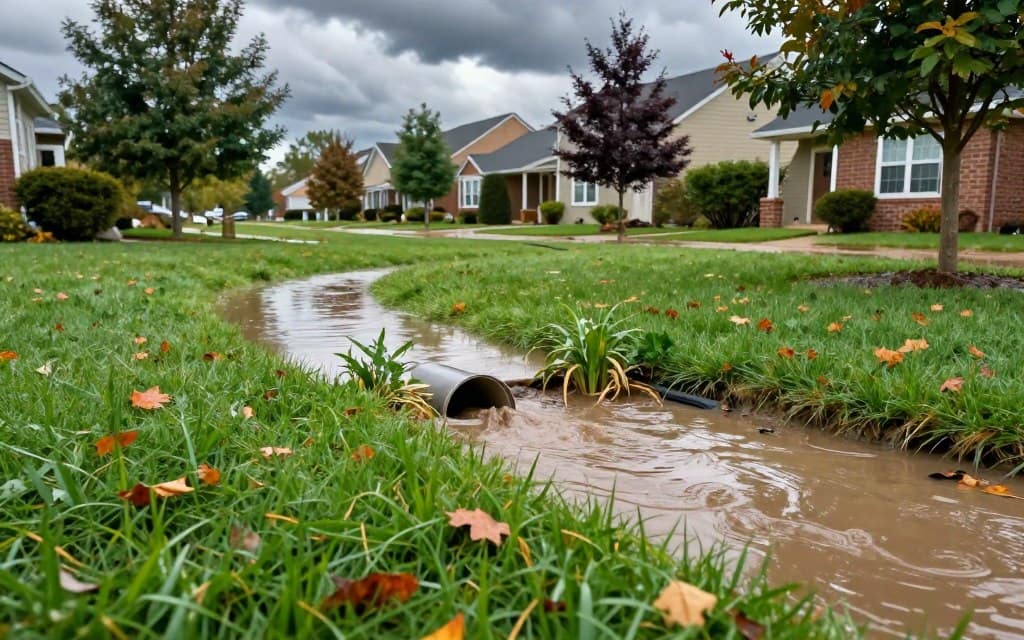
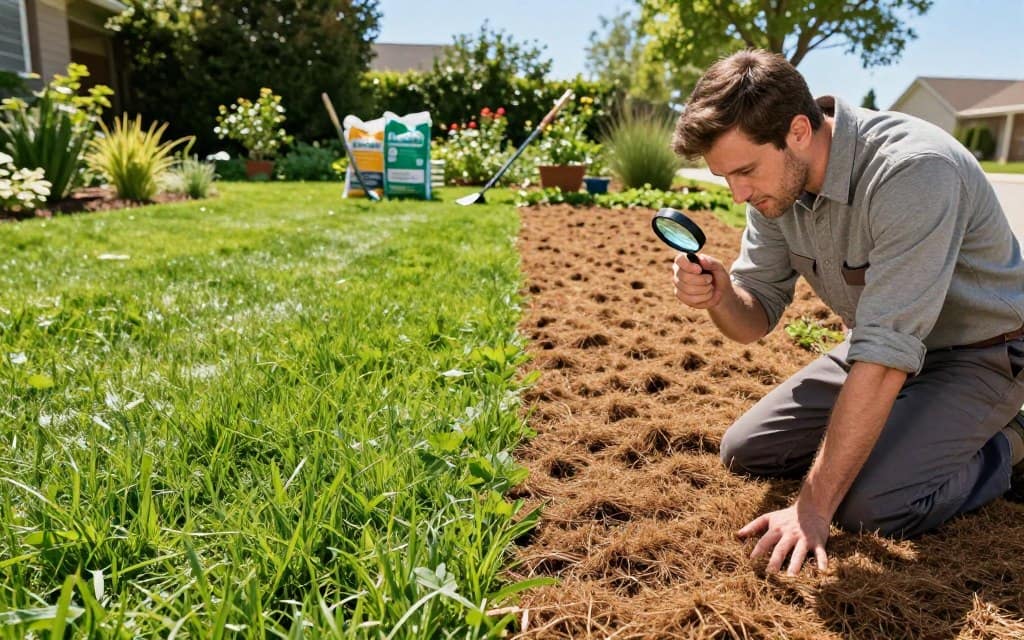
Assessing Drainage Needs and Soil Conditions
Good drainage keeps your new lawn dry. Check how water flows across your ground. In rainy climates, consider adding drainage pipes beneath the surface.
Your soil type also matters. It affects how you prepare the base. See the table below for common conditions.
| Soil Type | Key Characteristic | Preparation Tip |
|---|---|---|
| Clay | Holds water, drains slowly | May require deeper base or additional gravel for drainage. |
| Sandy | Drains very quickly | Ensure proper compaction to prevent shifting over time. |
| Loamy | Well-balanced, ideal | Standard excavation and base preparation usually suffice. |
Taking time with this prep work ensures your installation succeeds for years.
Gathering Essential Tools and Materials
A successful DIY transformation begins with a well-stocked toolkit and proper materials. This stage sets the foundation for everything that follows. Having everything ready prevents delays and ensures professional results.
Accurate planning requires the right gear. You will need items for measuring, cutting, and securing your new surface.
Must-Have Tools for a Successful Project
Start with measurement tools like a tape measure and chalk line. These prevent costly material waste.
A sharp utility knife is crucial for clean cuts. Keep extra blades handy for precision work.
For base preparation, a shovel and plate compactor are key. They create a stable foundation.
Fastening materials include galvanized landscape nails and outdoor adhesive. These secure the edges and seams firmly.
Finally, a stiff push broom helps distribute infill evenly. This step adds stability and a natural look.
| Category | Item | Key Purpose |
|---|---|---|
| Measurement | Tape measure, chalk line | Accurate layout to prevent waste |
| Cutting | Utility knife, sharp blades | Clean cuts for invisible seams |
| Fastening | Landscape nails, adhesive | Secure the surface edges |
| Base Prep | Plate compactor, shovel | Create stable foundation |
| Finishing | Push broom, drop spreader | Apply infill evenly |
Optional items like a drop spreader make infill application easier. Always wear work gloves for safety.
Planning and Measuring Your Project Layout
Before ordering any materials, taking the time to map your space saves money and frustration. This initial step is the blueprint for your entire project.
Start by measuring your yard or target area. Use a tape measure and sketch a simple diagram. Break down complex shapes into rectangles and triangles for easier math.
Make sure your plan accounts for permanent features. Note trees, garden beds, and pathways. This helps you visualize the final layout and order the correct amount.
Synthetic grass typically comes in 15-foot wide rolls. Plan your layout to minimize seams and waste. Ordering about 5-10% extra material is a smart move for cutting errors.
| Shape Type | Measurement Approach | Key Tip |
|---|---|---|
| Simple Rectangle | Multiply length by width | Easiest to calculate; minimal waste. |
| L-Shaped Area | Divide into two rectangles | Add the two areas together for total. |
| Area with Curves | Measure as a rectangle that encloses it | Account for significant extra material for trimming. |
| Around an Obstacle | Measure main area, subtract obstacle area | Keep your diagram to scale for accuracy. |
Always measure your surface twice before finalizing your order. The old rule “measure twice, cut once” prevents costly mistakes.
Check the weather forecast for your installation time. Dry conditions are best for working with materials. Don’t discard leftover pieces; they are perfect for future repairs.
Excavation and Base Installation Techniques
A perfect synthetic lawn depends entirely on the quality of its hidden foundation. This phase creates the stable, level ground that ensures your yard looks great and lasts for years.
Excavating and Removing Old Turf
Start by clearing the entire work area. You must remove all existing natural grass, roots, and weeds. Use a shovel for small patches or rent a sod cutter for larger spaces.
Dig down about 3 to 4 inches of soil. This depth provides necessary room for your new base material. A clean slate prevents future settling issues.
Installing a Compacted Base for Longevity
Next, add your chosen base material. Crushed rock or decomposed granite are common options. This layer provides critical drainage and support.
| Base Material | Key Characteristic | Best Use Case |
|---|---|---|
| Class II Road Base | Mix of sand, gravel, and fines | Excellent for general stability and compaction. |
| Decomposed Granite | Drains very well, packs firmly | Ideal for areas with heavy rainfall. |
| Crushed Rock (3/8″) | Angular pieces lock together | Superior for preventing shifting on slopes. |
Spread the material in 2 to 3 inch layers. Avoid dumping it all at once. Compact each layer thoroughly with a plate compactor.
Aim for about 95% compaction. This creates a firm, smooth surface. The final ground should not show footprints when you walk on it.
Rolling Out and Fitting Your Synthetic Turf

Now comes the exciting moment of laying down your new synthetic surface, where careful preparation meets visible progress. This step ensures your yard looks natural and lasts for years.
Acclimating Your Turf for a Smooth Finish
First, unroll your synthetic grass and let it relax. Materials stored in rolls develop memory creases. Allowing time for acclimation in sunlight helps reduce these imperfections.
This process makes the fibers more pliable. Refer to the table below for general guidelines based on conditions.
| Condition | Recommended Time | Key Benefit |
|---|---|---|
| Sunny & Warm | 2-3 hours | Relaxes creases quickly |
| Cloudy or Cool | 4-6 hours | Prevents material stress |
| Overnight | 8-12 hours | Eliminates severe memory folds |
Next, focus on blade direction. All fibers should face the same way for a consistent look. Light reflects differently off strands oriented in various directions.
Uniform orientation creates a seamless appearance. Lay the rolls loosely over your base with a few inches of overlap at edges.
This allows for adjustments during trimming. When joining pieces, ensure the grass strands align.
Walk carefully on the unattached surface to prevent shifting. Avoid working in extreme heat or wet conditions.
Cutting, Trimming, and Seam Taping
The difference between a professional and amateur look often lies in how you handle the edges and seams. This phase requires a steady hand and attention to detail.
Precision Cutting Techniques for a Clean Look
Always cut from the backing side of your synthetic grass. This protects the blades from accidental damage. Follow the manufacturer’s stitch lines for perfectly straight edges.
Maintain a ¼-inch gap from walls or sidewalks. This allows for material expansion. Use a sharp utility knife and replace the cutter blades often.
| Step | Tool/Material | Key Tip |
|---|---|---|
| Trimming Edges | Utility Knife | Cut from the backing; follow stitch lines. |
| Cutting Curves | Sharp Blades | Go slow for smooth, clean curves around obstacles. |
| Seam Tape Application | 6-8 inch Seam Tape | Center tape between pieces; ensure fiber direction matches. |
| Adhesive Curing | Outdoor Adhesive | Apply evenly; use weights for pressure during cure time. |
Creating Seamless Connections
Lay pieces edge-to-edge with fibers facing the same direction. Fold back the edges to expose the backing. Roll out seaming tape between them.
Apply adhesive to the tape and press the grass edges down firmly. Opt for S-shaped seams instead of straight lines. They are much easier to conceal.
Place heavy objects along the seam while the adhesive sets. This ensures a strong bond. Finally, brush the fibers across the seam to blend them perfectly.
Securing Your Turf: Anchors and Adhesives

The final step to a flawless yard is locking everything in place. This keeps your new lawn looking perfect for many seasons.
Proper fastening prevents movement, wrinkling, and edge lifting. A secure installation withstands foot traffic and weather changes.
You have several options for this job. Galvanized landscape nails and U-shaped staples work well for most surfaces. Outdoor adhesive is best for seams and tricky spots.
| Method | Best For | Spacing Guideline |
|---|---|---|
| Landscape Nails | Perimeter edges on soil bases | Every 4-6 inches along edges |
| U-Shaped Staples | Field area and gentle slopes | Every 12-24 inches in field |
| Perimeter Adhesive | Concrete or tricky transitions | Continuous bead along edge |
Drive nails through the backing between the turf rows. Avoid hammering through the visible blades. Make sure they are flush to prevent uneven spots.
Using a flexible bender board along the edges gives nails a solid grip. It also creates a clean transition. Keep the surface taut, but do not over-stretch it.
Your base material affects your choice. Compacted aggregate holds nails well. For concrete, adhesive systems are often required.
Infill Application and Final Touches
Applying infill is the secret step that transforms flat synthetic grass into a resilient, natural-looking lawn. This material settles between the blades, providing essential support and function.
Distributing Infill for Stability and Drainage
Common infill options include silica sand and rubber granules. Use a drop spreader for an even application.
Go slowly to avoid overlap. Aim for 1 to 2 pounds per square foot. This weight anchors the surface and improves water flow.
| Infill Type | Primary Benefit | Best For |
|---|---|---|
| Silica Sand | Affordable, supports blade structure | General residential lawns |
| Antimicrobial Sand | Helps control odor | Pet-friendly play areas |
| Rubber Granules | Adds cushion underfoot | High-traffic or sports surfaces |
Brushing and Inspecting for Perfection
Next, use a stiff push broom or carpet rake. Brush the material deep into the backing. Work against the grain of the blades.
This lifts the fibers for a soft, lush look. It also distributes the infill evenly. Check for any loose edges or visible seams.
Do a final hand-brush around the perimeter. Remove any stray granules from walkways. Your new lawn is now ready for enjoyment.
Year-Round Maintenance for a Pristine Lawn

A pristine synthetic yard remains beautiful for decades with a simple maintenance routine. While care is minimal, consistent upkeep protects your investment and extends its life.
Routine Cleaning and Quick Fixes
Weekly removal of leaves and debris keeps your surface clean. A leaf blower works well for this task.
Rinse the grass monthly with a hose to remove dust and pollen. This also helps control odors in pet-friendly zones.
Use a stiff push broom or carpet rake every few months. Brush against the grain to lift the blades and maintain a lush look.
| Frequency | Task | Tool/Method |
|---|---|---|
| Weekly | Debris Removal | Leaf blower or rake |
| Monthly | Surface Rinsing | Garden hose with water |
| Quarterly | Deep Cleaning & Brushing | Stiff broom or power brush |
| Annually | Infill Inspection & Top-Up | Drop spreader for silica sand |
Check for weeds along edges occasionally. A simple spot treatment prevents growth. This process keeps problem areas clear.
Reapply infill material as needed to support the grass blades. This ensures proper drainage and resilience.
For households with pets, use an enzyme cleaner for waste areas. Your artificial grass will stay fresh and hygienic.
With this easy care, your synthetic lawn can last 10 to 20 years. It will look just as good as the day it was put down.
Conclusion
Transforming your outdoor space with an artificial turf is a rewarding project that pays off for years. You’ve learned the key steps, from initial planning and base preparation to laying, securing, and adding infill. Each phase requires attention to detail for a lush, level result.
This guide shows that installing artificial grass is an achievable DIY task. Your success depends on your landscaping skills, yard condition, and available time. For complex areas or if you prefer guaranteed results, hiring a professional is a smart choice.
Either way, you’ll gain a beautiful, low-maintenance landscape. Proper drainage and a weed barrier during base prep ensure longevity. Your new yard will conserve water, save time, and stay green in all seasons. Enjoy your drought-proof, dog-friendly lawn for many years to come.