


Building a paver patio requires careful planning and proper execution. You’ll start by marking your layout and removing vegetation, then excavate 8 inches deep for base materials. Install 4-6 inches of crushed stone in layers, compacting each thoroughly. Add edge restraints and leveling sand before laying pavers in your chosen pattern. Cut pieces to fit borders, fill joints with polymeric sand, and compact the surface. These essential steps will guarantee your project’s long-term success and durability.
Planning Your Patio Layout and Design
Before breaking ground on your paver patio project, careful planning of the layout and design will guarantee ideal results and prevent costly mistakes. Start by gathering design inspiration from home improvement magazines, websites, and local scenery. Consider how you’ll use the space – for dining, entertaining, or relaxation.
Key layout considerations include the patio’s shape, size, and its relationship to existing structures. You’ll need to account for proper drainage with a slight slope away from your house’s foundation, typically 1 inch per 8 feet. Mark your proposed patio boundaries with spray paint or string lines, ensuring the layout complements your home’s architecture. Calculate the square footage to determine the number of pavers needed, adding 10% extra for cuts and waste.
Preparing the Site and Excavation
Before breaking ground, you’ll need to accurately mark your patio’s perimeter using stakes and mason’s string, ensuring your measurements match your planned layout. Next, remove all vegetation, roots, and debris from the marked area, extending at least 6 inches beyond your string lines. Level the cleared ground using a transit level or laser level, checking multiple points to establish a consistent grade that slopes away from your home’s foundation at a rate of 1 inch per 8 feet.
Mark and Measure Area
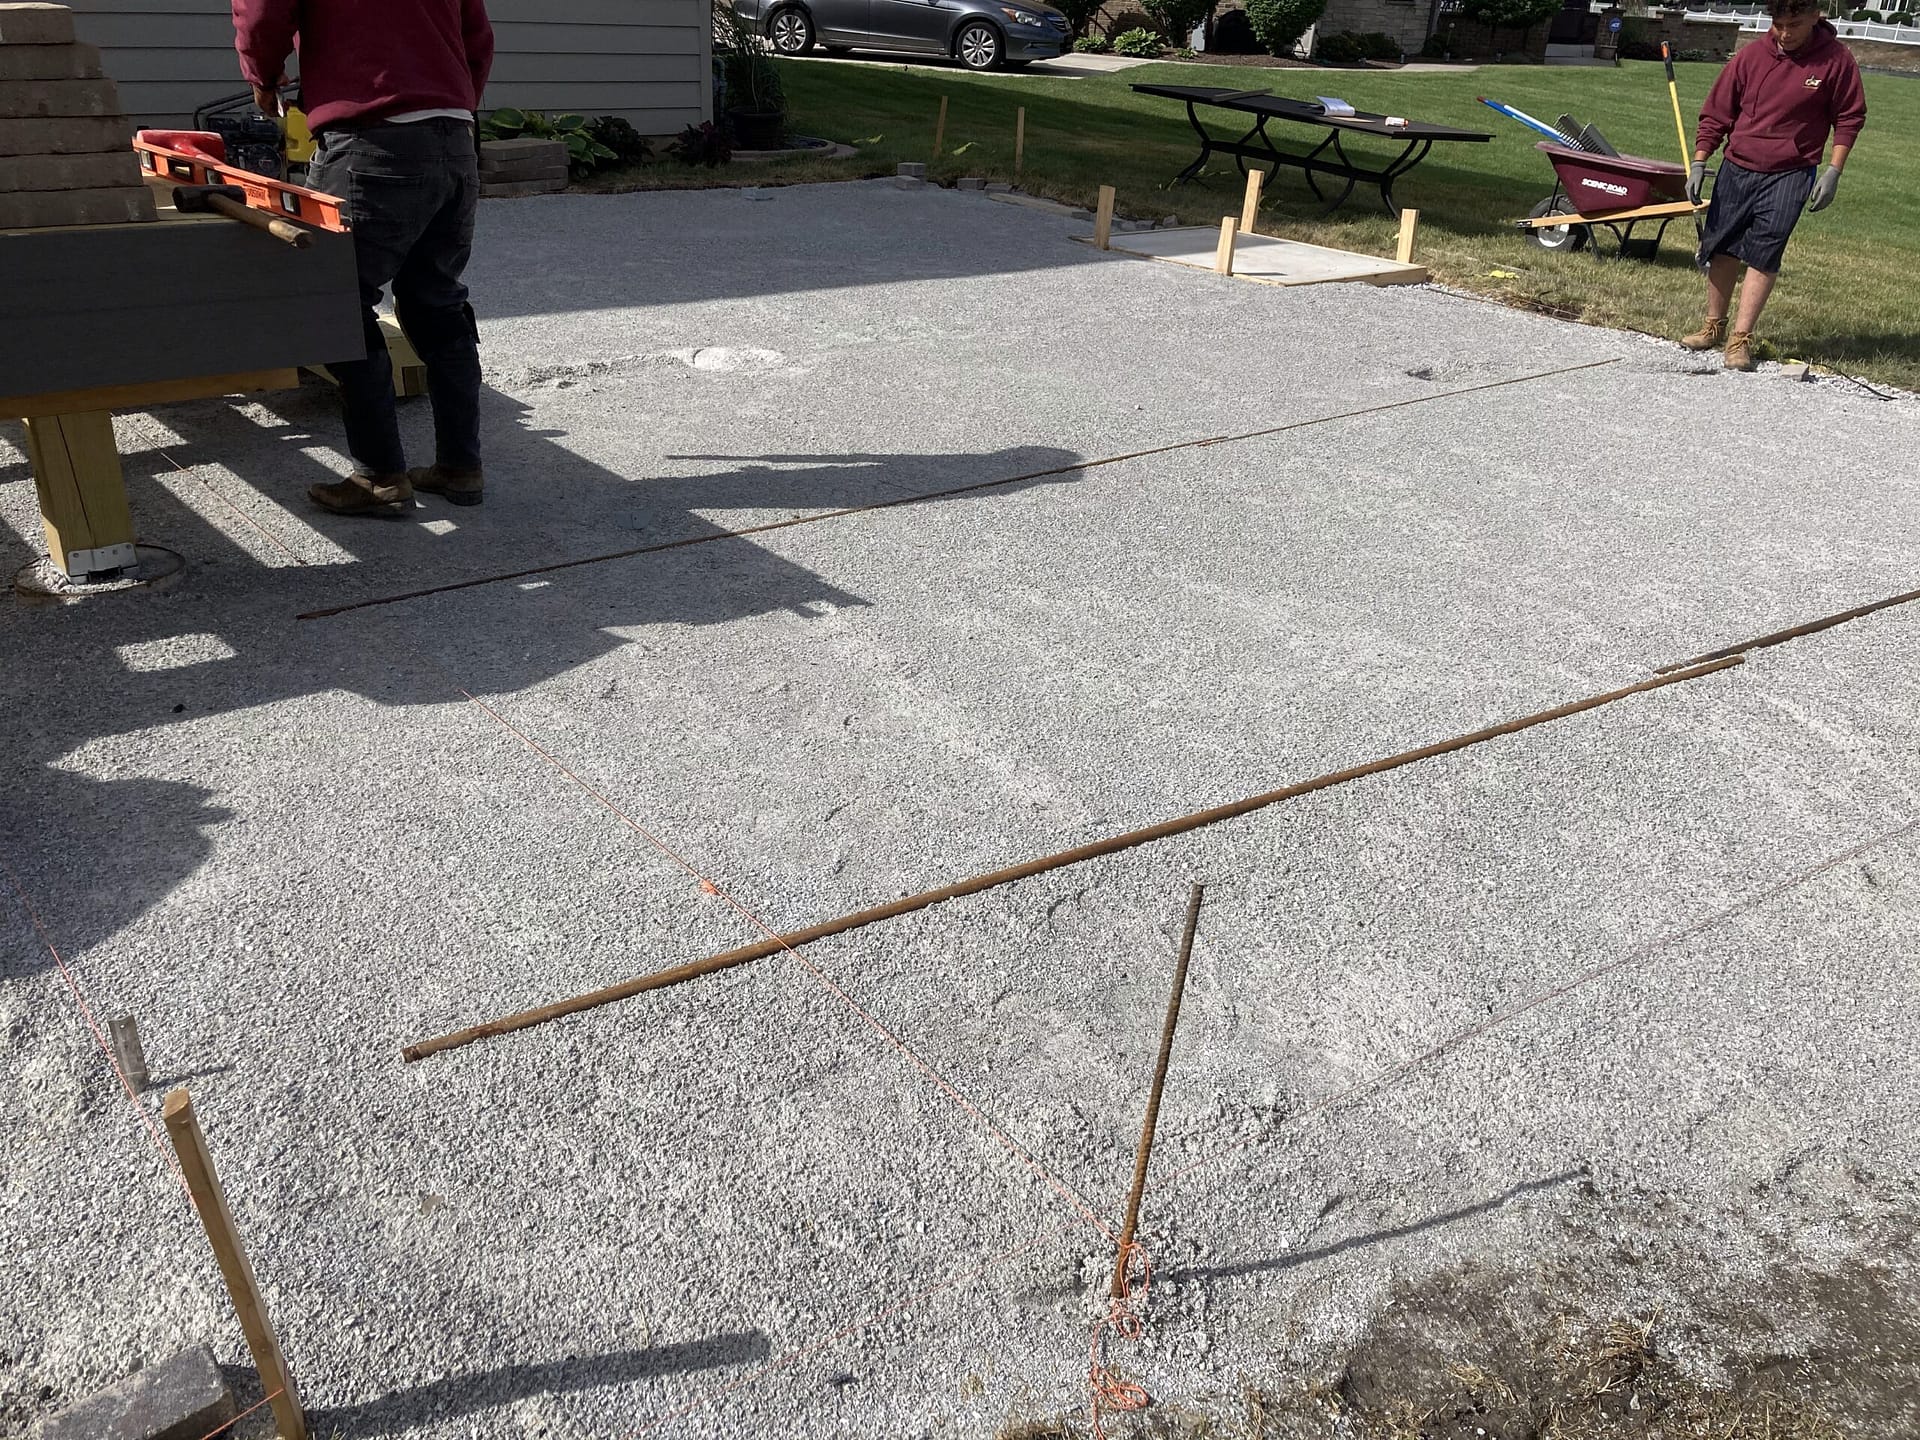
The initial step in paver installation requires precise marking and measuring of your project area. Using marking tools such as stakes, mason’s string, and marking paint, outline the patio’s perimeter while guaranteeing all corners are square. You’ll need to verify your measurements diagonally to confirm the layout is perfectly rectangular.
Apply professional measuring techniques by establishing a baseline parallel to your house’s foundation. From this reference point, measure perpendicular lines using the 3-4-5 triangle method to create accurate 90-degree angles. Mark supplementary reference points every 4-5 feet along the perimeter to maintain straight lines during excavation. Don’t forget to account for the proper slope grade of 1 inch per 8 feet away from your house for adequate drainage. Double-check all measurements before proceeding to guarantee accuracy.
Clear and Level Ground
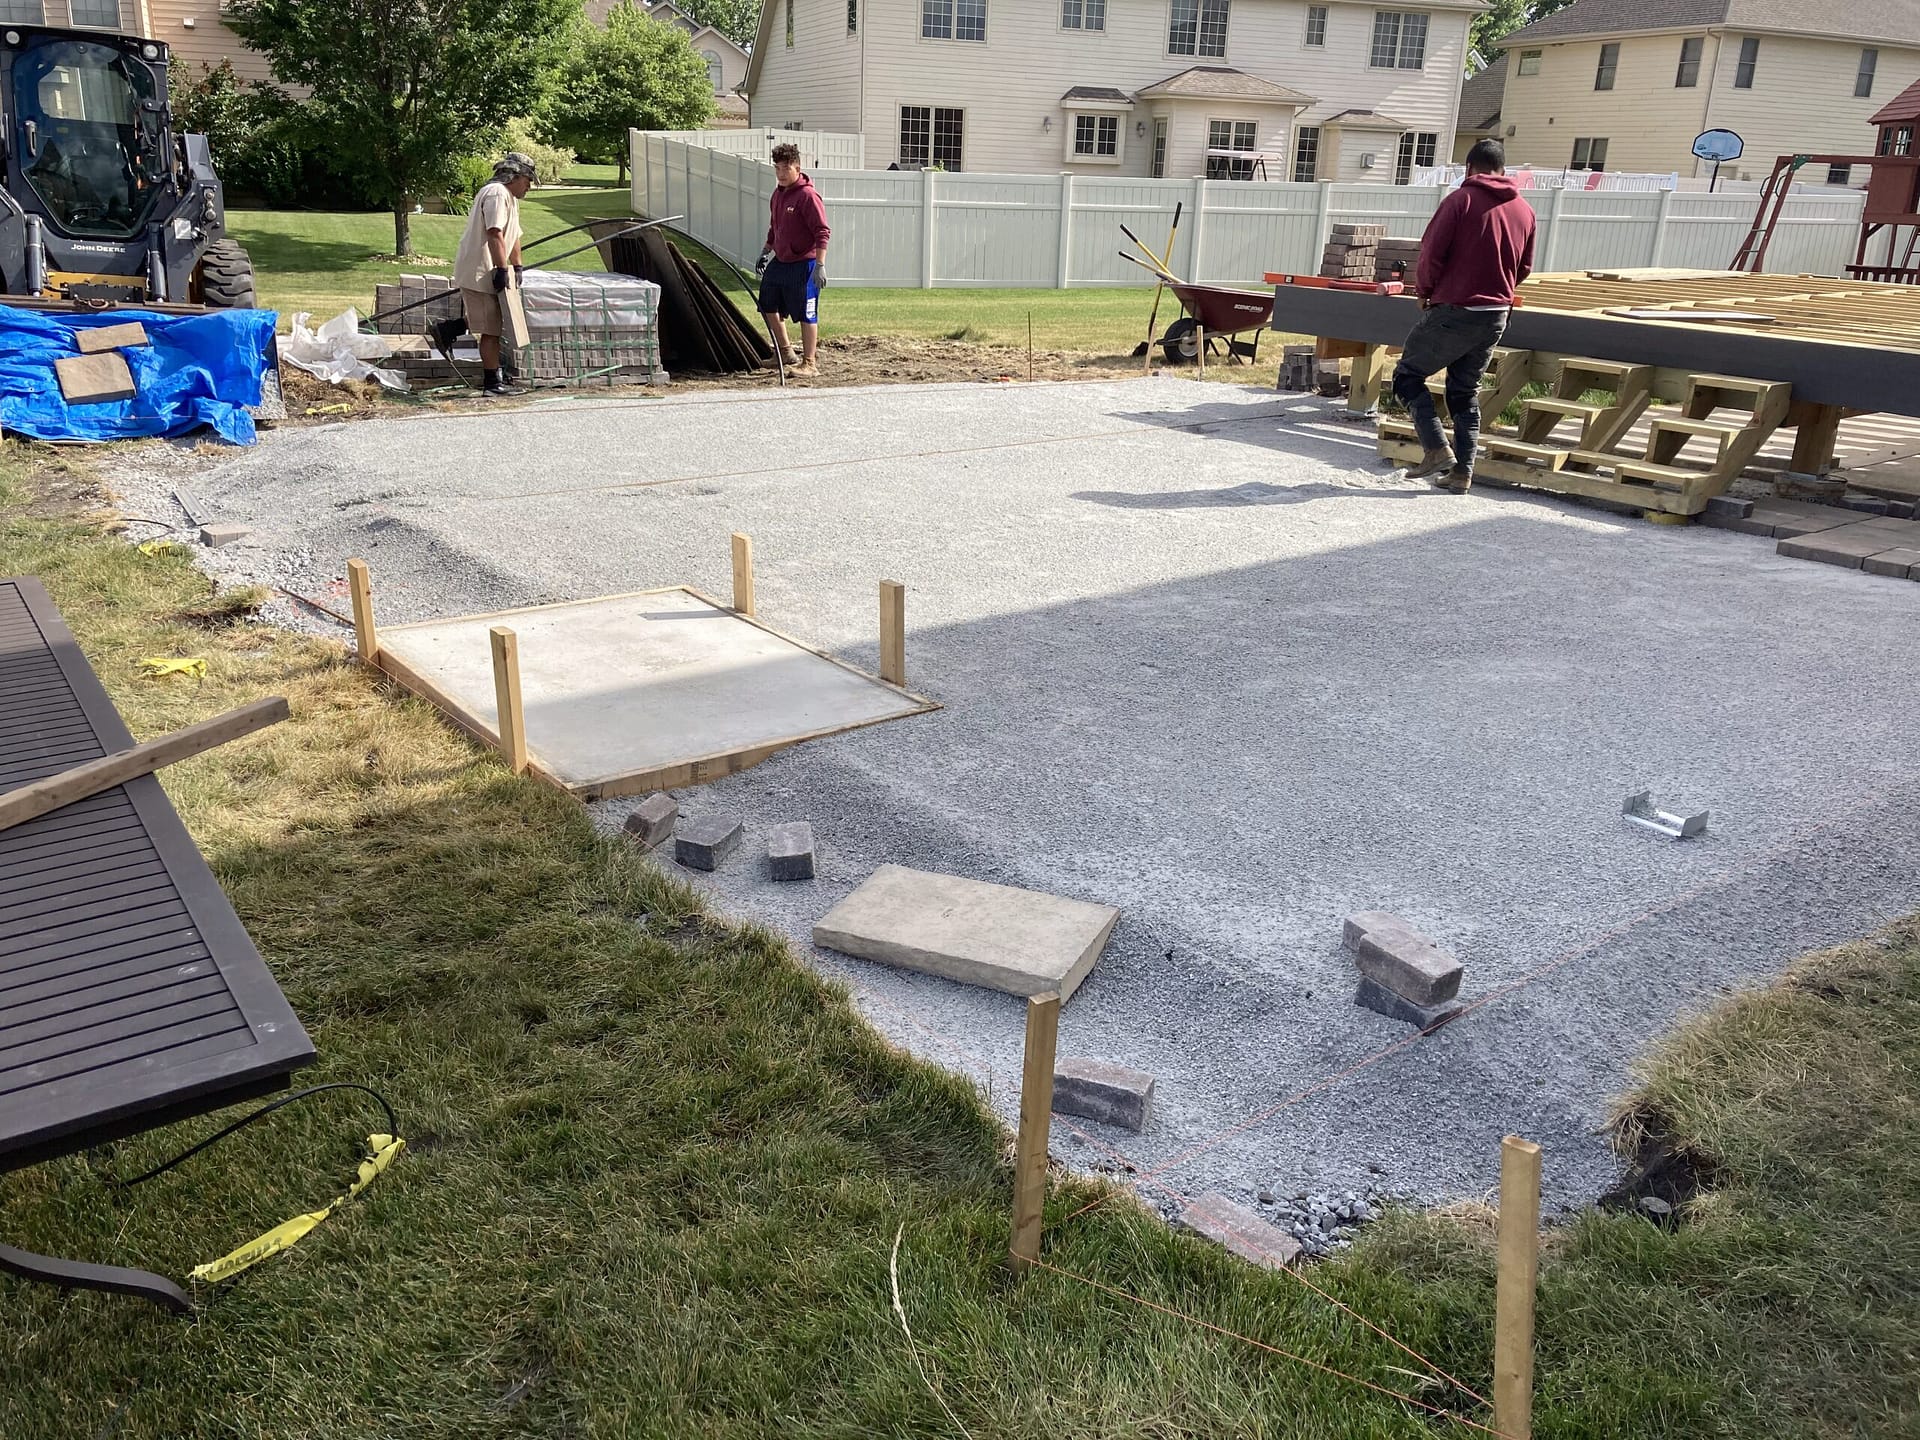
Proper site preparation demands thorough clearing and excavation of your marked patio area. Remove all vegetation, rocks, and debris within the marked boundaries. Dig down approximately 8 inches, accounting for 4 inches of base material, 1 inch of sand, and the paver thickness. Confirm you’re digging an extra 6 inches beyond your marked borders for proper edge support.
Grade the soil with a slight slope away from your house’s foundation, maintaining a 1-inch drop for every 8 feet to guarantee adequate soil drainage. Use a plate compactor to compress the ground thoroughly, making multiple passes in different directions. Test the ground preparation by checking for soft spots with a probe. If you encounter poor soil conditions, dig deeper and add a layer of geotextile fabric before proceeding with the base material.
Installing the Base Materials and Compacting
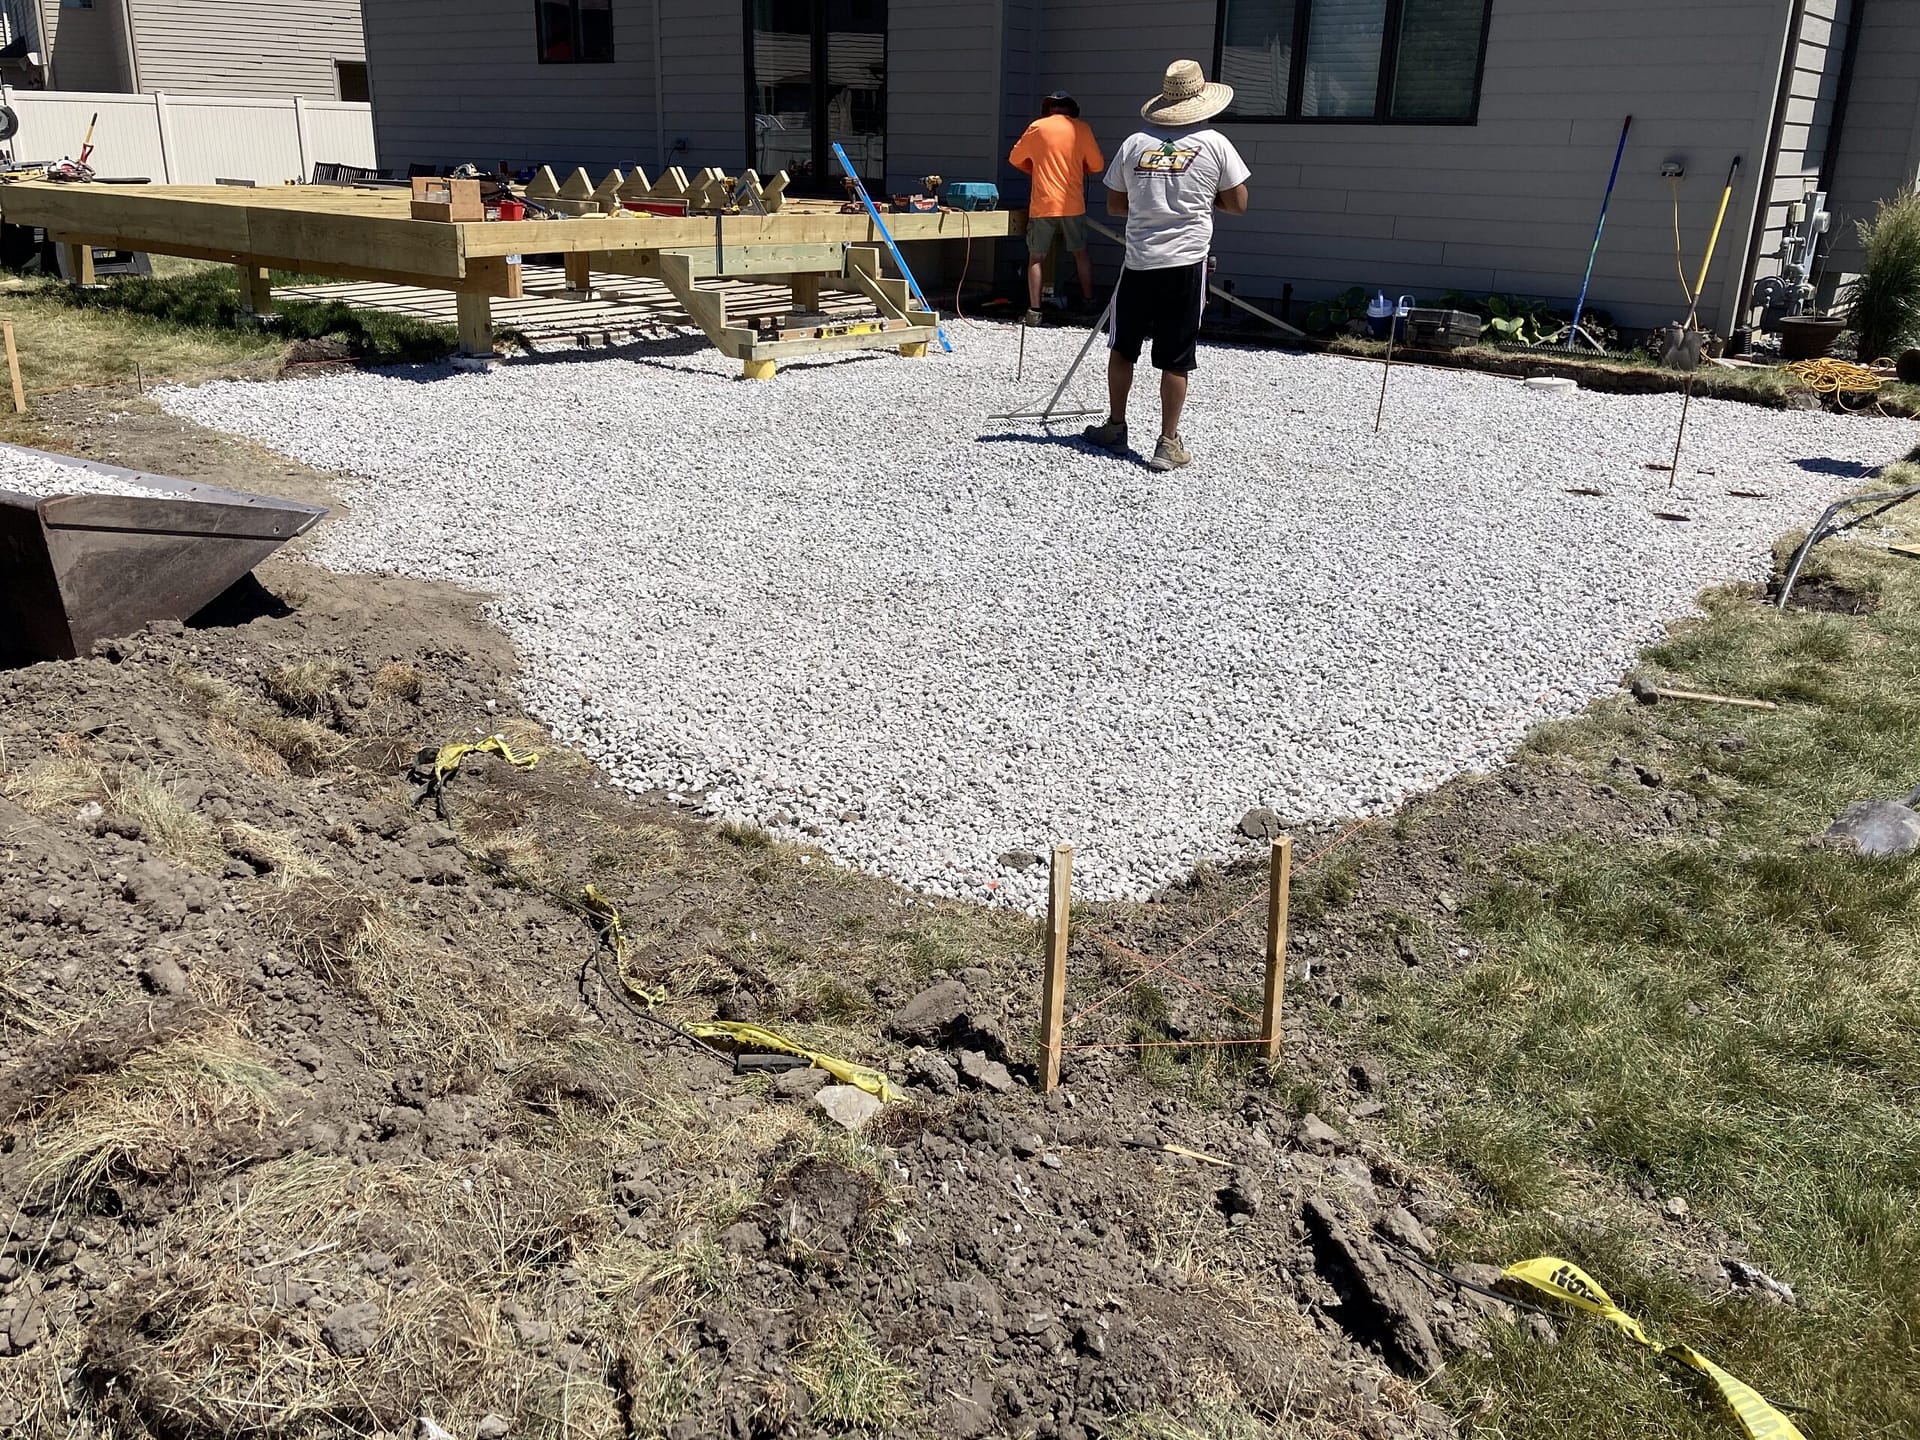
You’ll need to add the base layer of crushed stone or gravel in 2-inch lifts across your excavated patio area, making sure it’s evenly distributed. For proper compaction, use a plate compactor or roller compactor, working from the edges in the direction of the center in overlapping passes until you’ve achieved a 95% compaction rate. Each layer should be thoroughly compacted before adding the next lift, continuing this process until you reach your target base depth of 4-6 inches.
Add Base Layer First
Installing base materials begins with adding 4 to 6 inches of crushed stone or gravel across your excavated patio area. You’ll want to select base material types that provide proper drainage and stability – crushed #57 stone or 3/4-inch quarry gravel work well. Spread the material evenly using a rake, maintaining a consistent slope away from your house’s foundation for drainage considerations.
Add the base material in 2-inch layers, compacting each layer thoroughly before adding the next. You’ll need a plate compactor to achieve proper compression – make several passes in different directions until the stone doesn’t settle further. Test the stability by walking across the surface – it shouldn’t shift under your feet. Add more material to low spots and recompact until you’ve achieved a firm, level base that’s ready for the next phase.
Compact With Heavy Equipment
A plate compactor provides essential mechanical force needed to properly densify your base materials. You’ll want to rent one that weighs at least 200 pounds and delivers 4,000-5,000 pounds of compaction force per square foot. Make multiple passes in different directions until the base is firm and level.
Among heavy machinery options, walk-behind vibratory plate compactors work best for most residential patio projects. For larger installations, consider a reversible plate compactor or roller compactor. Proper compacting techniques require overlapping passes by about 6 inches, working from the perimeter inward. Compact the base material in 2-inch lifts until you achieve proper density. You’ll know you’re done when the plate compactor no longer leaves visible indentations in the surface and the base feels solid underfoot.
Adding Edge Restraints and Leveling Sand
Once the base layer is properly compacted and leveled, it’s time to install edge restraints and add a layer of leveling sand. Choose from plastic, aluminum, or steel edge restraints, securing them firmly with 12-inch spikes every 2 feet along the perimeter. You’ll need these restraints to prevent pavers from shifting over time.
For the leveling sand layer, follow these critical steps:
- Spread a 1-inch layer of concrete sand evenly across the base
- Use a screed board with precise measurements to guarantee uniform depth
- Avoid walking on the screeded sand before laying pavers
When leveling the sand, work in small sections using consistent screeding techniques. Pull the board in your direction while maintaining steady pressure, and don’t forget to account for the final paver height being slightly above grade level.
Laying the Pavers in Your Chosen Pattern
Before placing any pavers, start at the corner or edge of your project area and establish a 90-degree angle using the 3-4-5 triangle method. This guarantees your paver patterns will align correctly throughout the installation.
Begin laying pavers along your established lines, working outward in your chosen pattern. Use proper laying techniques: place each paver straight down, never slide them into position. Keep joints tight and consistent by using spacers if needed. As you progress, regularly check that rows remain straight with a string line.
Work from multiple pallets simultaneously to blend any color variations. When you reach edges, measure and cut pavers with a masonry saw to fit. Don’t force full pavers where cuts are needed. Check your work frequently with a level and adjust individual pavers by adding or removing bedding sand as necessary.
Cutting Pavers to Fit Borders and Edges
When measuring pavers for border cuts, mark each piece precisely with a pencil or marker while accounting for the necessary joint spacing. You’ll need to employ different cutting techniques based on the paver shapes and your project’s requirements.
For precise cuts along your patio’s edges, consider these essential methods:
- Use a masonry saw with a diamond blade for straight cuts, making sure you’re wearing proper safety gear and following the manufacturer’s guidelines
- Score and split pavers with a hammer and chisel for rough cuts when working with basic shapes
- Utilize a wet saw for intricate angle cuts and detailed border pieces
Position your cutting station on a flat, stable surface away from the installation area to keep the worksite clean. Remember to measure twice and cut once to minimize waste and guarantee accurate fits along borders.
Filling Joints and Final Compaction
The final steps of your paver installation require careful joint filling and thorough compaction to guarantee long-lasting stability. Spread fine polymeric sand across the surface, sweeping it diagonally into all joints until they’re completely filled. Don’t skip the edges and corners, as they’re vital for joint stabilization techniques.
Once you’ve filled all gaps, use a plate compactor to vibrate the sand deeper into the joints. Make at least two passes over the entire surface, ensuring uniform settlement. After compaction, apply a light coating of sand to top off any settled areas. One of the key paver maintenance tips is to mist the surface with water to activate the polymeric binding agents. Allow the patio to dry for 24 hours before use, ensuring the joints are properly sealed and stabilized.
Frequently Asked Questions
How Long Should I Wait Before Sealing My Newly Installed Paver Patio?
You’ll need to wait at least 60-90 days before sealing your new paver patio to allow proper drying time and efflorescence to occur. This waiting period lets the pavers naturally release their internal moisture and salts. For best sealing tips, make certain the surface is completely clean and dry before application. If you’re in a high-rainfall area, you might want to extend the waiting period to guarantee ideal sealer adhesion.
Can I Build a Paver Patio Over an Existing Concrete Slab?
Yes, you can install pavers over an existing concrete slab, but proper preparation is essential. You’ll need to guarantee the slab is structurally sound, has adequate drainage, and slopes away from your house. Before paver installation, clean the surface thoroughly and apply a thin layer of sand for leveling. You’ll also need edge restraints around the perimeter. While this technique saves time compared to full excavation, it’ll raise your patio’s height by about 2.5 inches.
What’s the Best Time of Year to Install a Paver Patio?
Spring and fall offer your best windows for paver installation. You’ll want mild temperatures between 50-80°F for ideal results. Spring installation lets you enjoy your patio throughout summer, but you’ll need to work around rain showers. Fall advantages include drier conditions and cooler temperatures, which make the physical labor more comfortable. The ground’s also typically more stable after summer, reducing the risk of settling issues in your base materials.
How Do I Remove Stubborn Stains From My Paver Patio?
For effective paver maintenance and stain removal, you’ll need to identify the stain type initially. For oil stains, apply a commercial degreaser or cat litter to absorb excess oil. Rust stains respond well to oxalic acid-based cleaners, while organic stains like leaf marks can be treated with a mixture of bleach and water. Don’t forget to test any cleaning solution on a small, inconspicuous area initially to prevent discoloration of your pavers.
Should I Rent or Buy the Tools Needed for Paver Installation?
For a one-time paver project, tool rental is your most cost-effective option. You’ll need expensive equipment like plate compactors, concrete saws, and specialized leveling tools that you might not use again. However, if you’re planning multiple hardscaping projects, purchasing tools can be a smart investment. Compare rental costs (typically $50-150 per day) against purchase prices ($500-1500 for quality tools) to make your decision based on long-term usage plans.